Create Catalogue
To create a Catalogue, simply click the “Create Catalogue” button and follows these steps:
1. Clicking the "Create Catalogue" (or "Upload Catalogue") button will display the Create Catalogue page. Firstly, the User needs to provide the name of the Catalogue and the Catalogue Items. The User can download a template (if they don't have one already) and fill in the form with the desired information. Once filled in, the User then needs to upload the file using the "Browse..." button. When the template it uploaded, click "Upload Catalogue Spreadsheet" to continue.
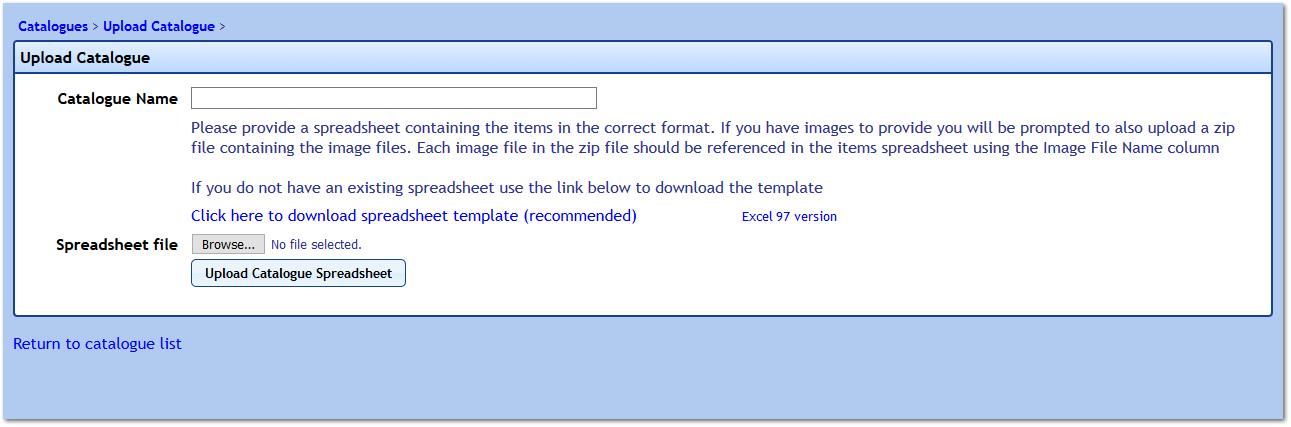
Note: When uploading items to a Catalogue that are actually changes that need to be from a specific date, please ensure to fill in the Effective From Date column on the spreadsheet before uploading.
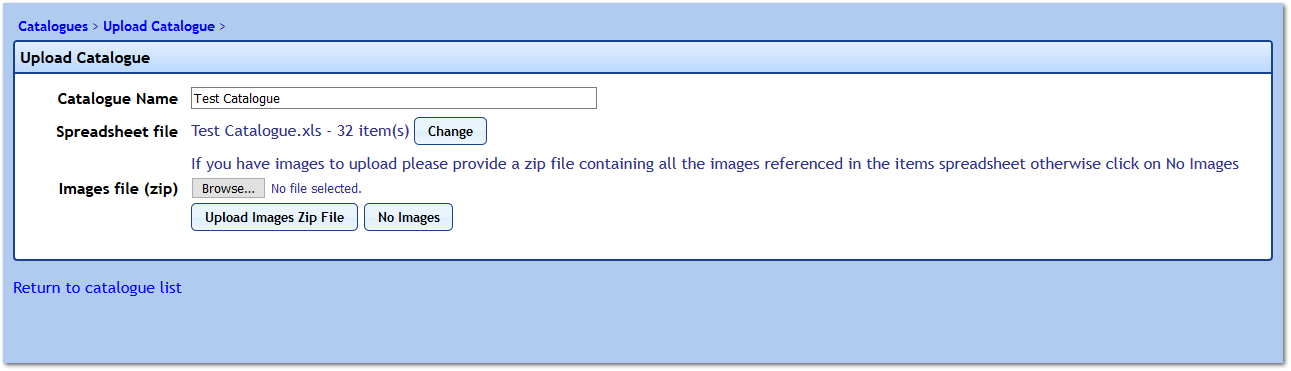
2. Next, the User needs to upload the image zip file. The Image Names used on the template need the corresponding images uploading to the system and this is done by zipping up the images and uploading them. Select the zip file using the "Browse..." button and proceed by using the "Upload Images Zip File".
If the template does not include any Image Name and there are no images to upload, clicking "No Images" will progress to the next step and will bypass the image upload.
If the template does not include any Image Name and there are no images to upload, clicking "No Images" will progress to the next step and will bypass the image upload.
3. The last step is the Submission stage. All that is required here is for the User to confirm that everything is correct. If there are any changes required then the User can click the desired "Change" button and make any changes needed. When ready and everything is in correctly, click "Submit Catalogue Upload" to submit the Catalogue.
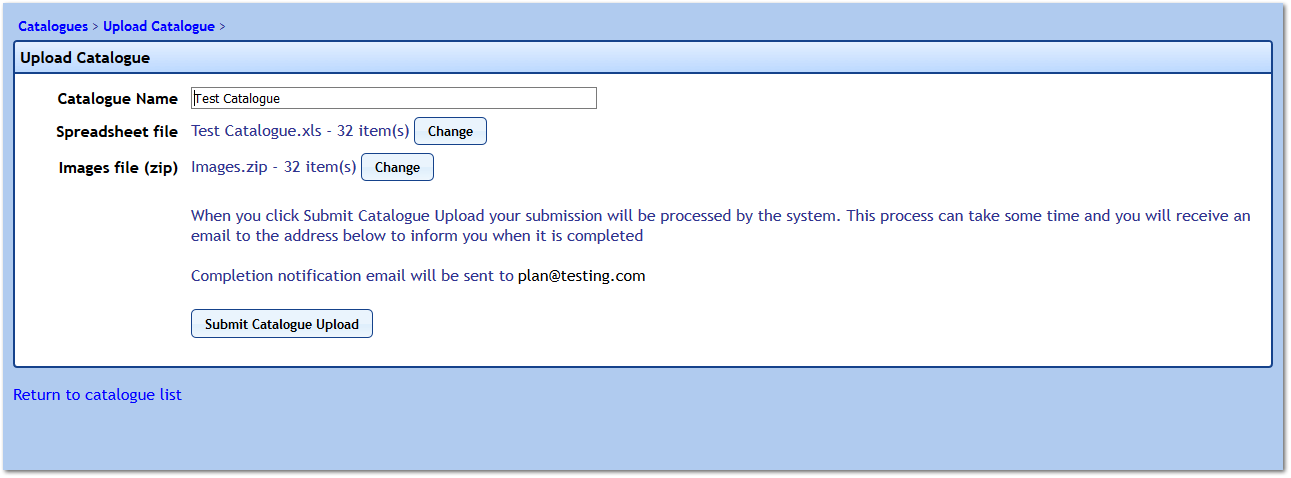
4. After the Catalogue is created, it then goes through the approval process. It needs to be approved before any changes are seen.
Note: If the items being uploaded use the same Codes as existing items in a different Catalogue, an email will be returned stating that the upload did complete. This also happens now if the User did not provide images for their items among other scenarios. Examples below:
Note: If the items being uploaded use the same Codes as existing items in a different Catalogue, an email will be returned stating that the upload did complete. This also happens now if the User did not provide images for their items among other scenarios. Examples below:
|
All the uploaded items are missing images. You must supply an image for every item you upload
|
|
All the uploaded items are duplicates. This can happen if you download an existing catalogue and upload it as a new one, or if you submit a new catalogue twice and the first submission has yet to be approved
|