Submit Invoice/Credit Note Introduction
To submit an Invoice or Credit Note for a Job, click the Invoices tab and select either the “Submit Invoice” option or "Submit Credit Note" option accordingly.
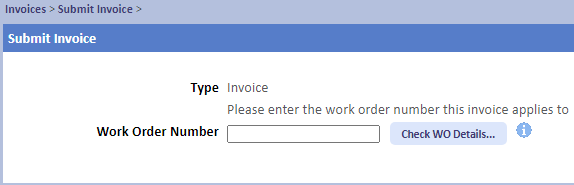
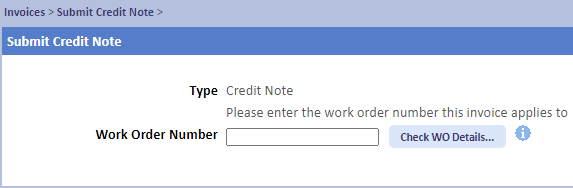
1. Upon clicking the "Submit Invoice" option or "Submit Credit Note" option, the Submit Invoice or Submit Credit Note screen appears. Enter the Work Order number and click the "Check WO Details..." button. This will check to make sure the job is at the right state before the Invoice is added to it.
Submit Invoice Screen
Submit Invoice Screen
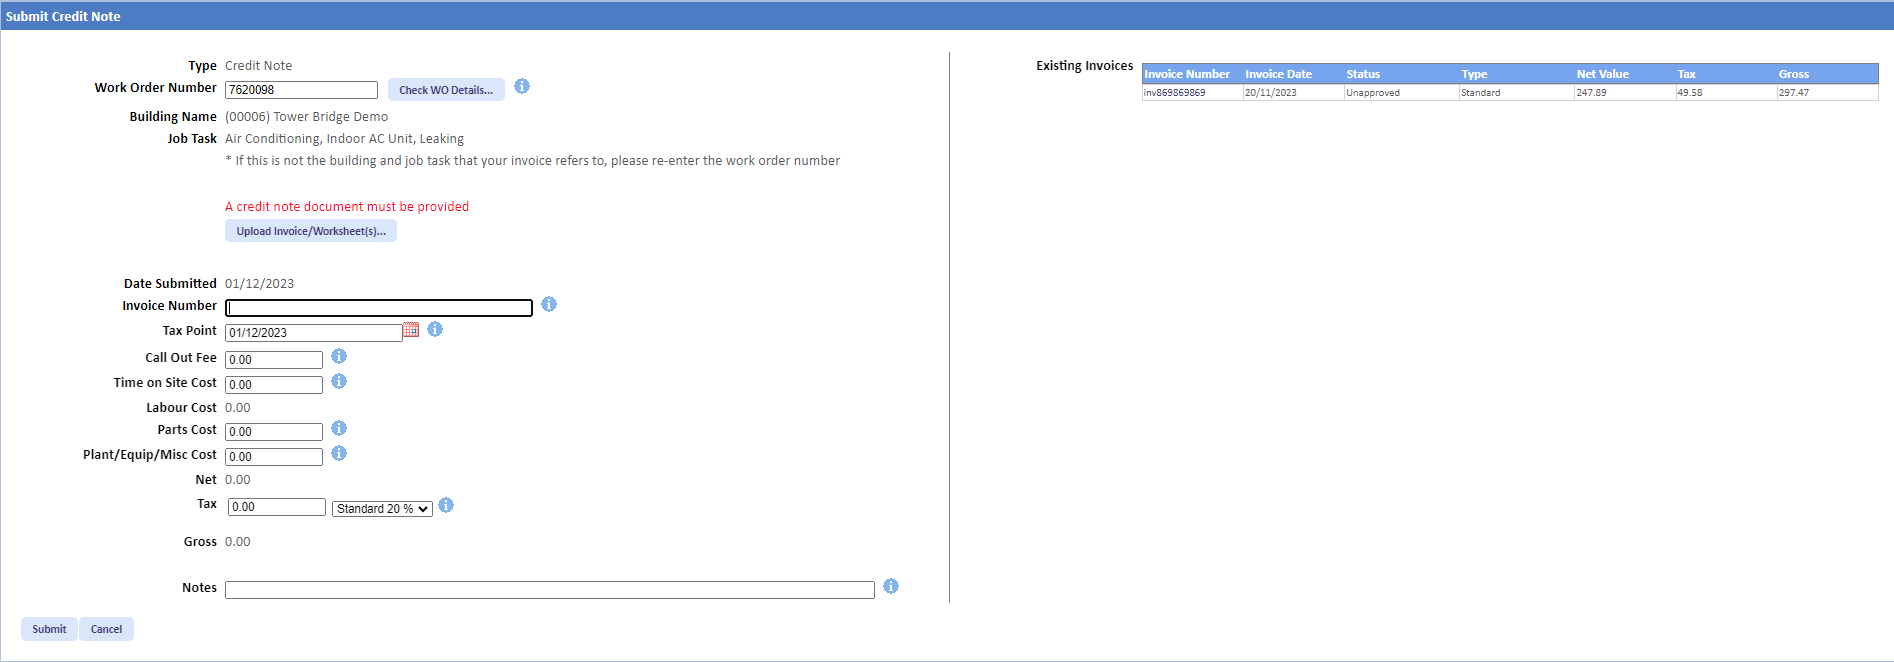
Submit Credit Note Screen (works in the same way as the Submit Invoice Screen)
Note: If the job entered cannot be invoiced then a message will appear stating why it cannot be invoiced, such as the job being at an incomplete state. There is a Client Setting available, that restricts the submission of invoices only against Work Orders at a status of 5.x1 or 5.x2.
2. If the job entered can be invoiced then the Building Name, the Job Task and the "Upload Invoice/Worksheet(s)..." button will be displayed. A copy of the Invoice and the Worksheet must be present to be able to submit the Invoice. Clicking the "Upload Invoice/Worksheet(s)..." button will display the Upload File screen which requires the entry of a Name, Type (which can be either "Invoice", "Worksheet" or "Invoice & Worksheet") and the file that needs to be uploaded. Selecting "Invoice" or "Worksheet" require two file uploads whereas if the file type is "Invoice & Worksheet", only the one file is required. Once the document has been selected, click "Upload" to upload the document. Once the relevant documents have been uploaded, the rest of the Invoice/Credit Note details need to be entered. These include the Invoice Number (up to 30 characters), the Tax Point and the Fixed Cost of the Invoice.
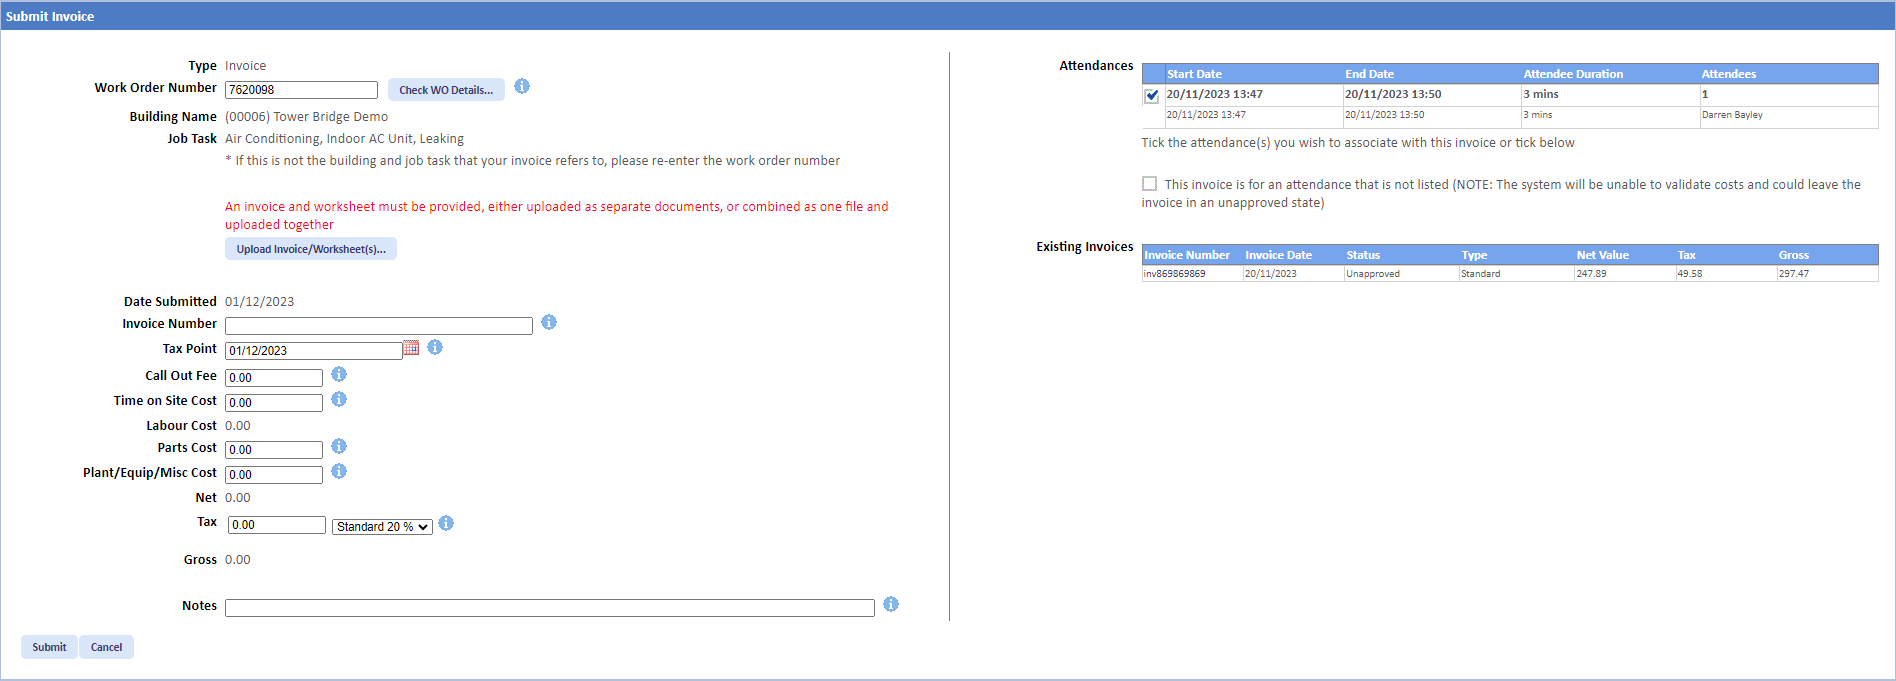
Note: The above screen is shown for Reactive Jobs and Quote Jobs that are CIS. For regular Quotes and PPMs, the following screen is shown in which the User doesn't need to enter labour and parts etc. but just the Fixed Cost of the job:
3. Once all these details have been entered, click the "Submit" button to submit the Invoice/Credit Note. Clicking "Cancel" will cancel the Invoice submission.
Note: If a Credit Note is being added then the Worksheet documents are not required.
Note: Once a document has been added, a table appears to show the document and the types of documents that have been added. Next to each document are two buttons: "Remove" and "Replace". "Remove" deletes the document whereas "Replace" allows the User to replace the existing document with a new one.
Note: Validation rules apply to the Cost fields on this screen. If the Costs entered are higher than the rates agreed, the system will warn the User with a message explaining where the issues are and will add these unapproved reasons to the Invoice if the User continues with the submission.
The unapproved reasons that occur during the Invoice upload process are as follows:
The unapproved reasons that occur during the Invoice upload process are as follows:
- Rates Query
- Call out fee Query
- Time on site cost Query
- Total Cost Query
- Parts Cost Query
- Plant/Equip/Misc Cost Query
- Comprehensive Contract
- Work Order not at status Complete
- Call-out fee Query
- Asset in under Warranty
- Cost exceeds contract agreement
- Invoice varies to the pre-agreed cost
- Awaiting Certificate(s)
- Awaiting RFI
- Awaiting Meter Reading(s)
- Same day visit - not expecting attendance cost (the system checks Mobile Device IDs to ensure that true same day visit is captured if the same engineer's Mobile Device is used on the same site on the same day)
- Duration on site greater than one working day
- Work Order in Authorisation
- Verification Fail
4. After the Invoice/Credit Note is submitted, it will appear in the Unapproved Electronic Invoices screen along with any other Invoices/Credit Notes that the User has submitted and are currently awaiting review.
To submit further Invoices/Credit Notes, either click the "Submit Invoice" or "Submit Credit Note" options under the Invoices tab or click the "Submit Invoice..." or "Submit Credit Note..." buttons that appears under the Actions menu.
Note: In cases where Resources belong to a Resource Grouping and Invoice Instructions have been set up, a pop-up will be displayed with some instructions informing the User in what their next steps are. Click "OK" once ready. This will display when the Invoice is submitted and each time it is edited by the User.