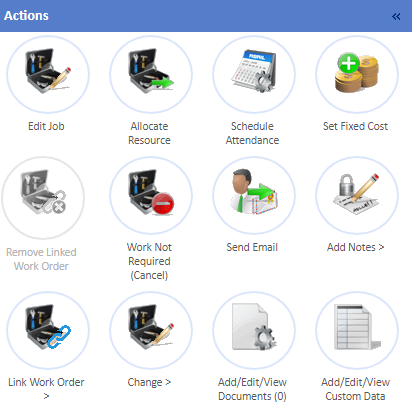
Allocating a Resource
Resources or other Users may require the ability to allocate a job to one of their branches or to a specific contractor. This can be done using the "Allocate Resource" button.
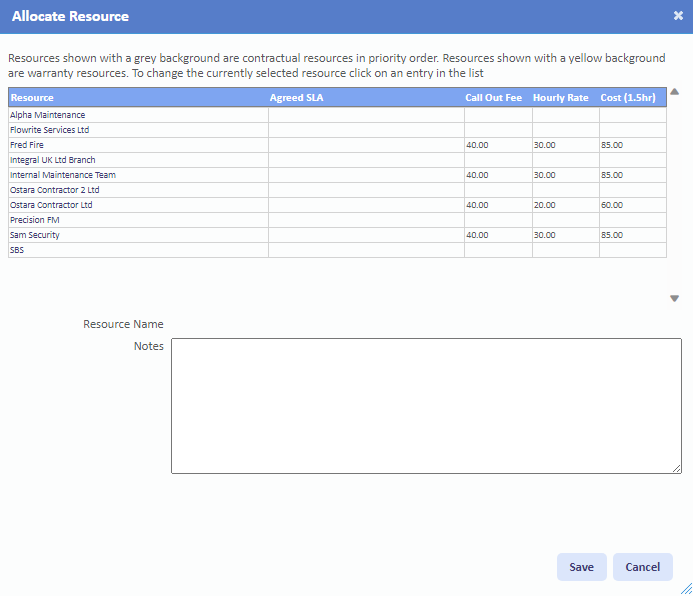
1. On the Job Detail screen, select the "Allocate Resource" button to display the Allocate Resource pop up.
2. This list displays the available Resources in one of three ways:
· In grey - these are Resources with a Contractual Agreement for the type of work and Building. These will also have a Date and Time in the Agreed SLA column
· In white - these are Resources that can do the job but have no Contractual Agreement
· In yellow - these are Resources that have a Warranty Agreement with any Assets on the job
Choose the desired Resource either from the list Resources and it will be displayed in the Resource Name field. Add in some information to the "Notes" field if applicable. Once all the necessary information has been entered, click “Save” to perform the allocation.
3. Once the job has been allocated, the Work Order details are updated with the new Resource along with the Events Log being updated with the action. Depending on the type of job the action is performed on, the following will happen:
· For a Reactive, the job returns to a status of Pending Acceptance and will need to be accepted by the Resource
· For a Quote, the job will go back into Authorisation and once authorised it will be assigned to the allocated Resource
· For a PPM, the job will act differently depending on the settings of the Contract. This determines whether the job is set to Pending Attendance, Pending Acceptance or Pending Assign