Add/Edit/View Documents
In some cases, Users may have documents/images that relate to a job in which they need to add to a job so that other Users can access them. This can be done using the "Add/Edit/View Documents" button.
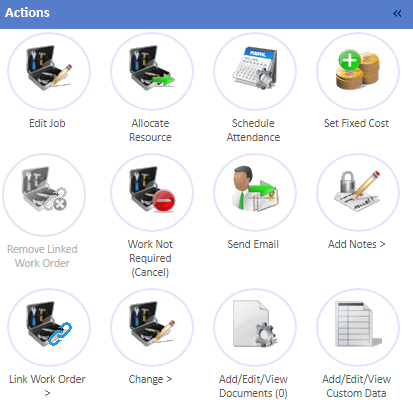
1. On the Job Detail screen, select the "Add/Edit/View Documents" button to display the Documents List screen.
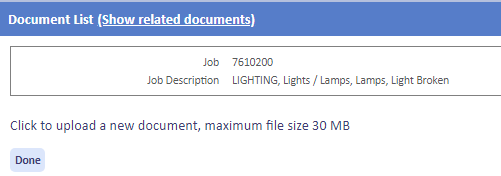
2. This screen will display all documents that relate/have been uploaded to the job (excluding certificates), if there are any as well as the Job number and Description. Click the "Click to upload a new document, maximum file size 30 MB" button to upload a document.
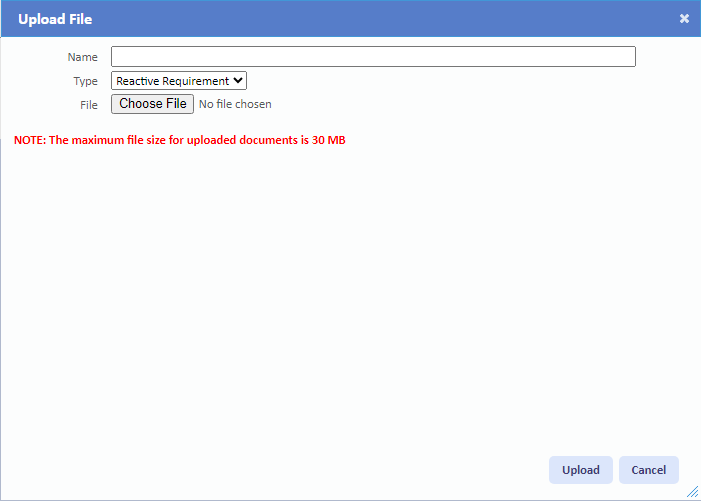
3. Once the "Upload File" pop up is shown, give a description of the document being uploaded. Also, provide the "Type" of the document. The "Type" determines what the document is and selecting different types will display different fields to fill in. For example, as shown below a "Reactive Requirement" document only requires a description. Selecting "Risk Assessment" will require "Valid From" and "Valid To" dates where as selecting an "Image" requires the User to determine whether the Image is "Pre" or "Post" the fault and when it was taken.
Once the above has been filled in, select the file to upload by clicking the "Browse" button and locating the file.
4. After the document is uploaded. the Document List is updated with the new document. When a document has been uploaded, the folder structure will appear on the left. This separates all files by their types to allow for easy navigation to find the relevant file.
Click "Done" to return.