Set Stock
To set the Stock Level at a particular Stock Location on the Inventory Item, select the "Set Stock" button when the Inventory Item is open.
1. Upon selecting the "Set Stock" button, the Set Stock screen is shown. From here the User selects the Building and the Location that requires the Stock Level setting from the respective fields. Upon selecting a Location, the current Stock Level at that Location is shown in the Stock Level field (which is read-only).
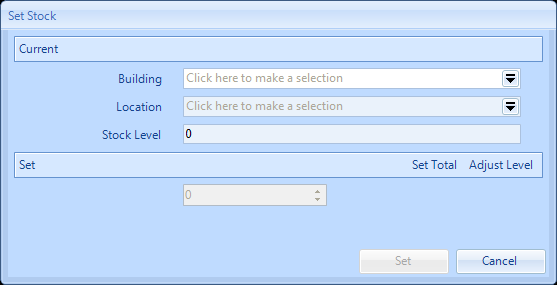
Note: Only Buildings where Stock Locations exist are shown in the Building drop down and the Location drop down is populated with Locations that exist only at the selected Building.
2. The User has two choices after selecting the Location: they can use either the "Set Total" action or the "Adjust Level" action. "Set Total" allows the User to set the overall total Stock Level at this Location with the value entered whereas "Adjust Level" allows the User to adjust the current Stock Level by the value entered.
3. Once entered, click "Set" to save the changes made.
Note: If a Building and Location is selected that currently isn't associated to the Inventory Item then setting the Stock Level here will automatically add the Stock Location to the Inventory Item.