Viewing/Editing an Inventory Item Introduction
Once a Part is created that has a Usage of "Inventory", an Inventory Item is created. Inventory Items associate to a specific Part and can consist of one or more Stock Locations. Each Inventory Item also contains the quantity of the Parts in stock as well as the average cost of buying the Part. Inventory Items are created by setting the Usage of a Part to Inventory, upon the creation/amendment of the Part. However, an Inventory Item still requires extra information once it is created and this can be done by clicking the "Inventory Search" button.
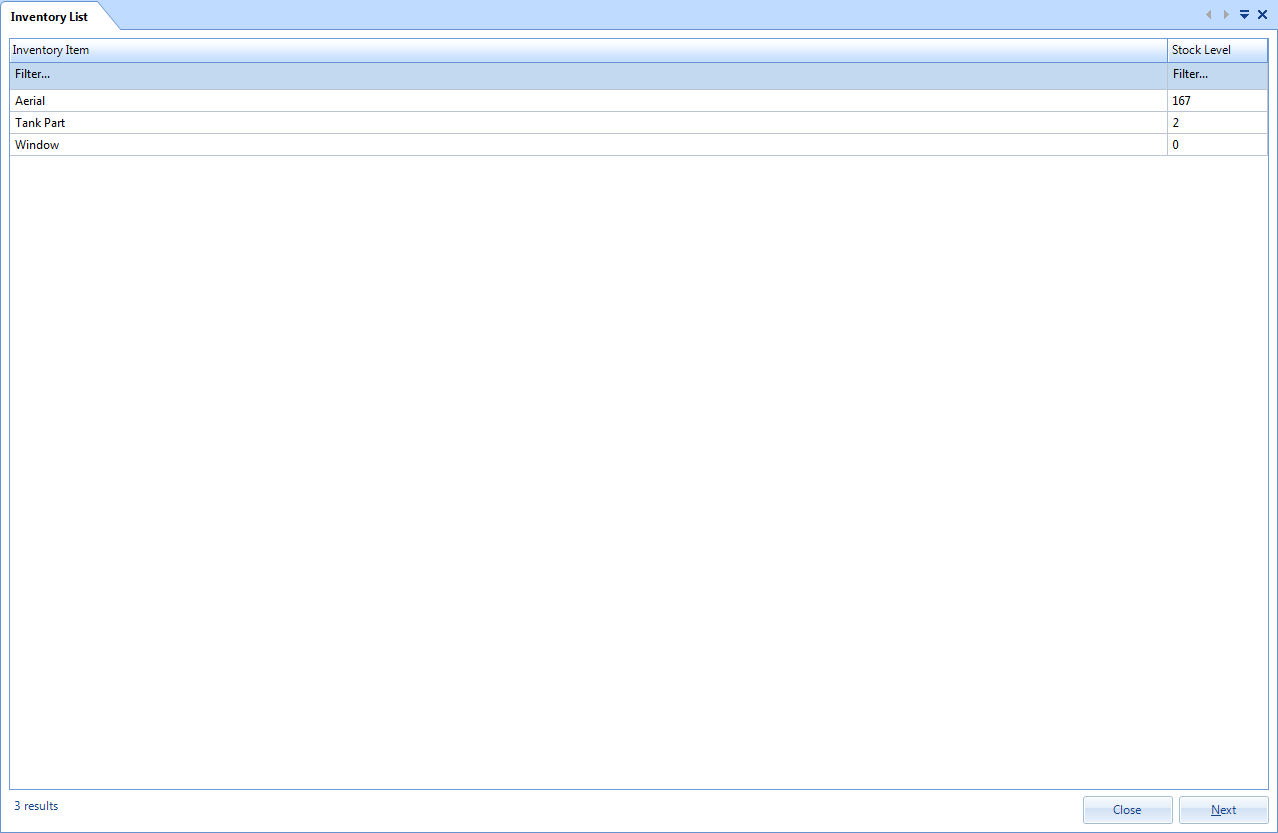
1. Upon clicking the "Inventory Search" button, the Inventory List is displayed. This contains all the Inventory Items entered in the system for all Clients. To open an Inventory Item, double-click it or highlight it and click "Next".
2. This displays the Inventory Item Detail screen. From here, further details regarding the Inventory Item can be entered. Each field is explained below:
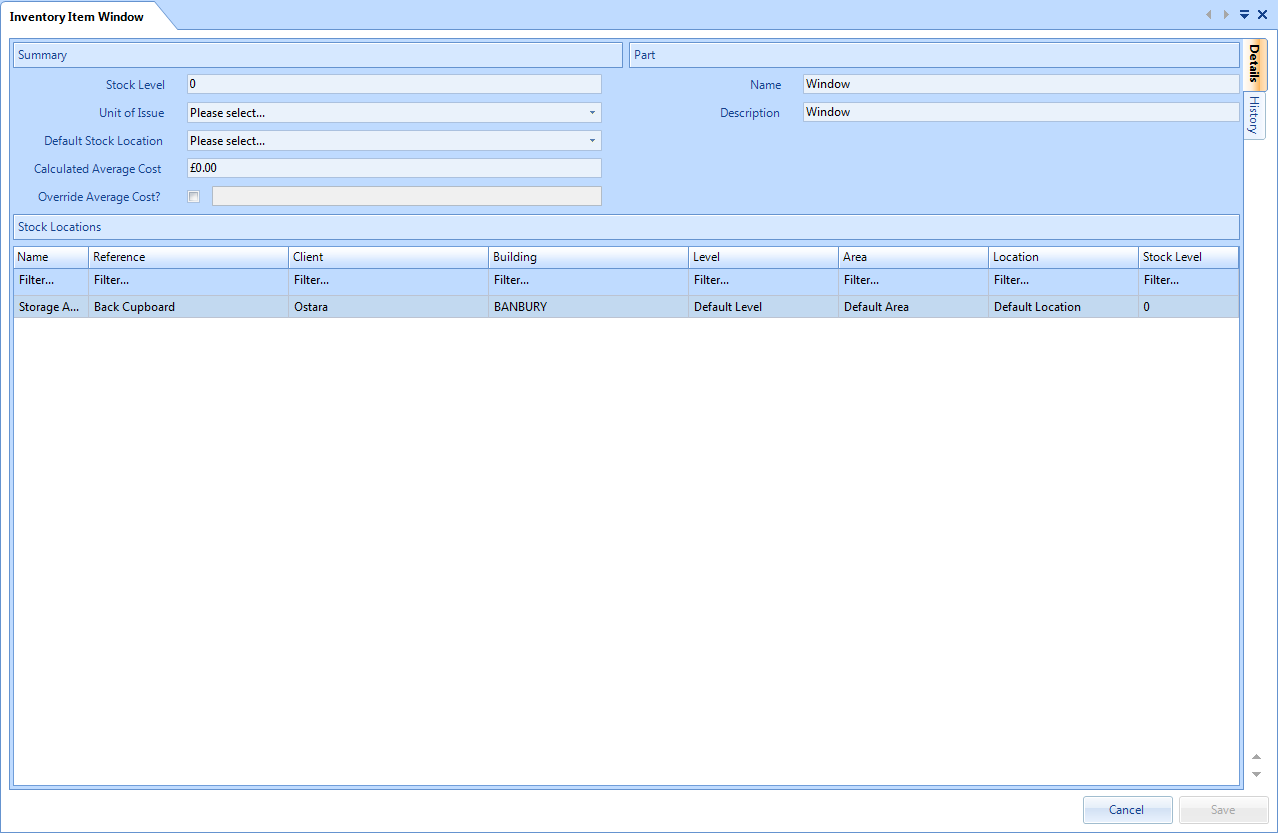
Stock Location is a numeric, read-only field that contains the total stock of the Inventory Item. This is a sum of all stock at all Stock Locations
Unit of Issue is a drop down field in which the unit the Inventory Item is issued out as is selected
Default Stock Location is a drop down field where the User determines the default Stock Location for the Inventory Item
Calculated Average Cost is a currency, read-only field in which the average cost of the Inventory Item is calculated. This is calculated from the receipted items on the associated Purchase Orders
Override Average Cost? is two fields: a tick box and a currency field. Ticking the tick box enables the currency field where the User can enter a cost that overrides the average cost
Name is a read-only field where the name of the Part, that is associated to the Inventory Item, is displayed
Description is a read-only field where the description of the Part, that is associated to the Inventory Item, is displayed
Stock Locations is a list which shows all Stock Locations associated to the Inventory Item
3. Once all details have been entered, click "Save" to save the changes made.