Internal Resources
To view/edit an Internal Resource, click "Resource List" and open a Resource that says "Internal" in the Resource Type column by either double clicking it or selecting the Resource and clicking "Next".
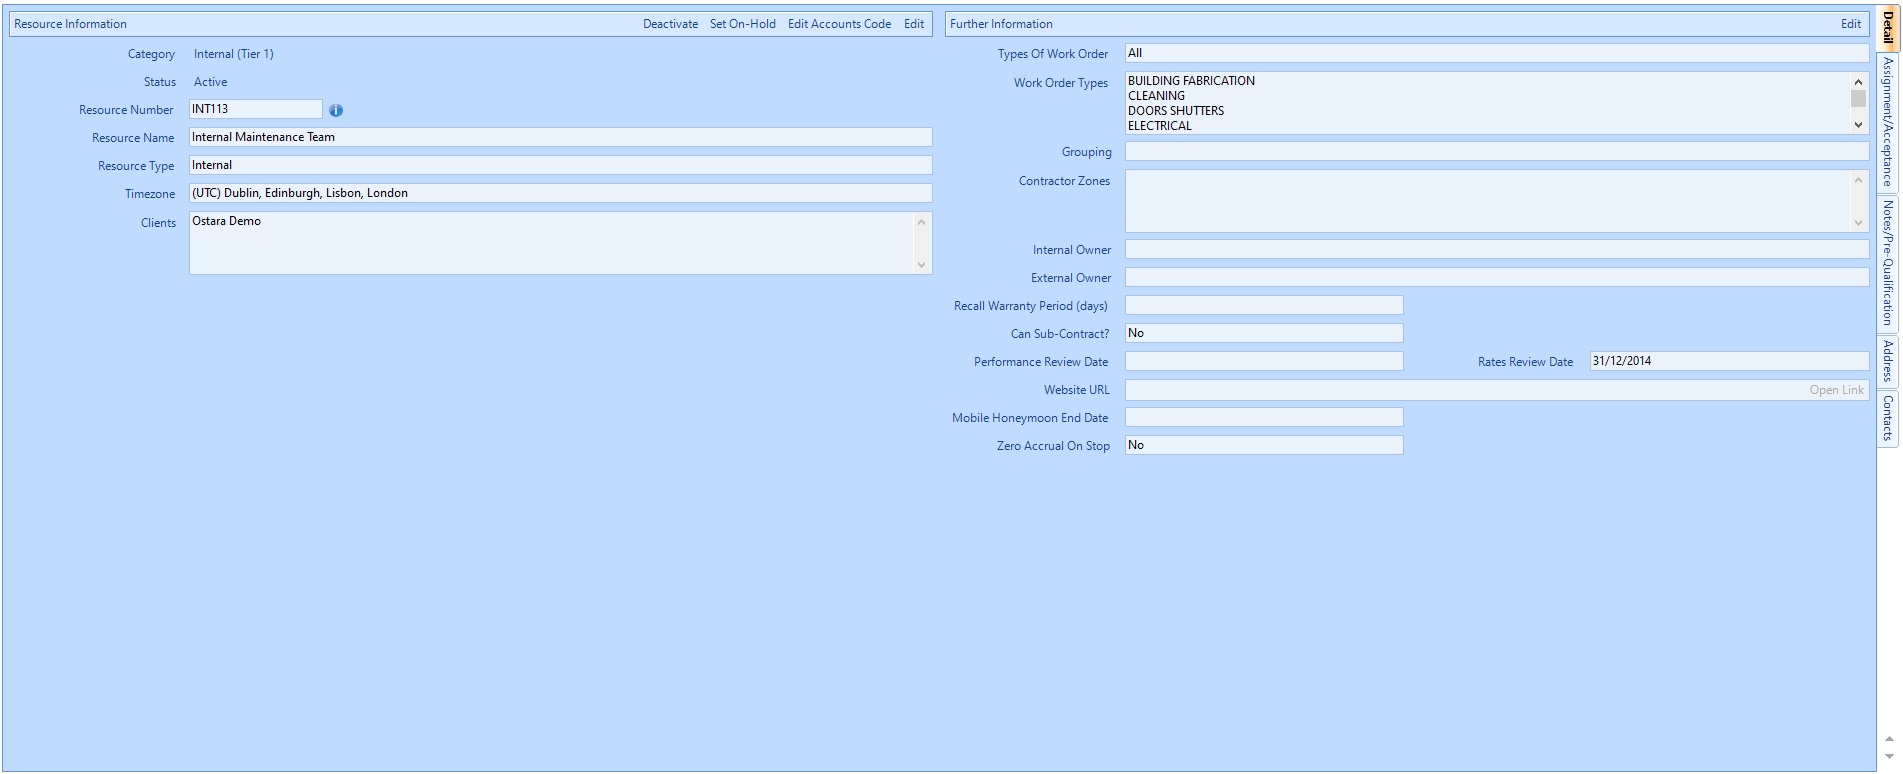
- This is the Internal Resource - Detail Tab. All the different information concerning the Resource is displayed here such as the Resource Name, the Clients the Resource performs work for and the Work Order Types the Resource does work for. The status of the Resource is displayed at the top alongside the Name of the Resource. It is possible to edit all fields within this screen apart from the Resource Number field as this is system generated. Click "Next" to proceed.
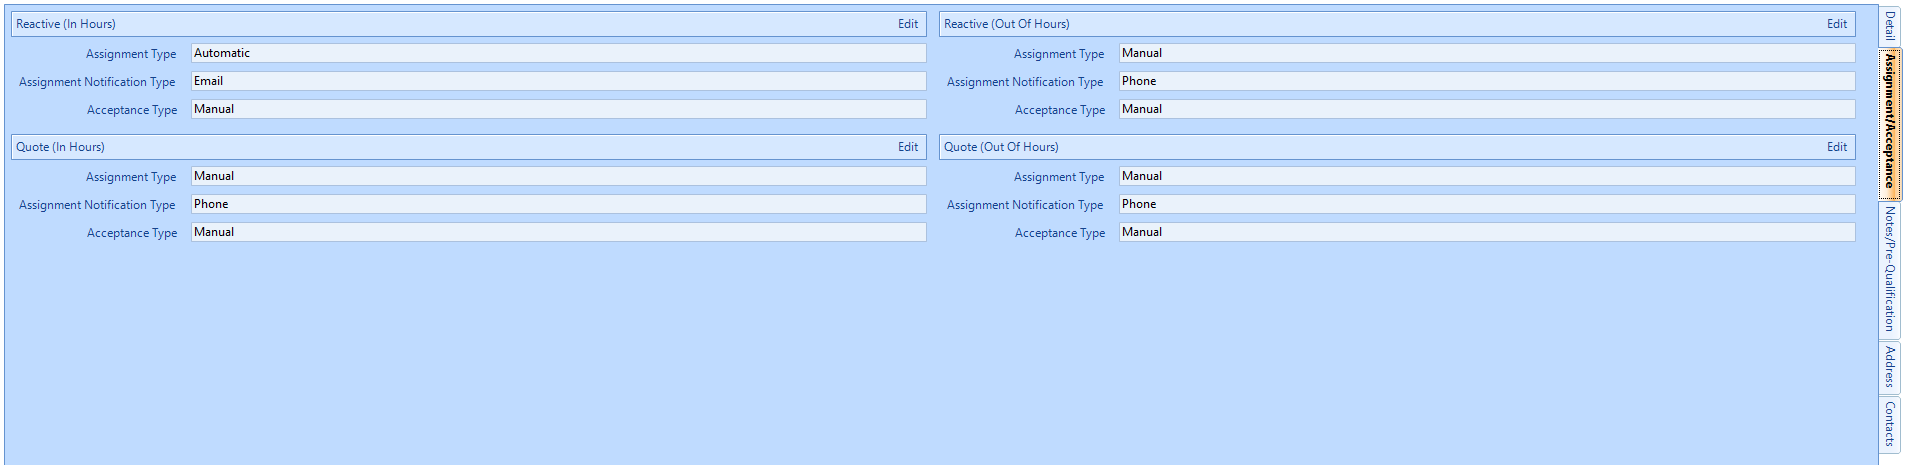
- The next tab is the "Assignment/Acceptance" Tab. From here you can set the automations of Assignment and Acceptance for the Resource. Defaults are set to Automatically Assign, and Automatically Accept, with an automated Email as the notification on assignment, but these defaults can be changed as below:
- The next tab is the Notes/Pre-Qualification screen:

- The next tab is the Address Tab. Here, it is possible to see the different addresses that have been recorded for the Resource. To switch between addresses, click the Address Type drop down and select one of the option from the list. These options will be "Primary", "Invoice" and "Helpdesk". All of these addresses can be modified in this screen if needed. Click "Next" to proceed.
- The last tab displays the Resource Contacts. A list of all the contacts that are associated to the Resource can be seen and opened to view them in more detail from this page. Each contact will be shown with a Contact Name, Job Title, Type, the state the contact is in at present (Active or Inactive) and the Login Type of the contact. Editing Resource Contacts must be carried out via the People List function in Core Data rather than directly against the Resource record.
When ready, click "Close" to close the Resource page.