Document Types

1. The first step is to select the area that the Document Types apply to: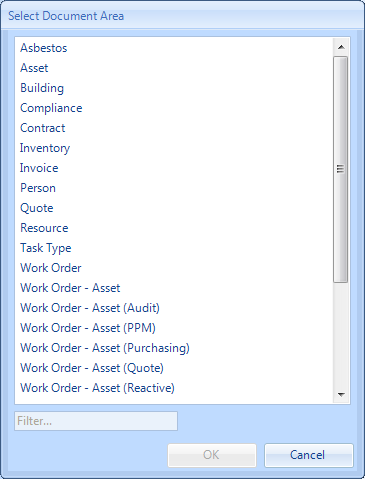
2. This is the Document Types screen. It is possible to tick and un-tick the desired Document Types that should be available depending on which types you want available throughout the system. As with many other parts of the application, there is the ability to add items and edit items within the list using the "Add" and "Edit" buttons.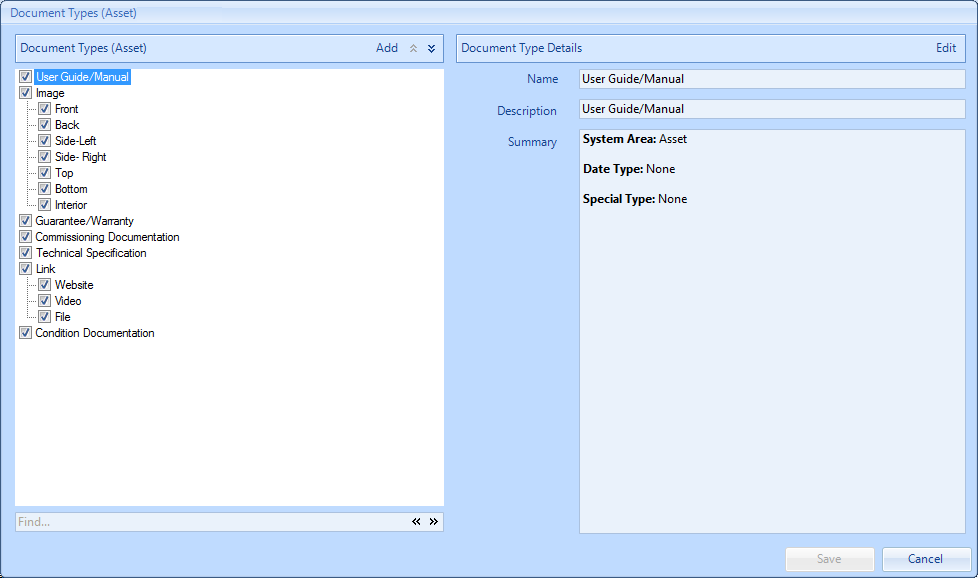
3. Click on “Add” to add a new Document Type or Sub Type:
4. If a Document Type is being added, the “Add Document Type” screen will appear. Provide the “Name” and “Description” of the new Type as well its “Date Type” (whether this Document Type should have a date range, an exact date or no dates associated to it), “Special Type” (whether this is an Image, Link, or part of a group of Document Types - such as Invoice & Worksheet) and the "Profiles" this Document Type is available to (clicking this field will display the Profiles screen in which the User ticks the relevant Profiles and clicks "OK"). Click on “OK” to commit the information.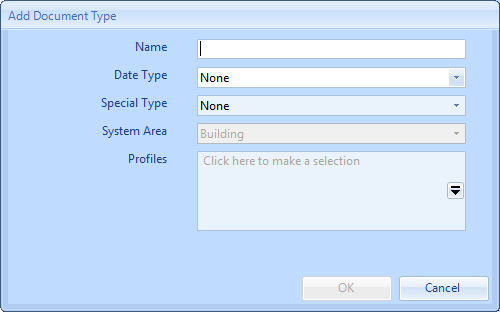
5. If a Sub Type is being added, the Name and Description can be set, but the remainder of fields will be inherited from the Document Type.
6. Items in the list can also be edited. The Edit screens work in the same way as the Add screens and require all the necessary information for the different items.
7. Once all the changes have been made, click “Save” to apply them.
Note: Access to these Document Types can be controlled by Profiles - so that specific Users only have access to particular Document Types.