Copy Client
The Copy Client function allows you to create a new Client from an existing Client (referred to as the Reference Client). To copy a Client click the “Copy Client” button in the menu.
Note: Copying a Client does not automatically assign all Resources & Manufacturers from the copied Client to the new Client.
1.Clicking the "Copy Client" button will display the following screen:
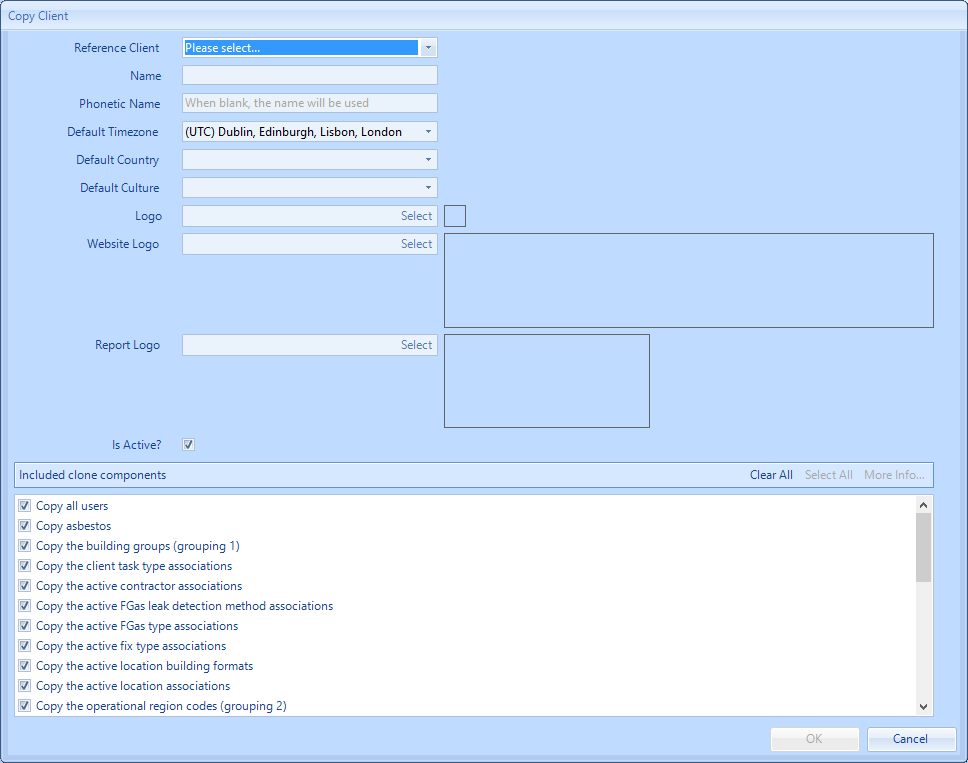
Here, the following information can entered:
- From the Reference Client drop down menu, once clicked, a list of the Clients the User has access to can be seen. A Client can be selected from the list that the User wishes to use as the basis for the new Client.
- The name of the Client being created and well the Phonetic Name.
- The default Timesone, Country and Culture
- By pressing the "Select" button, the Logo that is to be used for the new Client can be uploaded. The Logo should be a maximum size of 22 x 22 pixels and should be of JPG format. This logo appears on the Helpdesk Work Page.
- By pressing the "Select" button, the Website Logo that is to be used for the new Client can be uploaded. The Website Logo should be a maximum size of 276 x 95 pixels and should be of JPG format. This Logo is seen on the Web Portal.
- By pressing the "Select" button, the Report Logo that is to be used for the new Client can be uploaded. The Report Logo should be a maximum size of 206 x 94 pixels and should be of JPG format. This Logo is seen when running Client Reports.
- When copying a Client, the User has the choice to copy certain components from the Client that is being copied, so that they are present in the new Client. By default, all components are ticked but these can be configured so that only certain components are selected. All components can be removed by clicking the "Clear All" button and all components can be added by clicking the "Select All" button.
2. Once the changes have been made, click "OK" to save them.