Bulk PPM Building Upload
This action allows the user to bulk add a number of Buildings, update Invoice values and change Visit Start and End Dates on PPMs using a spread sheet. This action can also be used on Contracts that have expired but ONLY the Invoice Values of Buildings can be modified in this way.
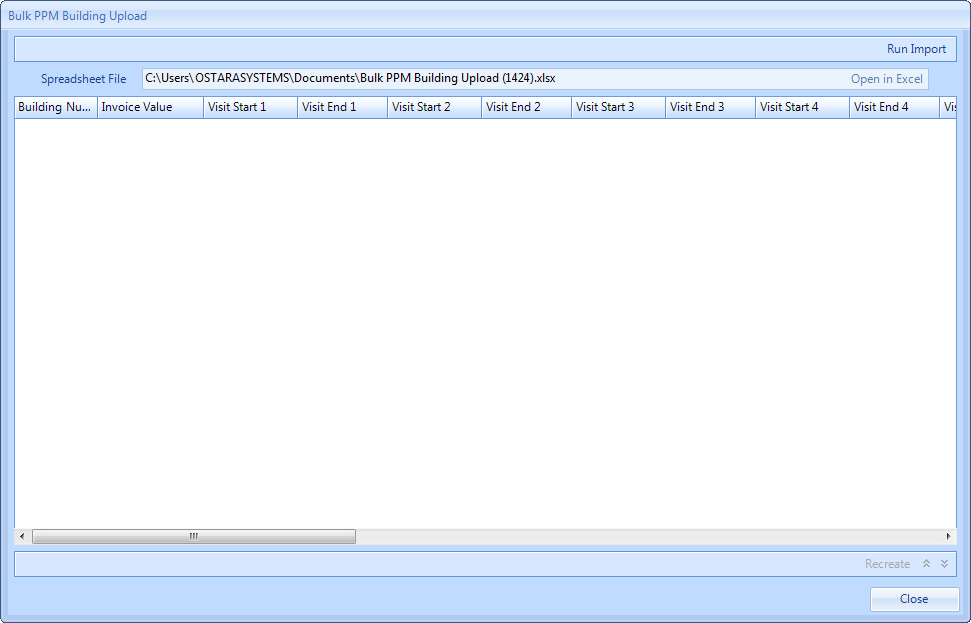
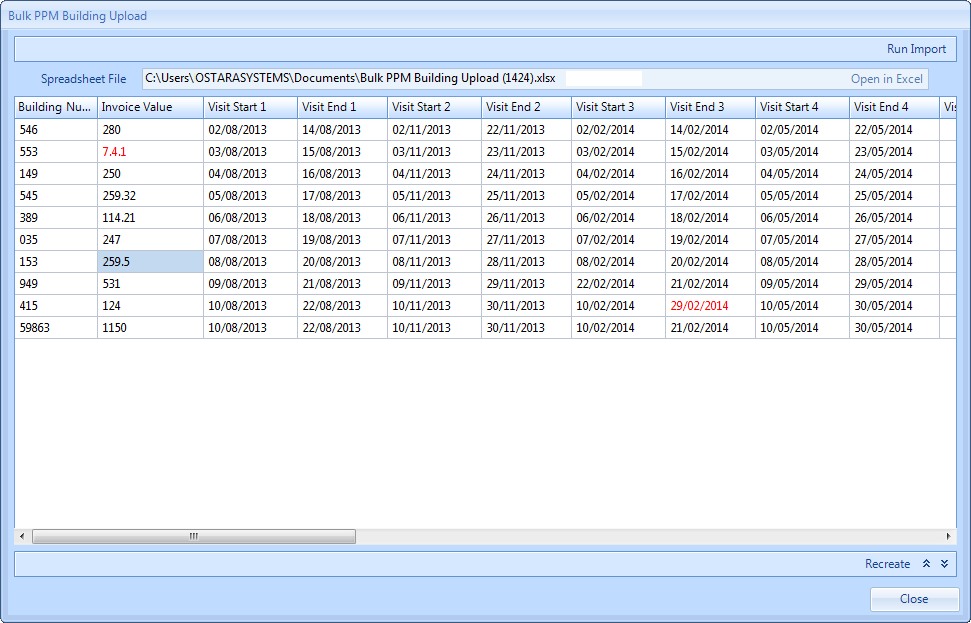
1. By clicking Edit Actions -> Bulk PPM Building Upload this window will open:
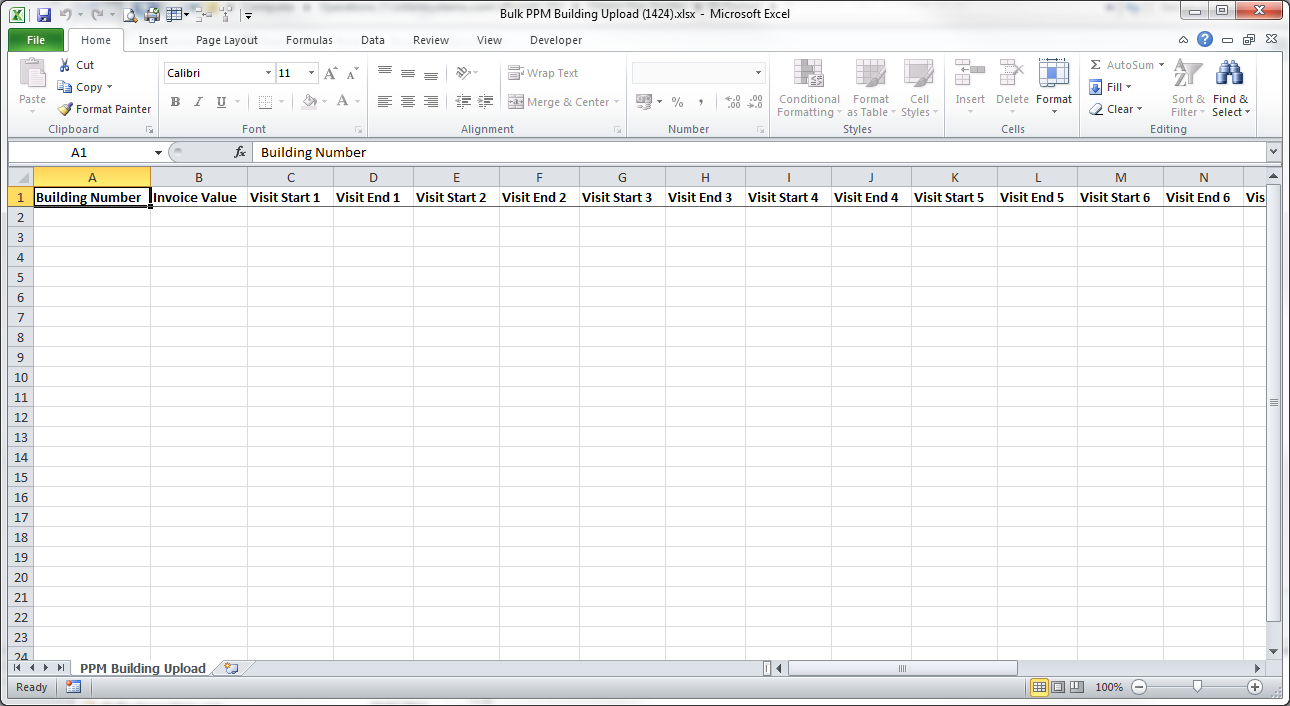
2. The following Excel spreadsheet will open simultaneously:
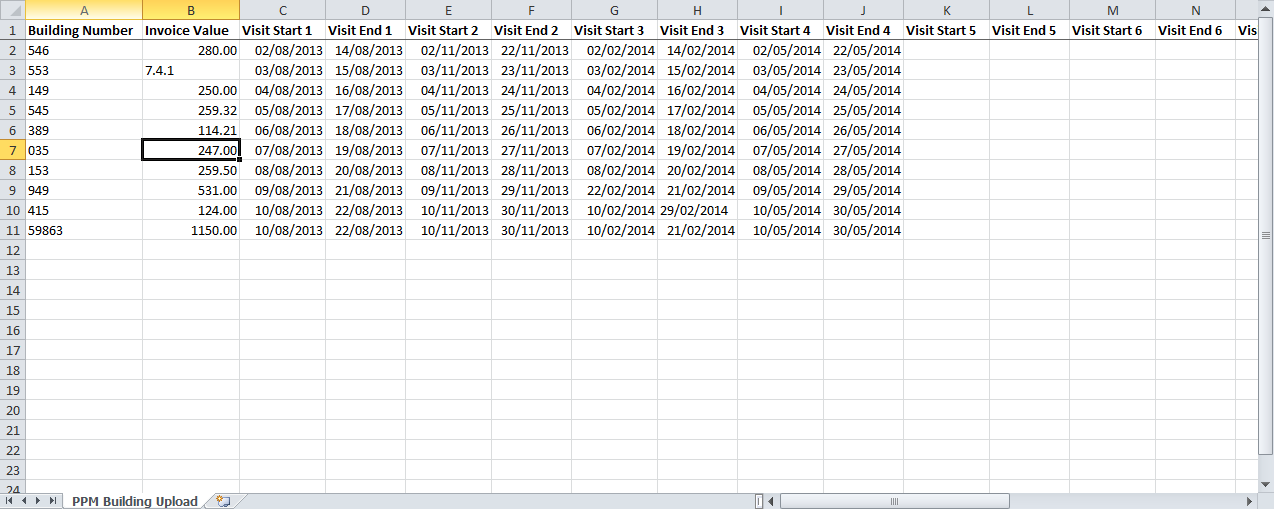
3. From here the User can update/add buildings, invoice values and visit dates. Once this information has been added to the spreadsheet click on the Save button in Excel.

Note: This will match the Visit Start and Visit End dates to the correct period and update accordingly. This means that the Visit Start and Visit End dates must both be contained within the financial dates for a given period.
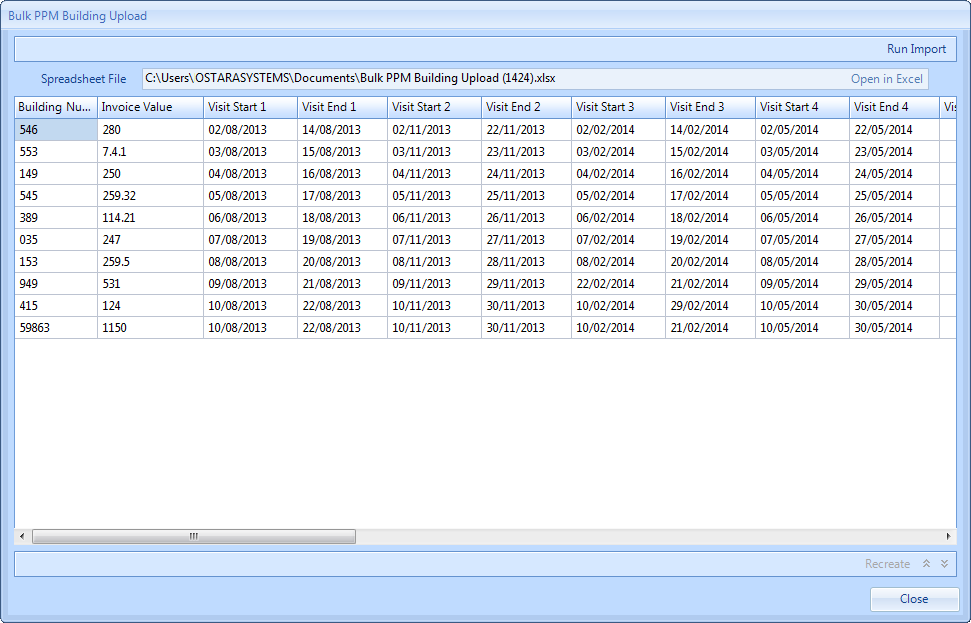
4. Upon clicking the save icon the screen within Ostara will be updated with the information entered in the spreadsheet.
5. If all the information is correct then click on Run Import. If, however, the user notices a mistake has been made, then it can simply be rectified in the spreadsheet and saved again. This will then update the above screen accordingly. Clicking on Run import will validate the data is correct. If the invoice values are in the wrong format or the dates are invalid the user will get the following message:
7. To correct these errors the User can either go back to the original spread sheet (if they still have it open), make the necessary amendments and click Save or click on the Recreate button. Clicking the Recreate button will open up the spread sheet so that any amendments can be made. Clicking on the save icon will apply those changes to the screen above where the user can then click on Run Import again.
8. If the data is now valid the following message will be shown:
9. Clicking on No will return the User to the previous screen. Clicking on Yes will present the User with the following message:
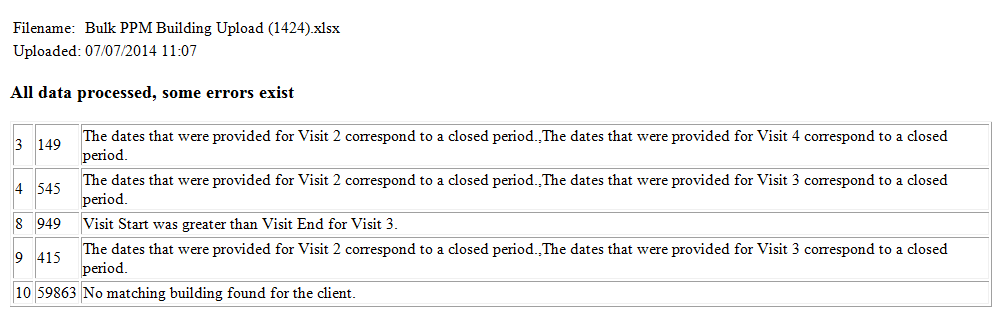
10. Clicking on OK will import the data in the background and send the User an email once complete. If the import was successful the email will state that "All data processed with success", giving the filename with a date a time for reference. If however, the import was unsuccessful in any way then the email will detail the errors with an explanation as to what the issue was, anything not detailed in the email will be updated in the contract accordingly:
Note: Since these actions are completed in the background, it will be necessary to refresh the Contract screen to see the changes once the email has been received.
12. Once the data has been amended, clicking the "Refresh" button in the PPM Tasks header will then update the Buildings section with the new changes.
