Client Selection
This is the Client Selection screen. This screen usually appears when the User accessing the data has permission to view multiple Clients. This appears when the User needs to access an element in the application or an element needs to be created that needs to be Client specific such as a Building or a Work Order. When this screen appears a list of all the Clients available, to the current User logged into the application, will be shown. Here is an example of the Client Selection screen:
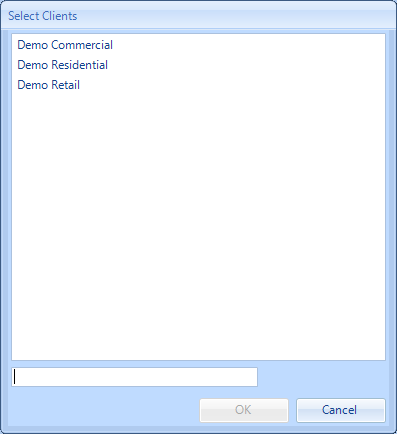
A Client from the list must be selected before the User can progress further. To do this, the User can either select a Client from the list and click the "OK" button or by double-clicking the a Client. The search for the Client can be reduced by using the Quick Search bar at the bottom. In here, the User can type the name or part of the name of the required Client and the system will automatically filter it down making it easier to find the desired Client.
If at any time the Client Selection screen is no longer needed, clicking the "Cancel" button will close the Client Selection screen and will return the User to where they were previously.
If at any time the Client Selection screen is no longer needed, clicking the "Cancel" button will close the Client Selection screen and will return the User to where they were previously.
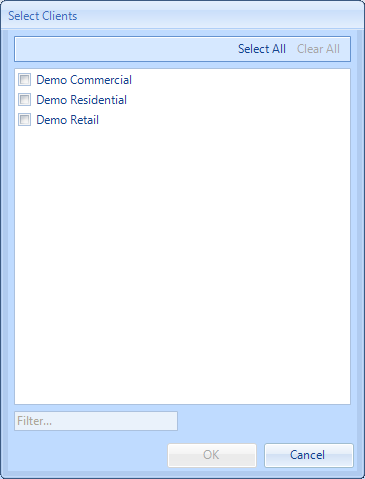
In some cases, such as during search screens, it is possible to select multiple Clients at once. In these cases a different variation of the Select Clients screen will be shown. In this variation it is possible to tick multiple Clients, click the "Select All" button to select all the Clients in the list or click the "Clear All" button to un-tick all the Clients in the list. The Quick Search, "OK" and "Cancel" buttons are also present on this variation. Here is an example: