Create Purchase Order Tab
Purchase Orders are created so Users can obtain any items necessary to them and the site they are located at. To create a Purchase Order click the "Create Job" tab, then the "Create Purchase Order" button and follow these steps:
1. Clicking the "Create Purchase Order" button will display the Create Purchase Order screen. Here, the User can search for the desired items and add them to their basket.
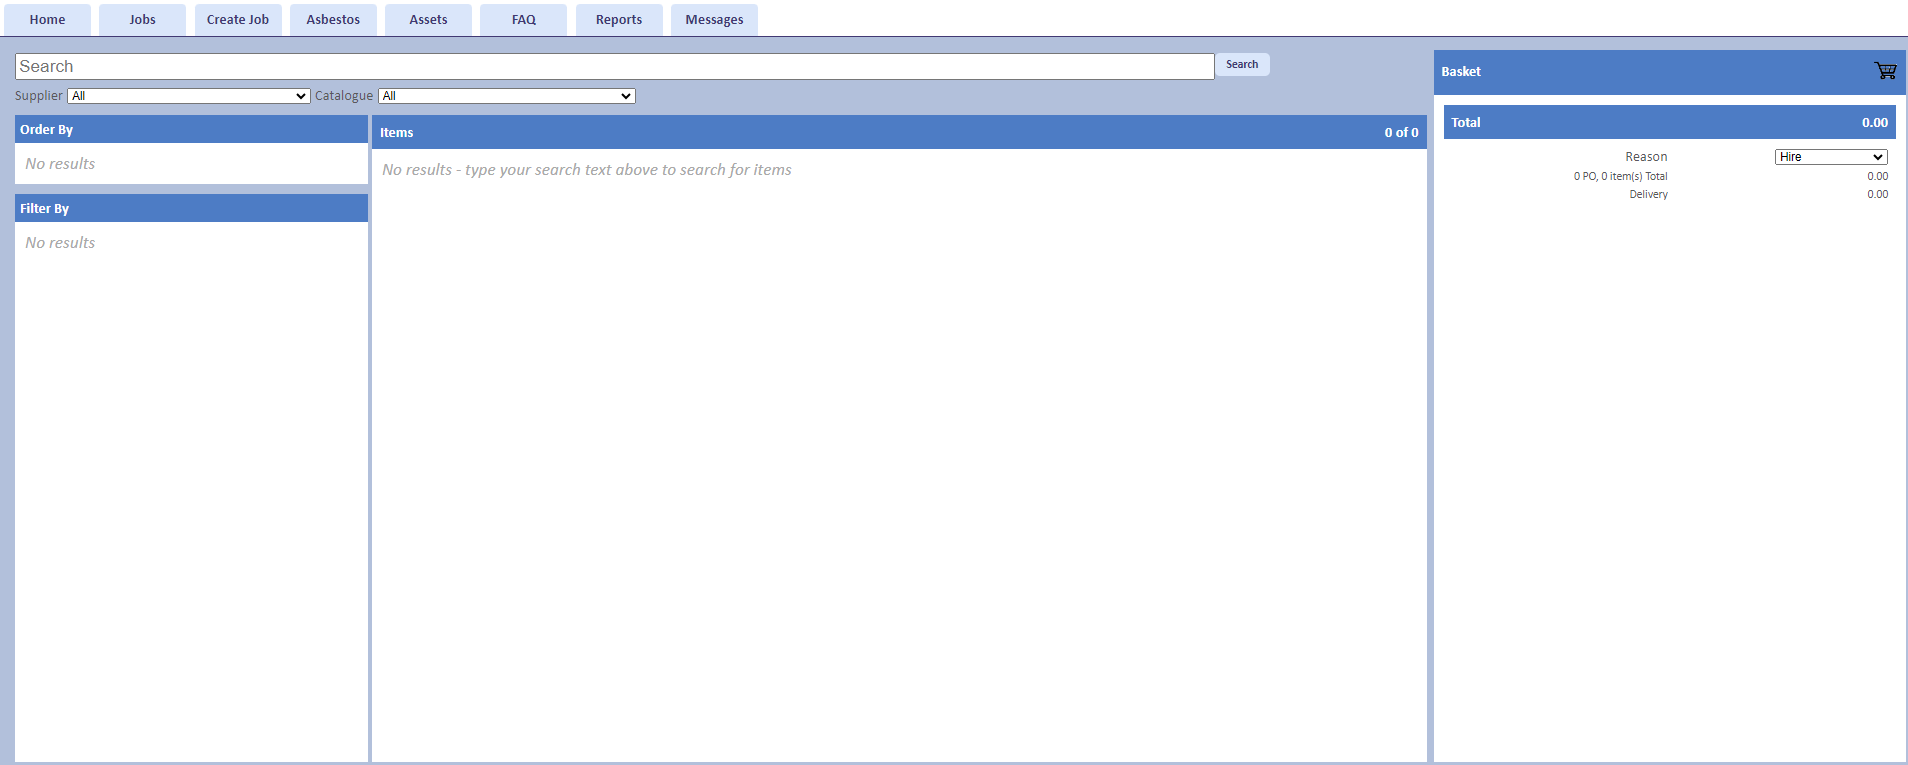
To search for items, enter the desired item into the "Search" field and click the "Search" button. This will bring back a list of all items related criteria entered in the "Search"
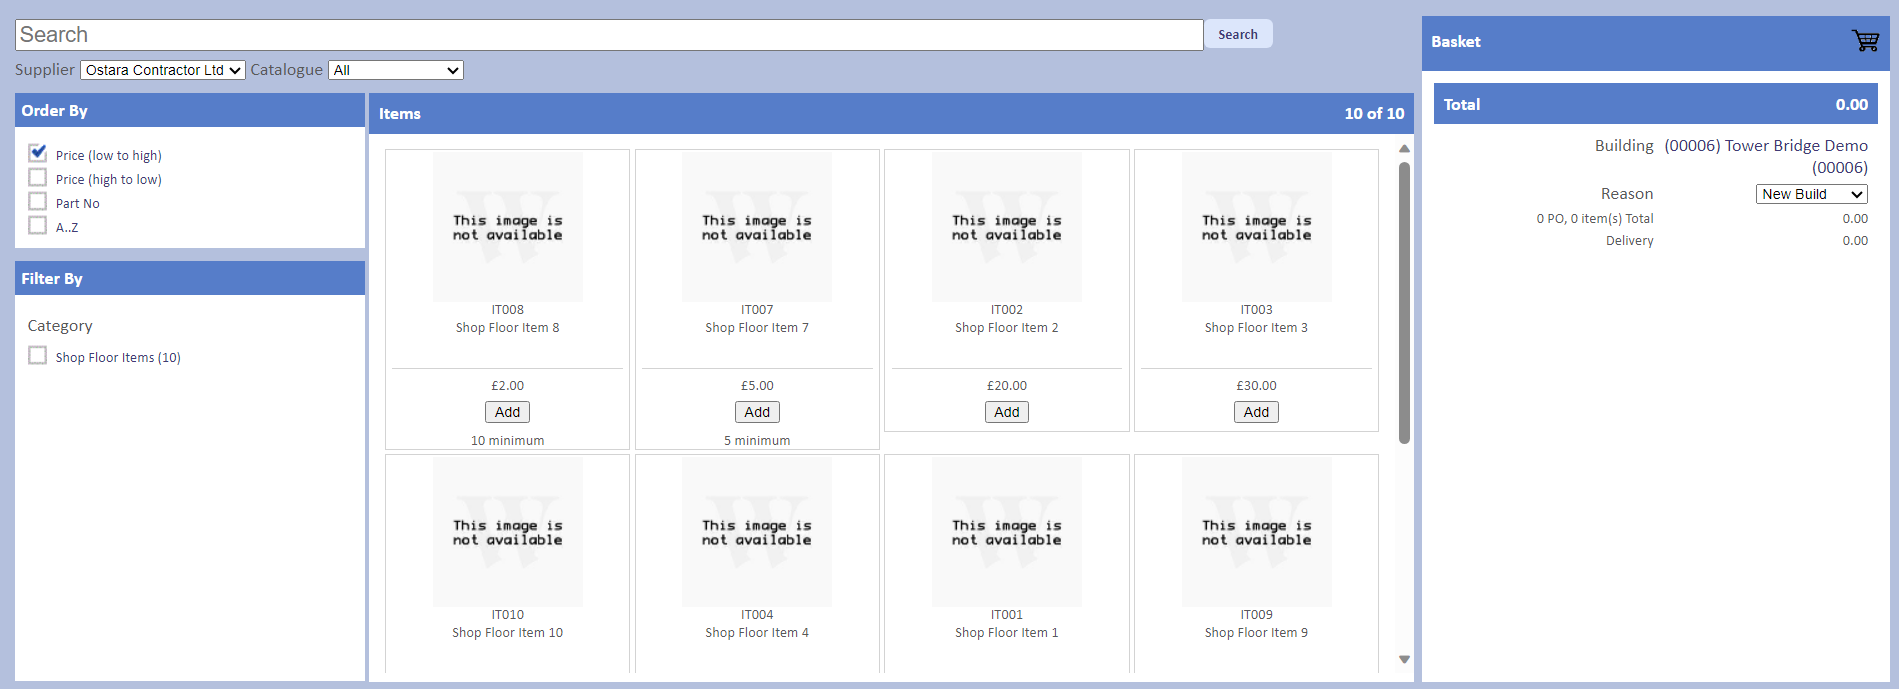
2. Once the results are shown, it is possible to add the desired items to the Basket. If the user is struggling to find the desired items, they can use a number different options to help narrow the results down:
- Using the filters on the left hand side
- Ordering the list using the options also on the left hand side
- Changing the Supplier from the "Supplier" drop down underneath the "Search" field (this only shows items for that Supplier)
- Changing the Catalogue from the "Catalogue" drop down also underneath the "Search" field (this only shows Catalogues for the selected Supplier and once one is chosen, it only shows items for that Catalogue)
Note: If the User wishes to see more items than the 20 items already displayed, they can click the "Show All" button to do this (will only be present if more than 20 items are brought back for a search).
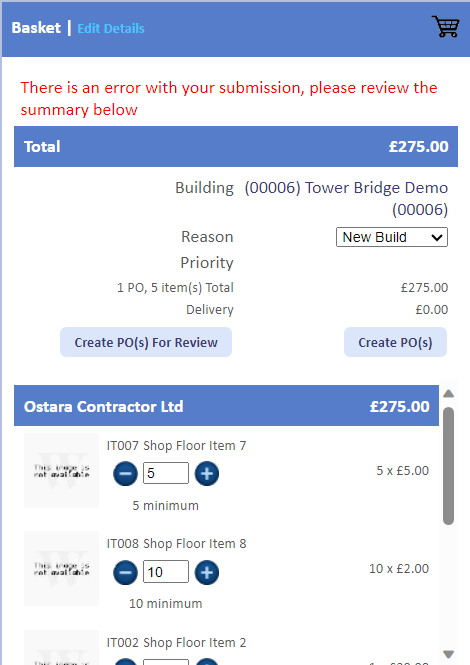
To add items to the Basket, click "Add" under the desired item. This will then display the item in the Basket section of the screen. Adding to the Basket also does a couple of updates: sets the Priority to default Delivery Priority of the Supplier of the selected item, the Edit Details action becomes available and the cost of the Purchase Order is updated.
To add items to the Basket, click "Add" under the desired item. This will then display the item in the Basket section of the screen. Adding to the Basket also does a couple of updates: sets the Priority to default Delivery Priority of the Supplier of the selected item, the Edit Details action becomes available and the cost of the Purchase Order is updated.
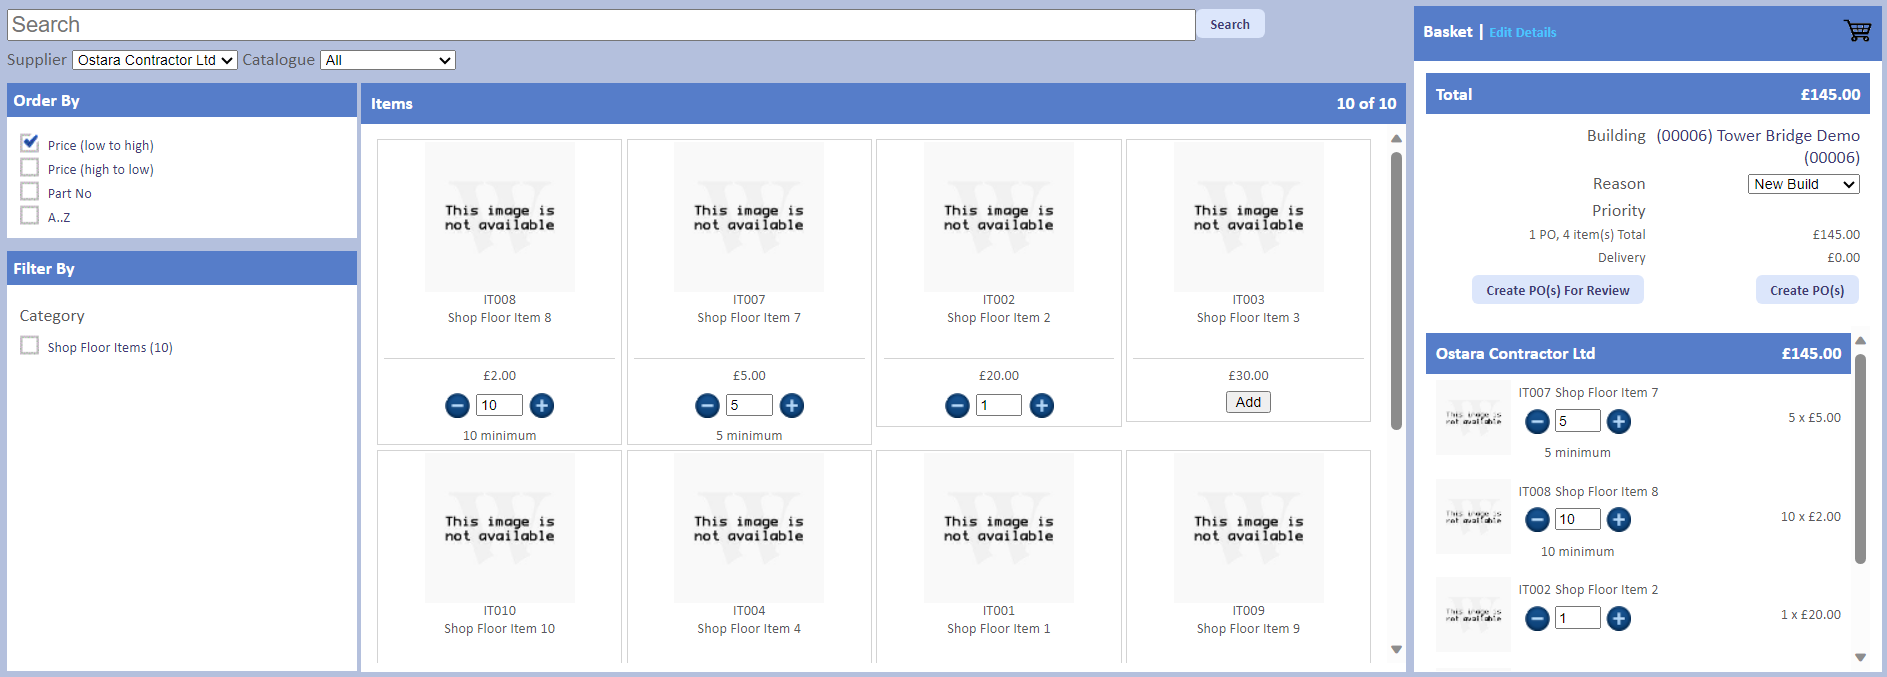
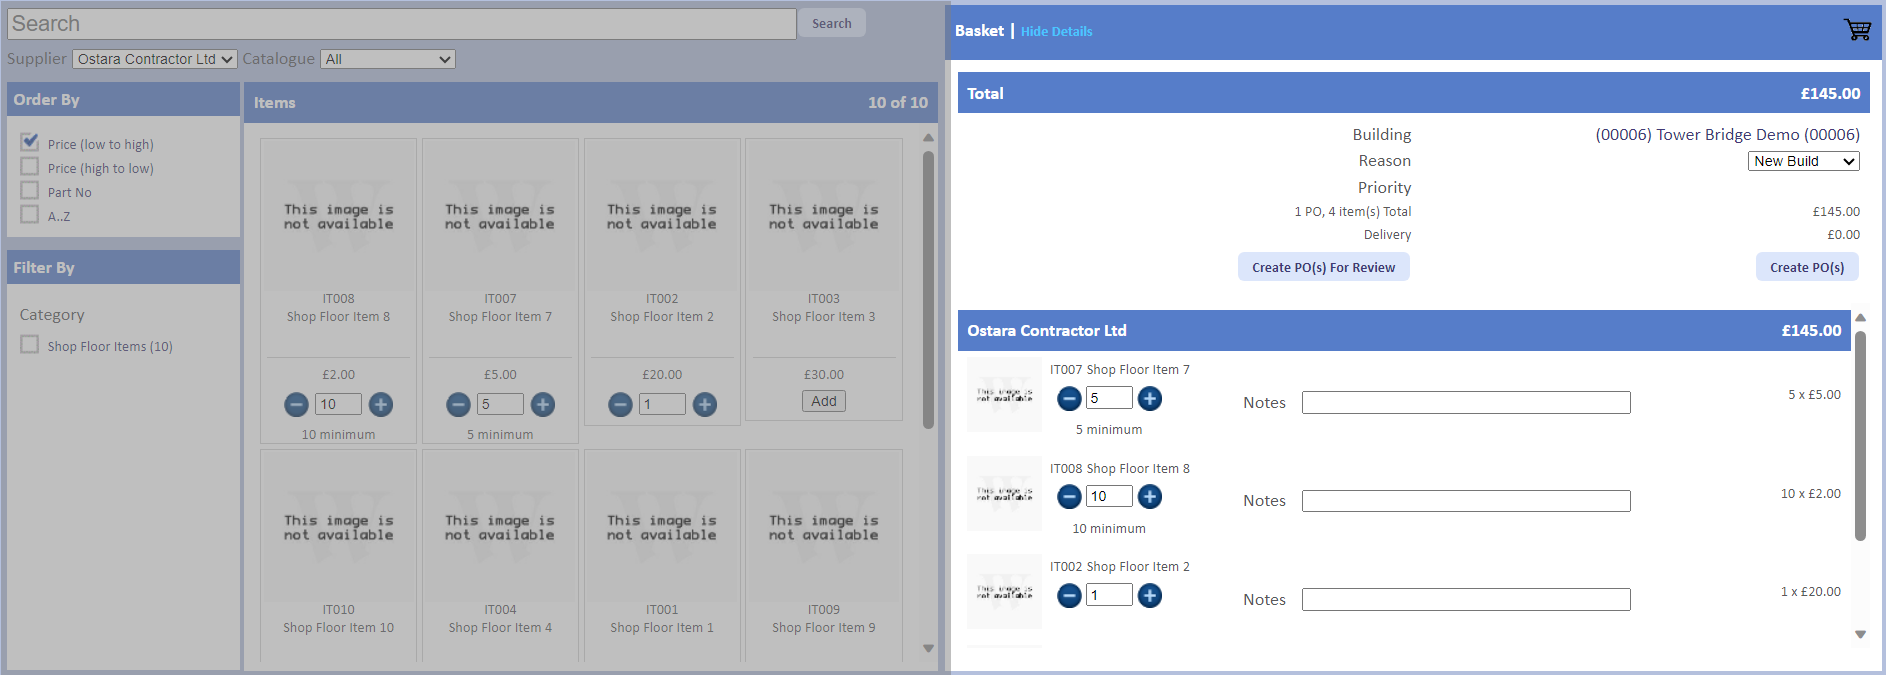
3. When the "Edit Details" action is selected, the Basket section is extended to display a Notes field. Here, the User can enter notes relating specifically to an item. This can be regarding anything such as how urgent an item is compared to another. To hide this section, click the "Hide Details" button.
Note: If there are multiple Suppliers in the Basket, a message will be displayed stating how many Purchase Orders (POs) have been created and linked.
Note: There is also the ability to split POs by Revenue and non Revenue, depending on the relevant settings being turned on or not. A different message will be displayed in this case. Contact your system administrator to configure this.
Note: In some cases, a Supplier may a Minimum Order Value which means it is not possible to place a Purchase Order for them if the items selected do not match up to the minimum required value. When trying to create a Purchase Order under the Minimum Order Value, a message is displayed stating that this order could not be created because of the Minimum Order Value.
5. The Purchase Order will be displayed containing all the details.