Contact Types

2. Next, choose the type of Contact to be viewed. The options given are Building, External Resource, Internal Resource & Personnel.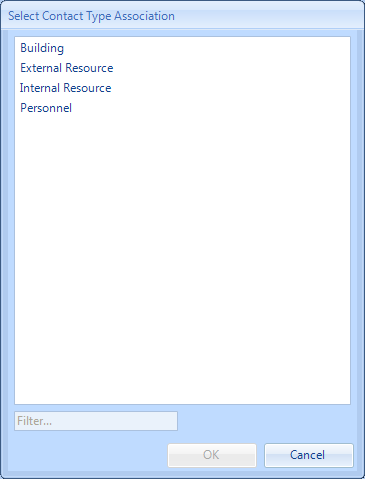
3. Once a Client has been chosen, and whether it is a Building Contact or Resource Contact, the Contact Types screen will appear. Here, it is possible to tick and un-tick the desired Contact Types depending on which types are required to be available throughout the system. As with many other parts of the application, it's possible to add items and edit items within the list using the "Add" and "Edit" buttons.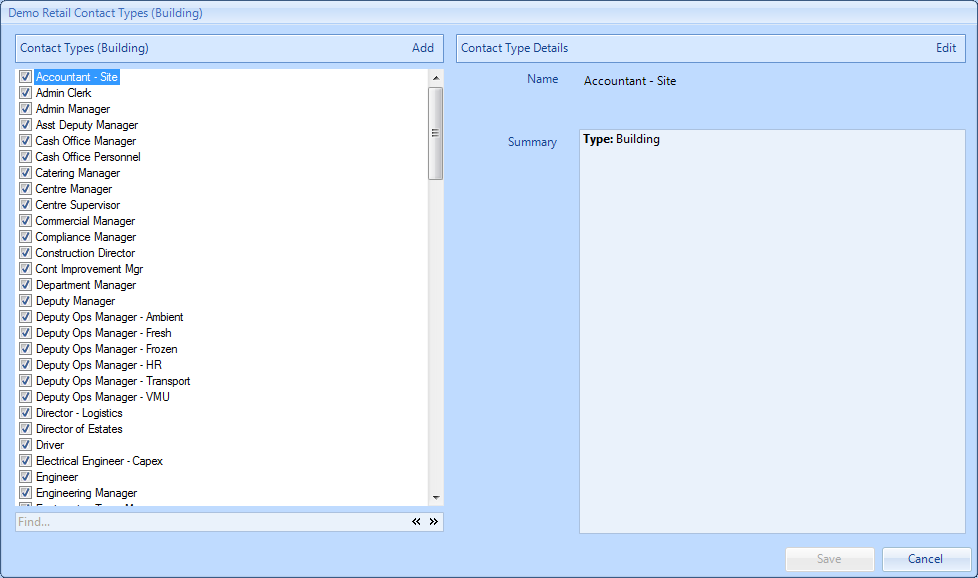
Note: The items shown in this screen will be different depending on what option was chosen in Step 2.
4. Click "Add" to display the Add Contact Type window. In this window a Name for the new Contact Type is required. The Type field contains the type of Contact and cannot be changed. Ticking the Document Upload (PPM) tick box will automatically email the chosen contact type (where the contact type exists at the building) a copy of the document/certificate that is uploaded to the PPM by the resource. Ticking the WO Closure Email? tick box will automatically email the chosen contact type (where the contact type exists at the building) when the work order is completed by the resource. Click "OK" to add the Contact Type.
Note: the two tick boxes are only available if the "Building" contact type is selected in Step 2.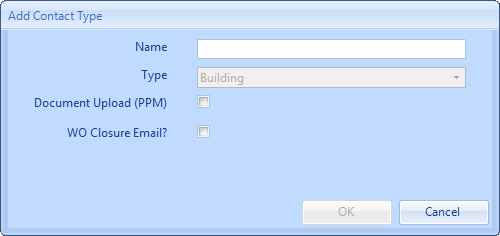
5. Click "Edit" to display the Edit Contact Type window. In this window, the Name of the Contact Type as well as whether they will receive the document/certificate email and/or the work order closure email. The Type field contains the type of Contact and cannot be changed. Click "OK" to apply the changes.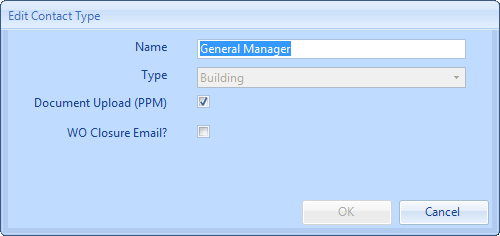
-
-
6. Once all the changes have been made, click “Save” to apply them.