Reasons
Reasons detail why a Work Order is being raised. Therefore this module allows a User to add or edit all the Reason codes stored in the system. Reason codes are specific to the Client.
1. Firstly, a set of Reasons need to be selected. This is done by clicking the "Reasons" menu and selecting a set from the drop down.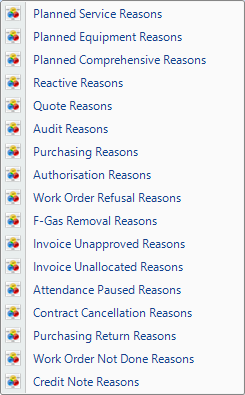
2. The next step is to select the Client whose Reasons are to be added to/edited. For information on how to do this, see the Client Selection page.
3. A list of all the Reasons belonging to this specific Reason set is shown. Reasons are enabled for use in the system by ticking the appropriate items. Similarly they are disabled by unticking the appropriate Reason. Click on “Add" to display the Add Reason screen. Enter the Name and Description and click on "Save" to save the information.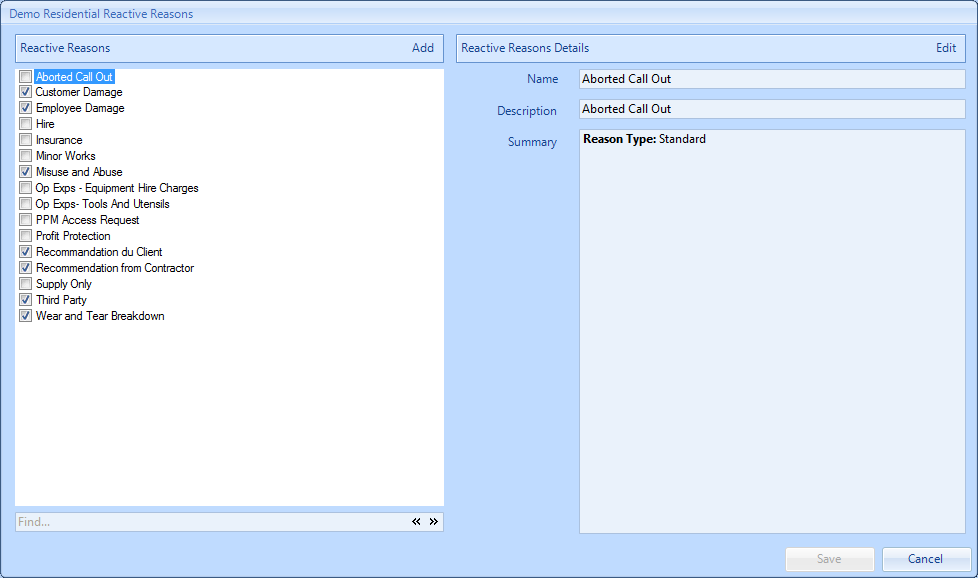
4. Items can be edited by selecting the item and clicking the "Edit" button. This displays the Edit Reason screen in which the User can change the Name and Description (and Equipment types if it is a Reactive Reason) of the Reason. Click "Save" to save the information.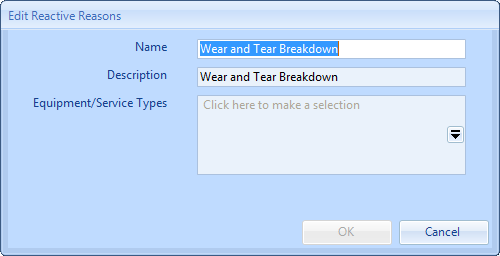
5. Once all the changes have been made, click “Save” to apply them.
Note: Certain Reason Types have special functions. They are defined as follows:
When adding or editing a Reactive Reason or Quote Reason, the User has the option to apply the Reason to their desired Equipment/Service Types. By using the Equipment/Service Types field, the User can look through the list of Equipment/Service Types in the system and choose which ones are relevant to the Reason.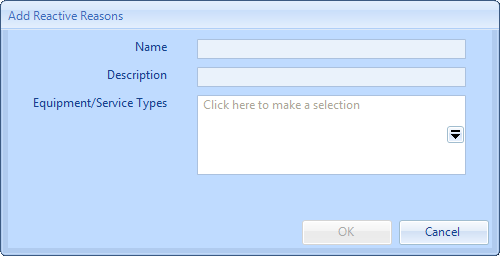
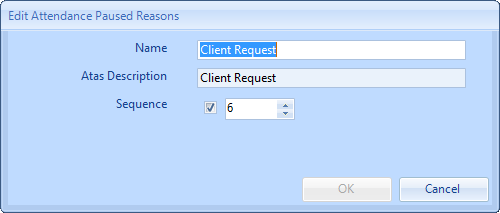
When adding or editing an Attendance Paused Reason, the User has the ability to specify the order in which these are read out in ATAS and also spell the reason phonetically so that the representation in ATAS when read out is correct.