Standards and Legislations must first be created to allow for the creation of Certificate Requirements which in turn will become selectable within PPM Contracts. Click “Standards & Legislation” to view/modify any Standards & Legislation available in the system.
This is the "Standards & Legislation" button:

1. The first step is to select the Client that will be used. For information on how to do this, see the Client Selection page.
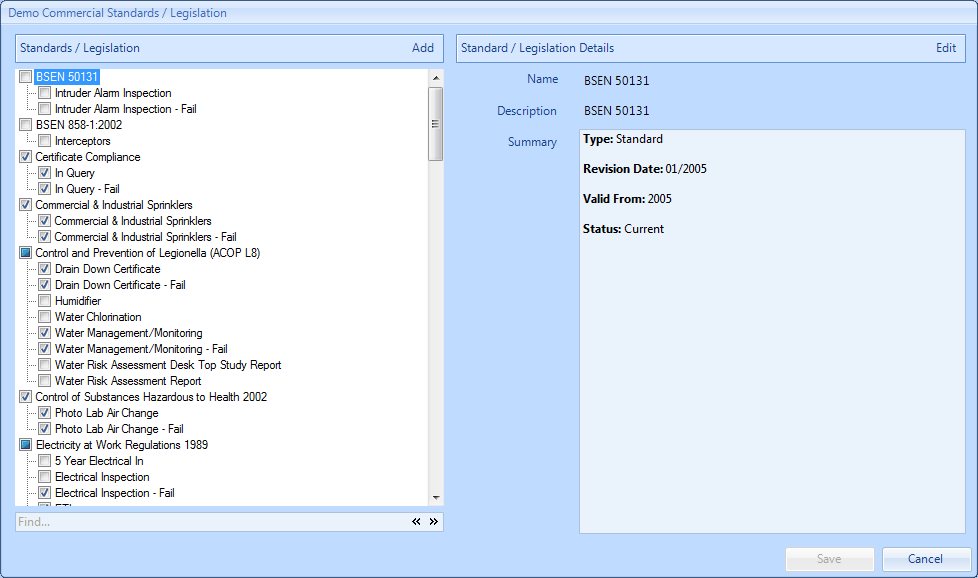
2. This is the Standards & Legislation screen. It is possible to tick and un-tick the desired Standards & Legislation depending on which types you want available throughout the system. As with many other parts of the application, there is the ability to add items and edit items within the list using the "Add" and "Edit" buttons.
3. Click on “Add” to add a Standard, Legislation or Certificate. Choose whether to add a “Standard/Legislation” or a “Certificate” under the currently selected standard/legislation.
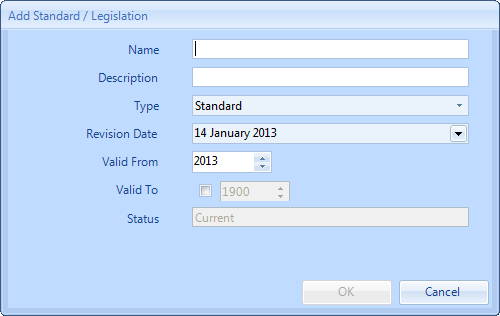
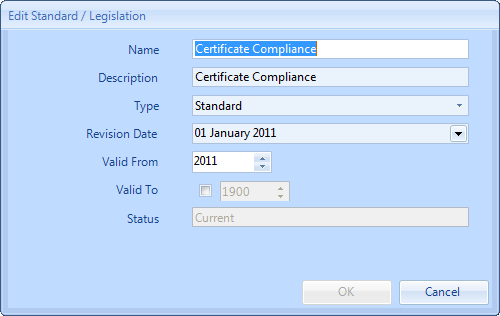
4. If a Standard/Legislation is being added, the “Add Standard/Legislation” screen will appear. Provide the “Name” and “Description” of the new Legislation as well its “Type”, “Revision Date” and its “Valid From” date. A “Valid To” date may also be provided if necessary. Click on “OK” to commit the information.
5. If a Certificate is being added, the “Add Certificate” screen will appear. Provide the “Name” and “Description” of the new certificate as well its “Association Type”. If an "Association Type" of "Building" is selected, the "Building Format" and "Building Status" fields will be enabled where the relative Building information can be selected.
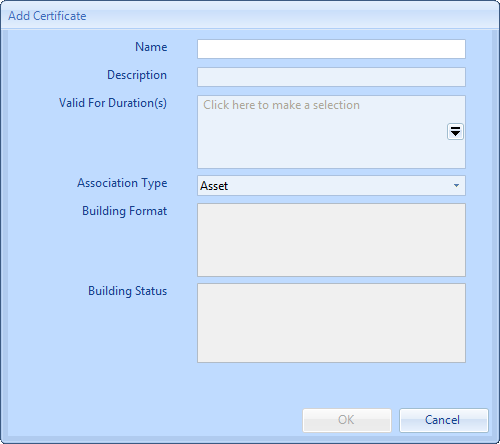
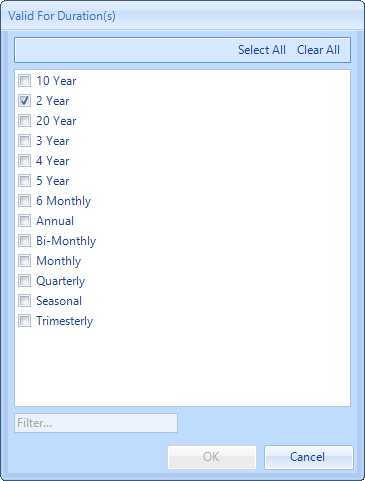
6. Clicking on the drop down arrow on the "Valid For Duration(s)" allows the user to select one/all frequencies that will apply to this certificate.
7. Clicking "OK" will return the user to the previous screen. Click on “OK” to commit the information.
8. Items in the list can also be edited. Depending on whether a “Standard/Legislation” or a “Certificate” is being updated, the “Edit Standards/Legislation” or “Edit Certificate” screen will appear. The Edit screens work in the same way as the Add screens and require all the necessary information for the different items.
9. Once all the changes have been made, click “Save” to apply them.
Note: Setting an Association Type to Building means any Certificate requirements will apply to the whole Building. For example, this could be used for PAT Testing - where the User would not necessarily individually asset tag every electrical item being PAT tested. Association Type of Asset means any Certificate requirements would be on a per Asset basis, for example Thorough Lift Inspections should be of Association Type Asset to ensure the User receives a Certificate per Asset.
Selecting multiple durations for certificates allows varying frequencies for certificates to be added to PPM tasks on a contract.
It is possible to set a Certificate Tolerance (please contact your Ostara System Administrator to arrange for this setting to be turned on) which results in the placement of a message on the portal (the Work Order Detail Page), below the finance and visit dates of "Tolerance": with the message of "Attendances of up to 'x' days after the Visit End Date are acceptable for this Work Order."