Allocating Resource and Setting the Schedule for Attendance
This section of a Work Order is where the User can assign a Resource and set the schedule of when the work needs to take place.
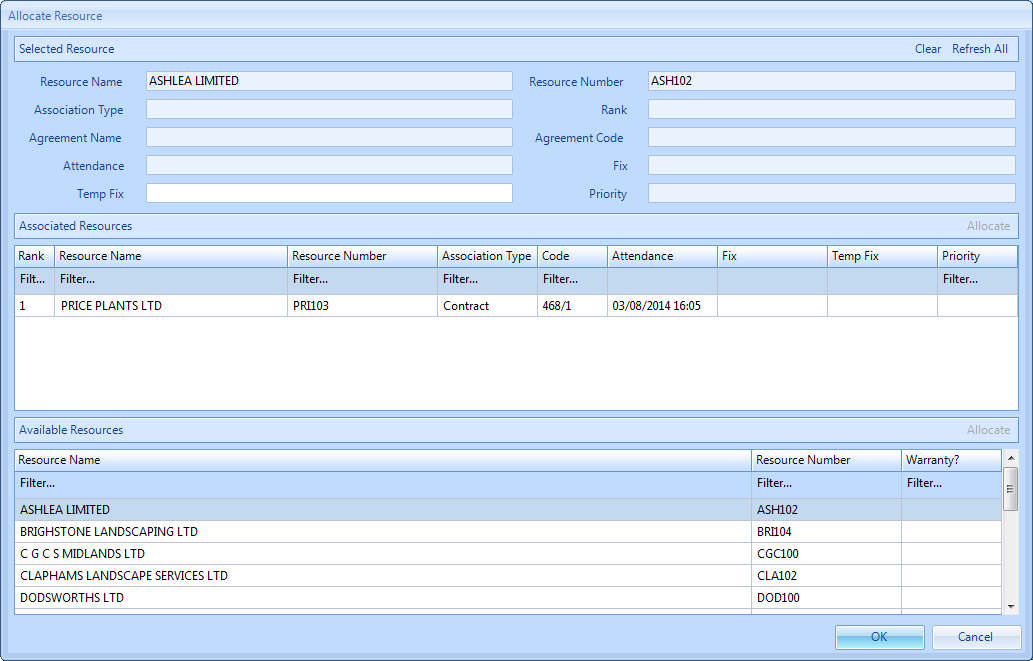
1. If the Work Order is part of an SRA or Contract agreement, then the Resource will automatically be selected and the schedule will automatically be set to the agreed SLA. If there are multiple Resources set on the SRA then these will be shown in order of priority. However, if a Contract exists this will always appear at the top of the list above any SRA. Furthermore, if an Asset has been selected against the Work Order, and that Asset is under Warranty, the Warranty Resource would be suggested as the default Resource to use. Therefore order of allocation is as follows: Warranty > Contract > SRA > Manual Allocation.
2. An alternate Resource can be selected by searching in the bottom part of the screen and double-clicking on the chosen Resource (or highlighting the Resource and clicking on the Allocate button). Click "OK" when the Resource has been selected.
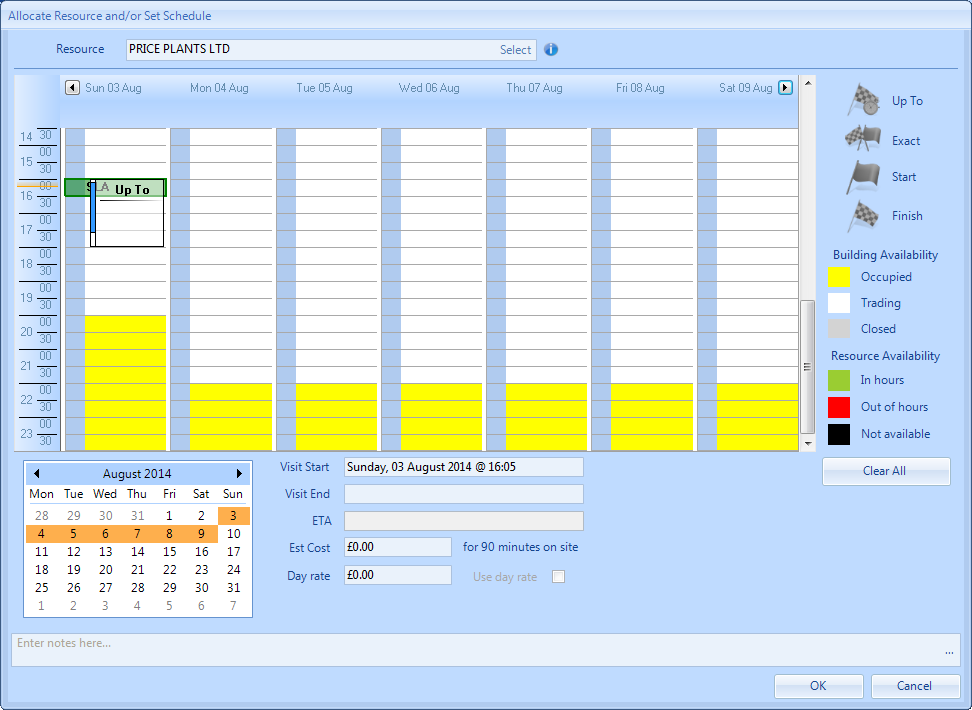
3. Now that a Resource has been selected the screen below will open and the Resource selected will be displayed in the Resource field. The schedule can now be set for attendance.
The SLA is automatically set based on the SRA or Contract. Remember this is the 'best' response time and the information attained so far should be used to allocate the most suitable response time either at this point if the job is urgent or in the future if it is minor.
To be more specific, drag and drop any of the timestamps required for attendance.
Up To - advises the Resource that they are to arrive on site any time up to the end of the time allotted.
Exact - denotes the exact time the Resource is required to be on site for.
Start & Finish - should be used together to denote the specific start and finish times of the work required.
ETA - this is available as an Agent Action or Call In Action and cannot be set at this point.
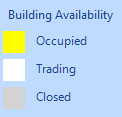
4. The availability of the Building that the Work Order has been created for will be shown on the calendar using the colour coding below:
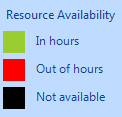
5. The availability of the Resource that has been allocated to the Work Order will be shown on the calendar using the colour coding below:

8. Once the Resource and schedule has been set click the "OK" button.