Groupings
Groupings are how Users can group Buildings together, examples could be, by Geographical Division/Region/Area or by Manager/Owner. These are totally independent for each Client to use as required. These would be added when creating a Building, and generally used for reporting purposes and filtering within SRAs and Contracts.
1. Firstly, select the Client that will be used. For information on how to do this, see the Client Selection page.
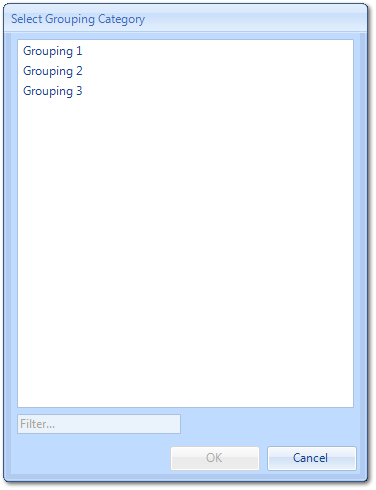
2. The next step is to choose the Grouping to be viewed by selecting from the following:
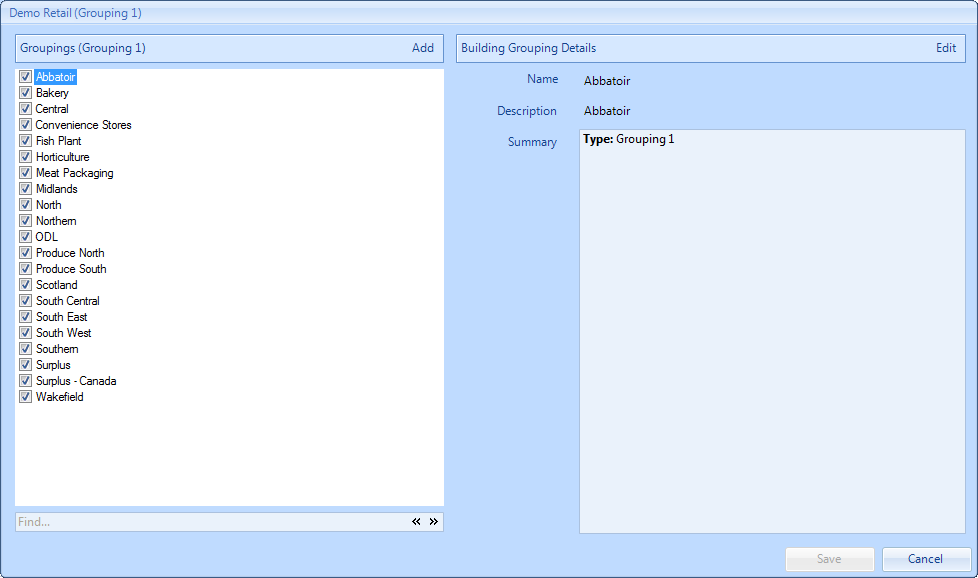
3. On the Groupings screen, a list of all the items associated with the selected grouping will be displayed in the list which can be ticked or un-ticked accordingly.
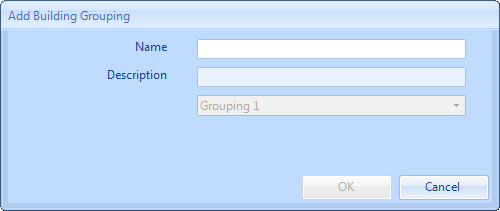
4. To add an item to the list, click the “Add" button to display the Add Building Grouping screen. The User is then required to type in the Name and Description of the Grouping. Click “OK” once the data has been entered to add the Grouping.
5. Existing Groupings can also be amended by selecting the Grouping and clicking the "Edit" button to display the Edit Building Grouping screen. This works in the same way as the Add Building Grouping screen.
6. Finally "Save" to apply the changes.
Note: The procedure is the same for all Groupings (1,2 & 3).