Allocate Resource and/or Set Schedule Introduction
This section of a Work Order is where you can assign your Resource and set the schedule of when you would like the work to take place.
1. Upon clicking the action, the Allocate Resource and/or Set Schedule screen appears. This screen will display a scheduler in which the User can choose the date they require the job to be done by and the Resource that will perform the job.

2. In order to assign a Resource click on the select button in the Resource field.

3. The User will then be presented with the following screen:
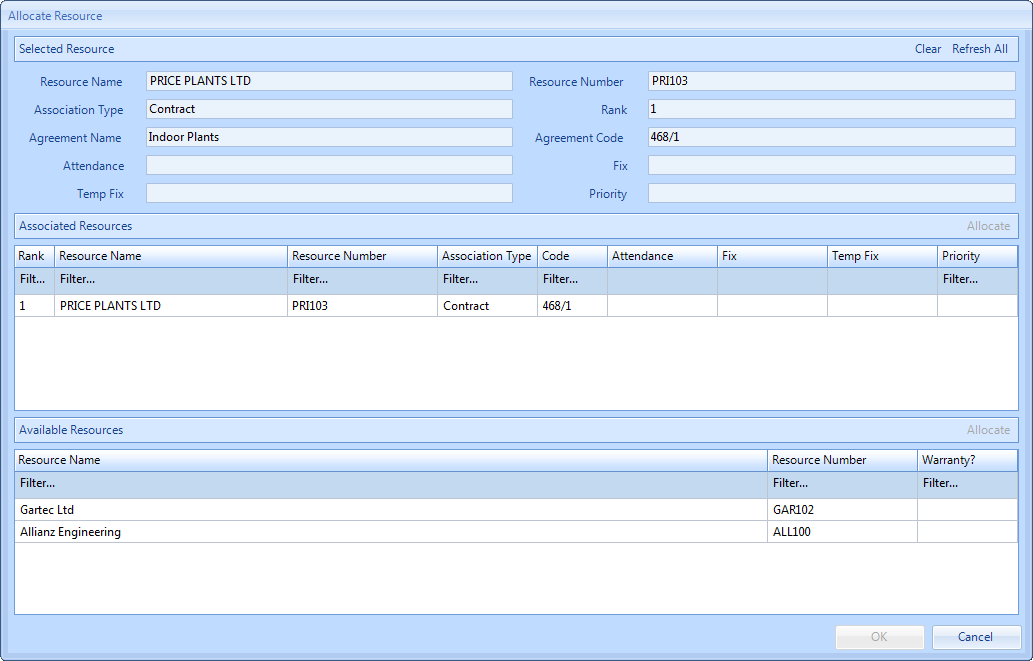
4. The list will show all Resources which are active and which are applicable to the Client and Equipment Type for this Work Order. This screen is broken up in to three sections, the middle section will show any Resource that has been identified as part of a Contract or SRA . If the equipment type is under warranty or part of a contract or SRA (in that order) then that resource will automatically be selected and populate in the top section of the screen. If, however, the User would like to select a different resource then they can choose from the bottom section of Resources available.
Note: The order in which Resources are shown when allocating a Resource is as follows:
Warranty Contractor
Internal Resource Only SRA
Contract based on the SRA priority
Any other SRA based on the SRA priority
If the Work Order is a Quote, only the Quote Only Resources will be displayed in the Associated Resources section.
5. Now that a Resource has been selected the screen below will open and the Resource selected will be displayed in the Resource field. The schedule can now be set for attendance.
The SLA is automatically set based on the SRA or Contract. Remember this is the 'best' response time and the information attained so far should be used to allocate the most suitable response time either at this point if the job is urgent or in the future if it is minor.
Note: If the User has the correct permission then they can adjust the schedule so that it occurs before the SLA.
To be more specific, click the Clear All button, then drag and drop any of the time stamps required for attendance:
Up To - advises the Resource that they are to arrive on site any time up to the end of the time allotted.
Exact - denotes the exact time the Resource is required to be on site for.
Start & Finish - should be used together to denote the specific start and finish times of the work required.
ETA - is only available if you are setting the ETA on the Work Order, it will not be available during the allocation process.
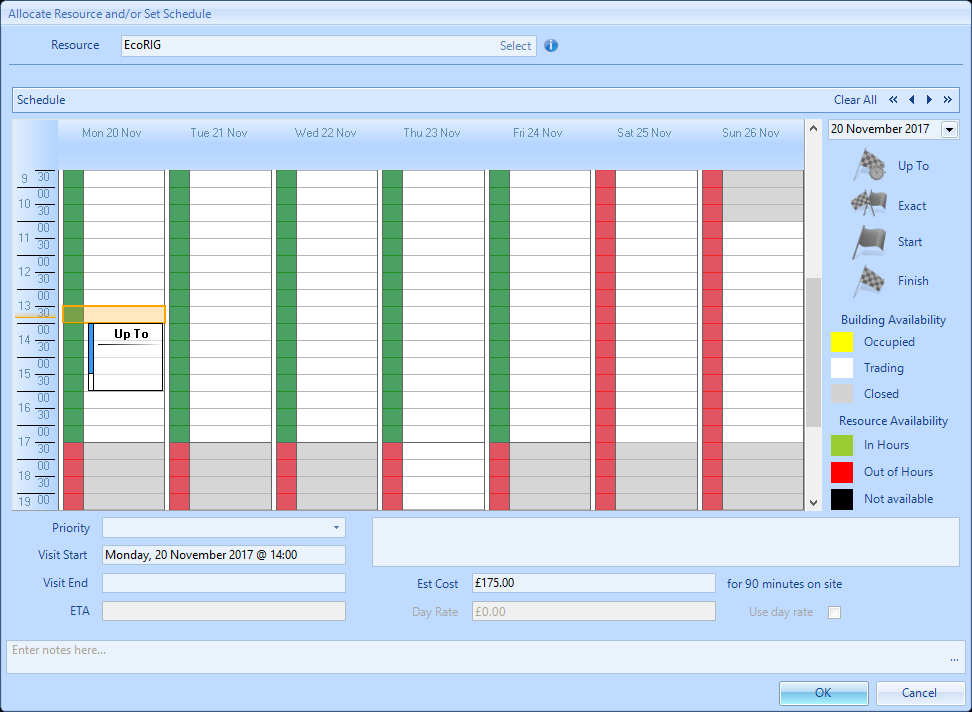
6. The availability of the Building that the Work Order has been created for will be shown on the calendar using the colour coding below:

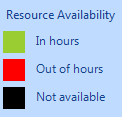
7. The availability of the Resource that has been allocated to the Work Order will be shown on the calendar using the colour coding below:
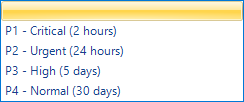
8. Use the Priority drop down to select a specific Priority for attendance. Note that the ETA field will be set based on the 'Up To' time and the call out costs have been calculated using the rates set up against the Resource selected.
9. To reset the schedule at any time click the "Clear All" button. This will keep the selected Resource but will remove any dates/times set.
10. Once the Resource and schedule has been set click the "OK" button.