Stop Job > Admin - Assets
When the Resource has completed the work this will need to be logged against the Work Order. This can be done in few ways; the first one covered below is if the engineer's head office calls to advise that their engineer has completed work (asset based).
1. First thing is to find the work order in question.
2. From the Agent Actions menu select Stop Job > Admin.
3. The User will then be asked if the Work Order requires a Revisit or not. Clicking Yes will put the Work Order into a paused state for the Resource to re-attend at a later date.
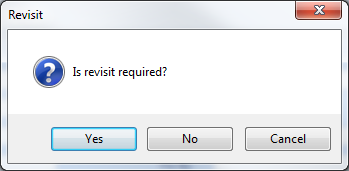
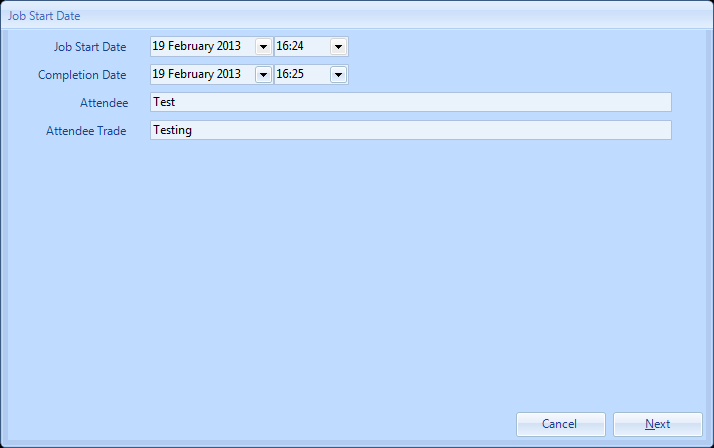
4. Clicking No will display this next screen.
5. The User will then be presented with one of two possible screens; the following example demonstrates where there is more than one available asset at the specified location:
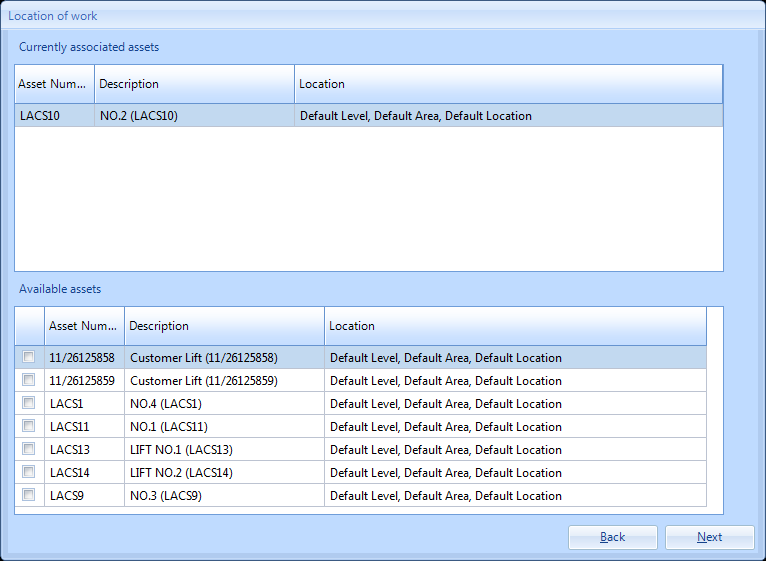
6. From this screen you can select if the fix was to the currently associated asset or if it also applied to other available assets at the same location. The User can select additional assets by clicking on the tick box next to the asset. Clicking on Next will take the User to the following screen (which they will have skipped to if there was only one asset available in the previous step):
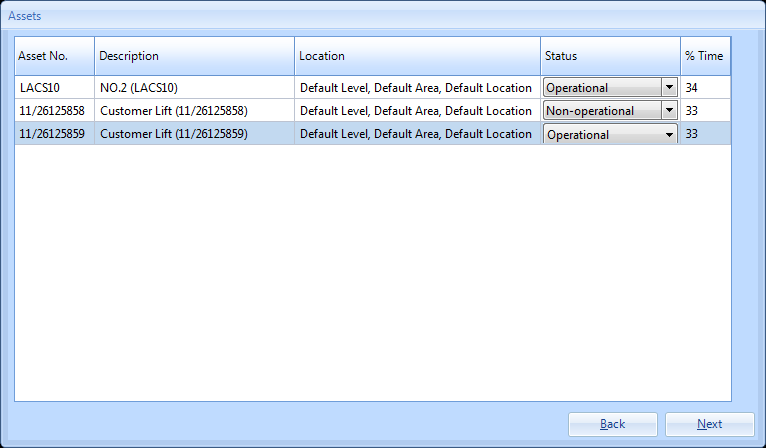
7. If the asset is now operational select "Operational" from the drop down list. The User will then be taken to the Repair details screen below. If the asset is not operational then the User should select "Non-operational" from the drop down list. Upon clicking the Next button (if the User has selected "Non-operational") the User will then be asked to confirm that they are unable to resolve the problem. Clicking on Cancel will take them back to the Asset Screen.
8. Clicking OK will take the User to the Repair description screen below.
9. This screen displays the asset given at the time of logging the job. The User must confirm that a resolution is in place and that the listed Location is correct. Click "Next" to continue. If more than one asset has been selected clicking next will take the User to the next asset fix details screen. This will need to be completed in the same way as before for each asset selected.
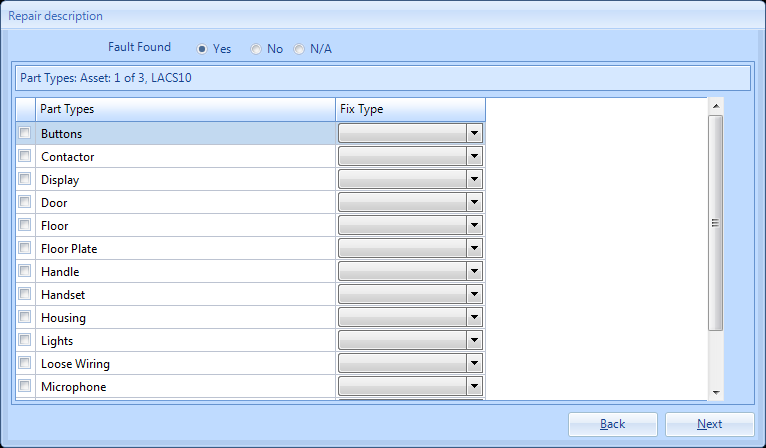
10. If a fault is identified then the Parts Types list will become active. This contains all the Part Types for the piece of equipment in question. Tick any which apply to this work and select the Fix Type from the drop down list. Clicking "next" will take you to the next screen:
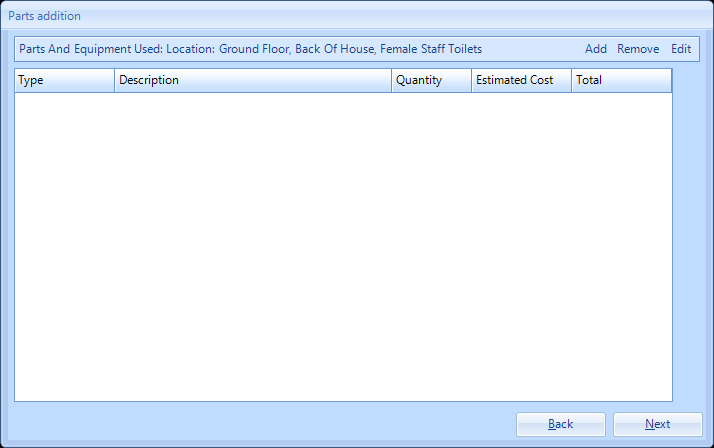
11. If any parts or equipment have been required to complete this work then these must be listed here. The User has three options from here:
Add - clicking on the "Add" button will display the following menu:
Add - clicking on the "Add" button will display the following menu:
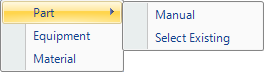
From here the User can add a part already in the system (using the Select Existing menu option) or manually add a part by clicking on the Manual menu option. Clicking on the Manual menu option will open this window:
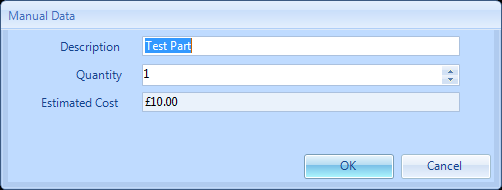
Adding equipment or material can be recorded in the same way.
Remove - To remove a part/equipment/material highlight the line you wish to remove and click the Remove button.
Edit - To edit an existing part/equipment/material highlight the line you wish to edit and click the Edit button. The previous screen will open where any amendments can be made.
12. Clicking "Next" will take the User to the final Summary screen. This screen will summarise all the details just entered.
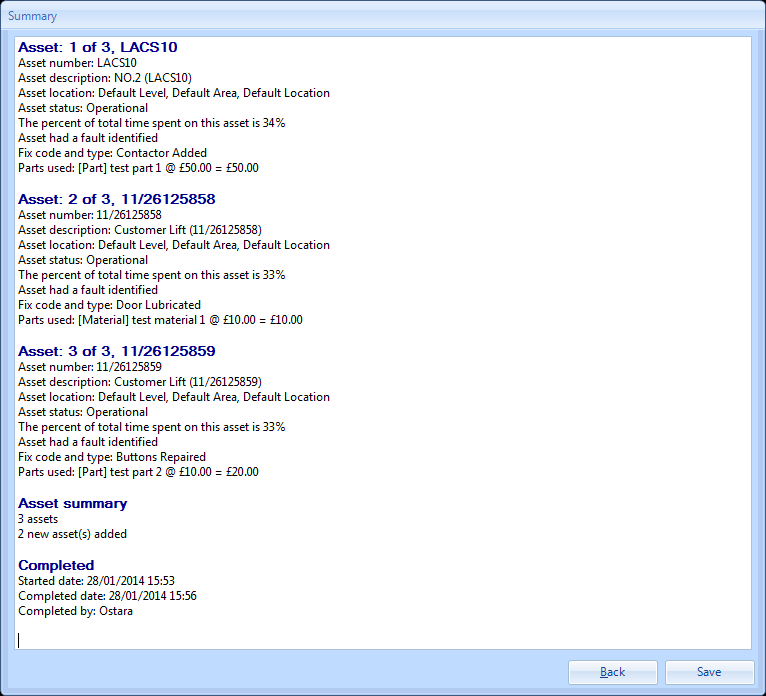
13. To confirm these details and complete the Work Order click the "Save" button. If there are details that are incorrect click the "Back" button to amend them.
14. If FGAS is present then clicking Next will take the User to the following screen:
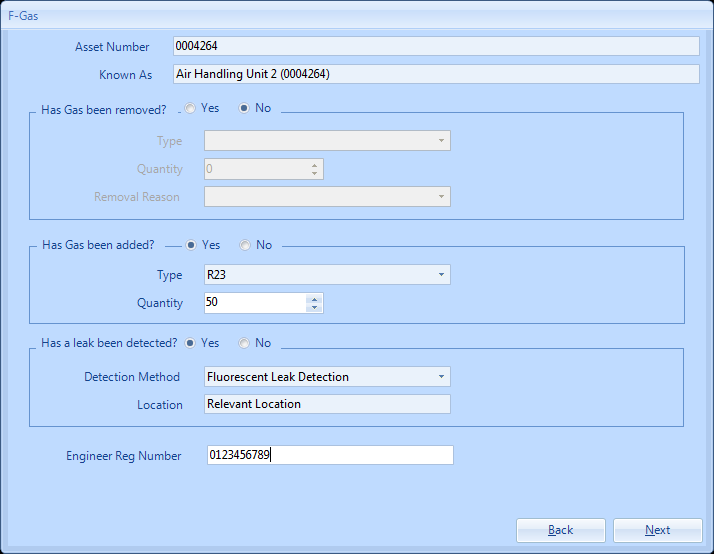
15. From here the User can complete the FGAS details (this will need to be completed for each FGAS asset selected):
Has Gas been removed?: Yes/No
If yes, the type and quantity of gas will need to be completed along with the reason for the removal (these are all pre-defined fields with the exception of quantity)
Has Gas been added?: Yes/No
If yes, the type and quantity of gas will need to be completed (type is a pre-defined field)
Has a leak been detected?: Yes/No
Select the detection method from the list of pre-defined methods in the drop down selection
Add the location
Enter the Engineer Reg Number
16. Clicking "Next" will take the User to the final Summary screen. This screen will summarise all the details just entered.
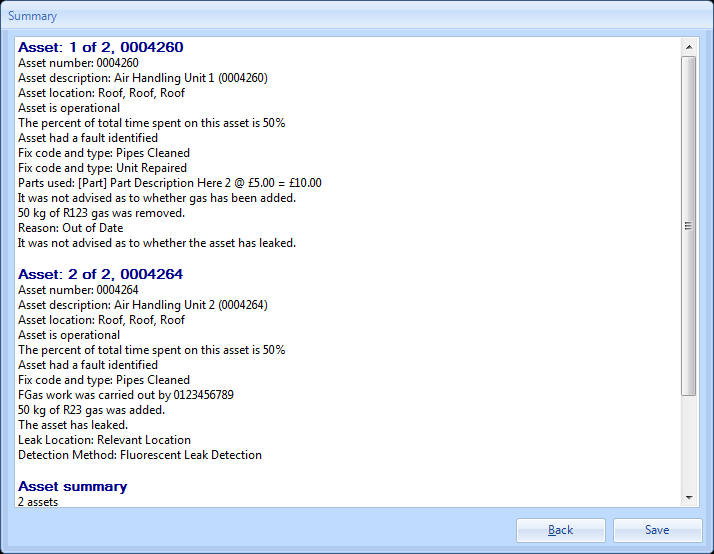
17. To confirm these details and complete the Work Order click the "Save" button. If there are details that are incorrect click the "Back" button to amend them.