Creating a New Batch Rule
To create a new Batch Rule the User will need to follow the following steps:
1. Click on the Work Orders tab at the top of the screen.
2. The User will be presented with the following menu items:
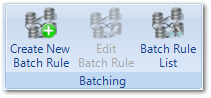
Edit Batch Rule - allows the user to edit an existing Batch Rule.
Batch Rule List - allows the user to view a list of Batch Rules already created.
3. To create a New Batch Rule, click on the "Create New Batch Rule" button.
4. This screen will open: Summary Tab:
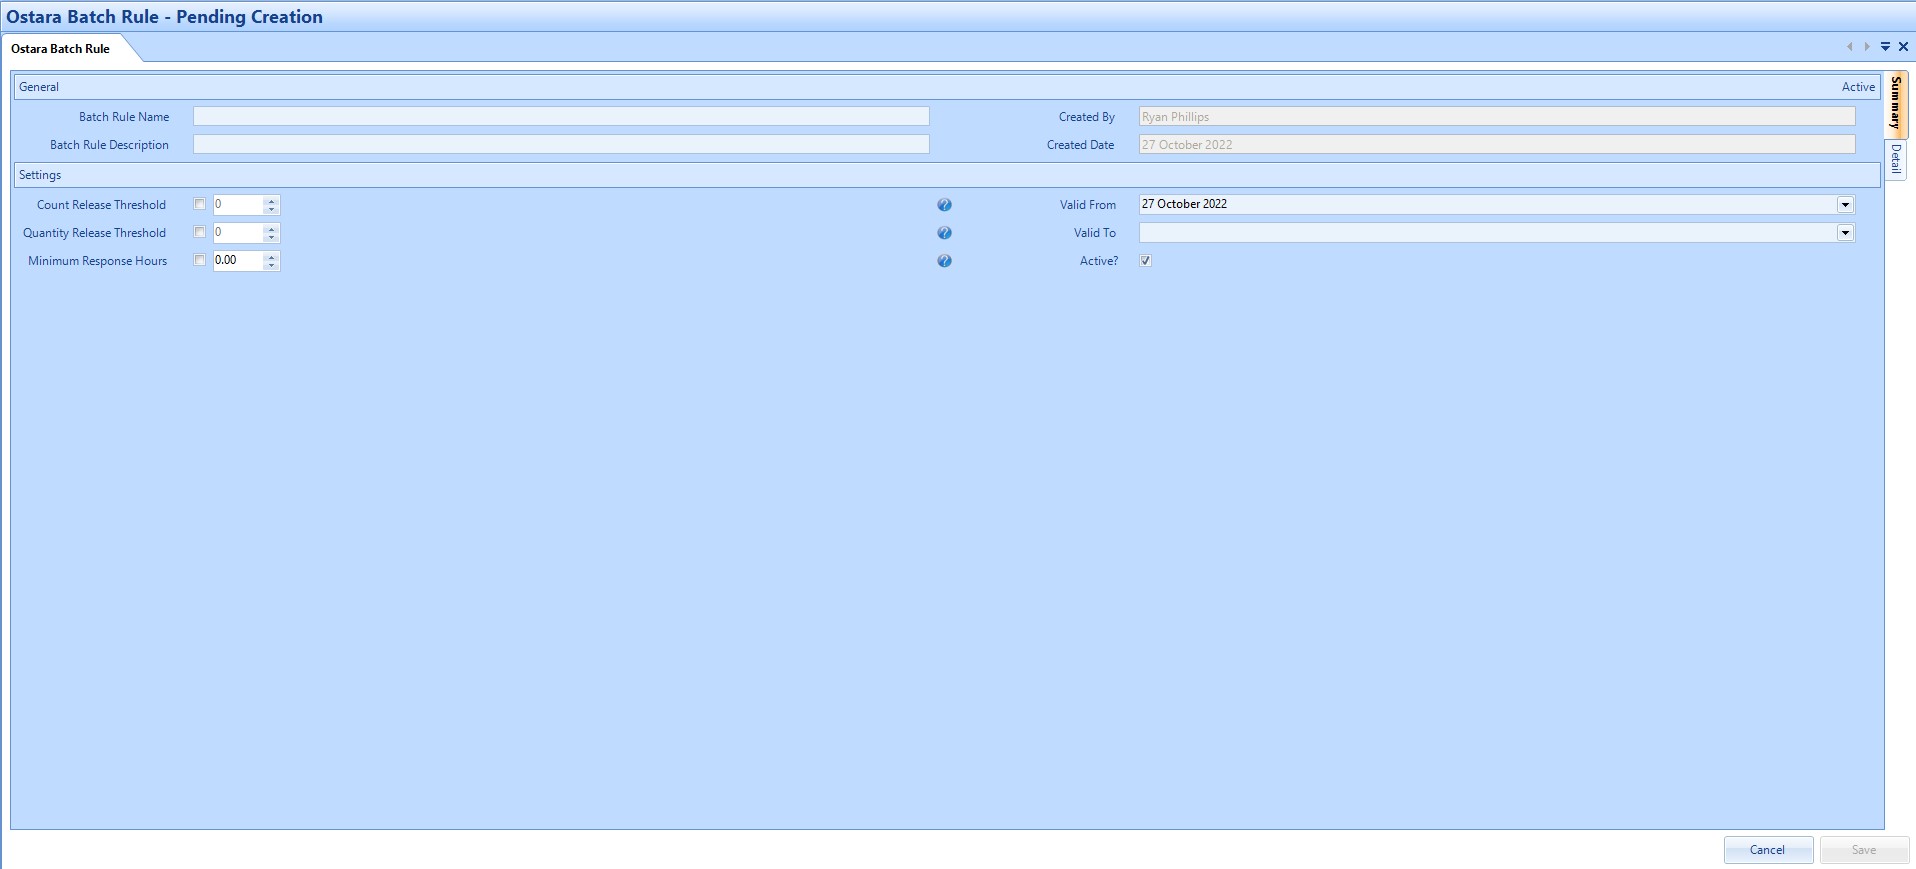
Batch Rule Description - this is a more detailed description of the short name for the rule to be created.
Created By - is populated automatically with the Username of the person logged in.
Rule Type - is where the user can set if the rule is mandatory or not (currently the only option available is Optional)
Count Release Threshold - allows the User to specify a number which reflects the number of Work Orders that must be exceeded before a batch action is presented.
Quantity Release Threshold - allows the User to specify a value that sums the contents of the quantity/code field on a Work Order. Once the sum of all the quantities of the pending batch Work Orders exceeds the Quantity Release Threshold the batch action will be available.
Valid From - is a date field that specifies the date from which the User would like this rule to apply from.
Valid To - is a date field that specifies the date which the User would like this rule to apply to.
Active? - a tick box that specifies if the User would like this to be active or not.
5. Enter the Batch Rule Name and Description. The Created By and Created Date will be automatically populated and cannot be changed.
6. To enable the Count Release Threshold put a tick in the box. The User can then specify the number of work order required to be exceeded before batching is invoked.
7. To enable the Quantity Release Threshold put a tick in the box. The User can then specify the quantity that must be exceeded across all the pending batch Work Orders before batching automatically takes place.
8. Valid From and To are date fields that when selected will determine when this rule applies. The Valid From date will be populated automatically with today's date
Please note that the Valid From Date is mandatory and cannot be set in the past. The Valid To date can be left blank and as such there will be no end to this batch rule.
Please note that the Valid From Date is mandatory and cannot be set in the past. The Valid To date can be left blank and as such there will be no end to this batch rule.
9. Upon entering all the information on this tab click on the Detail tab down the side:
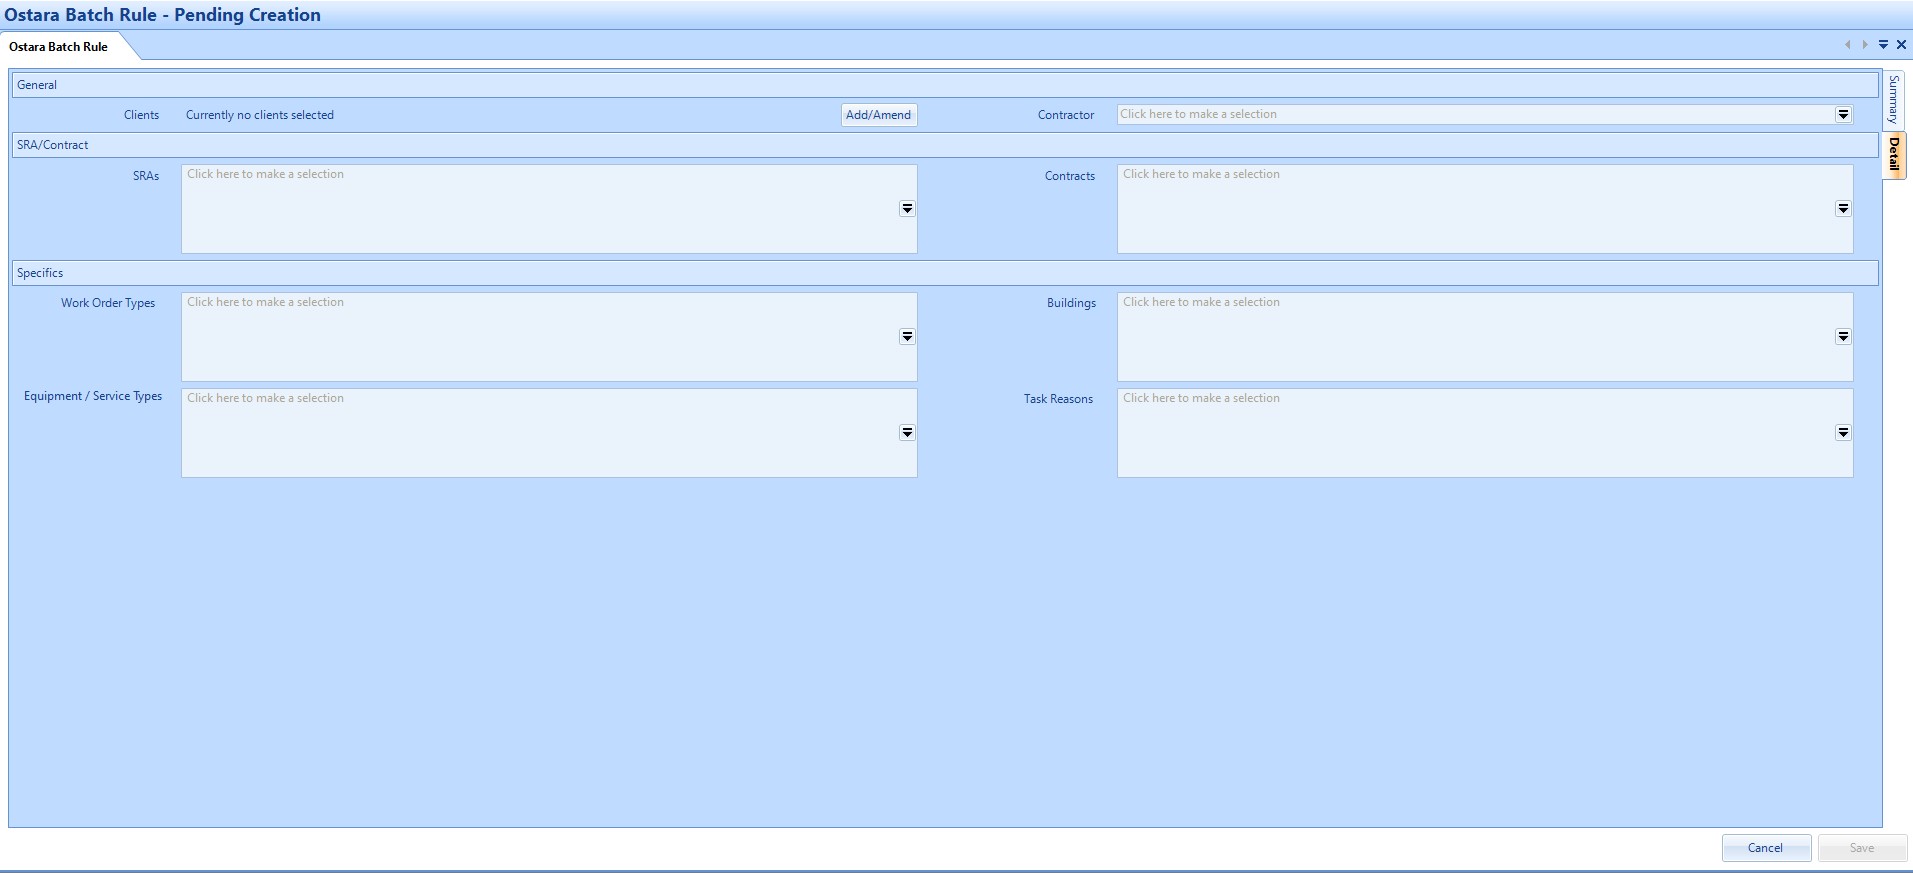
Contractor - this is a single-selection box where the user can define which contractor this rule applies to.
SRAs - this is a multi-selection box where the user can define what SRAs this rule applies to.
Contracts - this is a multi-selection box where the user can define what contracts this rule applies to.
Work Order Type - this is a single selection field where the user can define what Work Order Type this rule applies to.
Buildings - this is a multi-selection box where the user can define what Buildings this rule applies to.
Equipment/Service Types - this is a multi-selection box where the user can define what Equipment/Service Types this rule applies to.
Equipment/Service Types - this is a multi-selection box where the user can define what Equipment/Service Types this rule applies to.
Task Reason List - this is a multi-selection box where the user can define what Reason Codes this rule applies to.
10. From this tab the User will need first need to specify which Client(s) this rule will be applicable to. To do this click on the add/amend button. The Client Selection window will open. Select one or more Clients.
11. Next the user can select which contractor the batch rule will apply to. These two selections will then influence which choices are then available to select in the following sections.
12. Next, the user can select which SRAs or which contacts the batch rule will apply to.
13. Next the User can define the Buildings that this rule will apply to. If it applies to all Buildings this can be left blank. If however this rule only applies to a select amount of Buildings this can be done by clicking on the drop down arrow on the Buildings field. This window will then open:
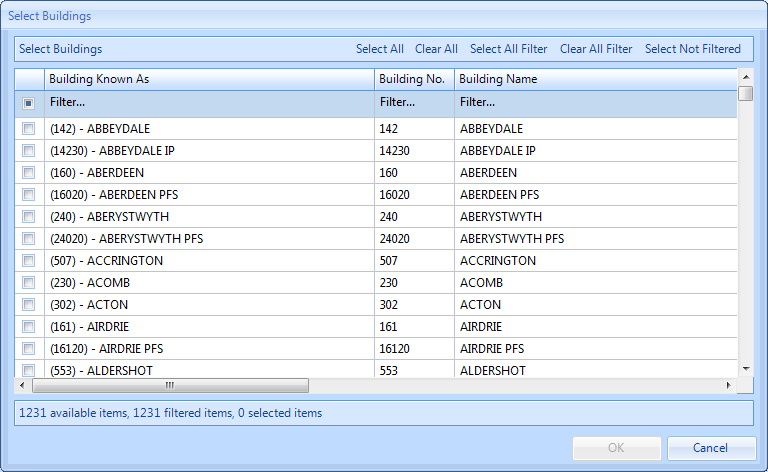
14. From here Users can perform various activities including Select All, Clear All, Select All Filter, Clear All Filter and Select Not Filtered.
15. Use the Select All or Clear All buttons to select/deselect the entire list.
16. If the User has filtered the list of Buildings, clicking on the Select All Filtered or Clear All Filtered will select/deselect all of the filtered Buildings.
17. Selecting all the Buildings not filtered can be done by clicking on the Select Not Filtered button.
18. Alternatively each Building can be selected individually by clicking on the tick box on the left hand side of the window.
19. Click OK when the Buildings required have been selected.
20. Next the Work Order Type need to be selected. This is a mandatory field and can be done by clicking the drop down arrow on the Work Order Type field. This window will open:
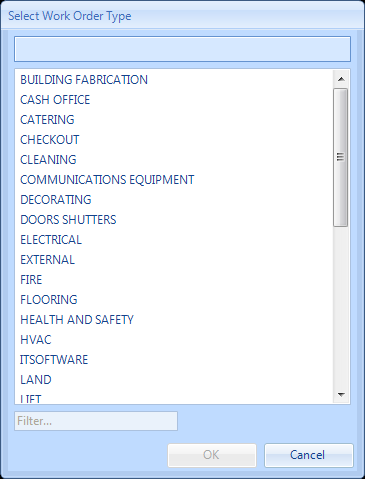
21. Simply make a selection from the list provided and click OK. Clicking Cancel will return to the previous screen.
22. If the User would like to go down to a more granular level this can be done by clicking the drop down arrow on the Equipment/Service Type field. Leaving this blank means that the rules will apply to all equipment/service types under the Work Order Type selected. If the User decides that the rules only apply to a subset of Equipment/Service Types this can be done by clicking the drop down arrow on the Equipment/Service Type field. In doing so this window will open:
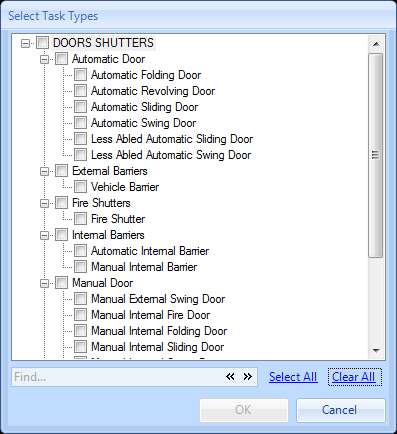
23. This will display all Equipment/Services Types that apply to the Work Order Type selected. Select all the Equipment/Services Types that apply and click on the OK button. Clicking on Cancel will take you back to the previous screen.
24. Lastly the User can define which Task Reasons they would like to apply. Leaving this field blank means that the rules will apply to all Reason Codes. If the User decides that the rules are only to apply to certain Reason Codes this can be done by clicking the drop down button on the Task Reason List field. In doing this the Select Task Reasons window will open:
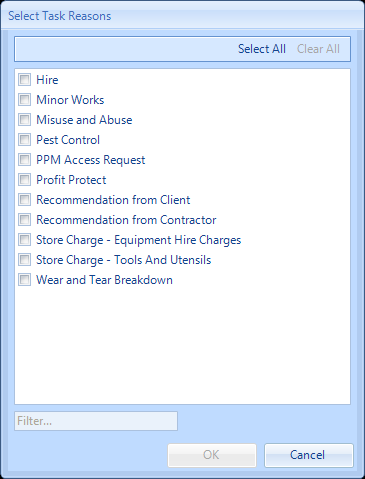
25. Select all the Reasons that apply in the same way as before and click on the OK button. Clicking on Cancel will take the User back to the previous screen.
26. Clicking on the Save button will save the rules just defined. If there are any mandatory fields that have not been populated this will be shown by the way of a validation error that will look like this: