Client Configuration
In the system, Clients will be added to the system as a “Client” and if any details concerning the Client ever need to be changed, such as the Client name, then this is possible by going to the “Client Configuration” section.
- The first step is to select the Client that will be used. For information on how to do this, see the Client Selection page
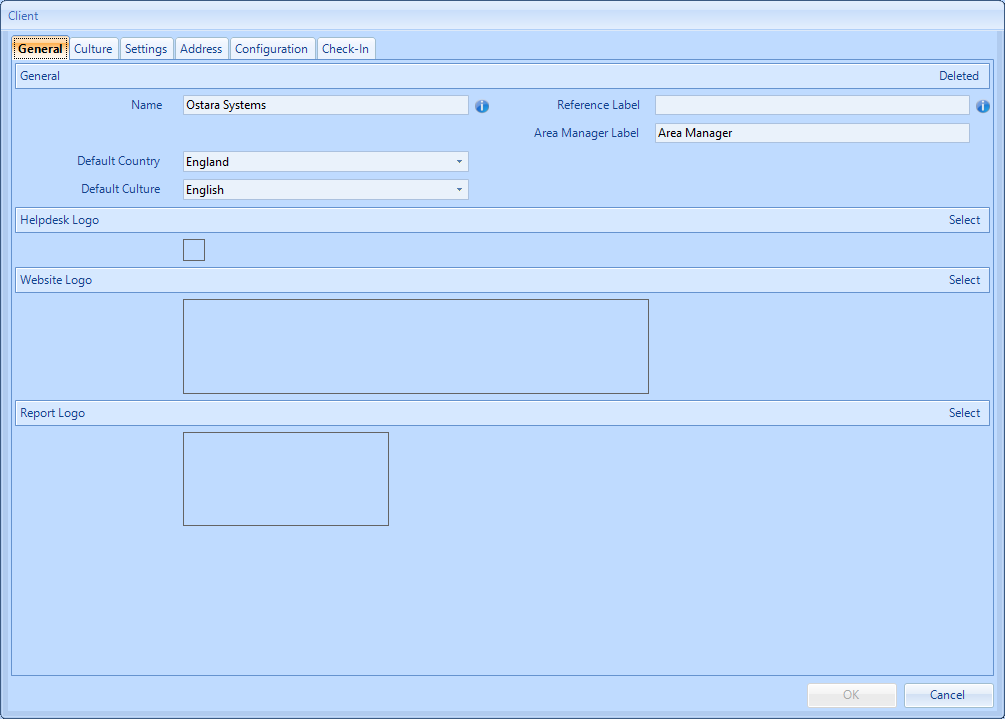
- Once the Client is selected, the Client screen is shown with 6 tabs: General, Culture, Settings, Address, Configuration and Check-In. On the General tab, the User can change the Name of the selected Client, the default Country and Culture of the Client as well as the logos that are seen in the Ostara system and on the Web Portal. The User can also add in a Reference Label, which can be used within the API. Finally on this screen, the terminology used by the Client for their "Area Manager" job role is also specified here.
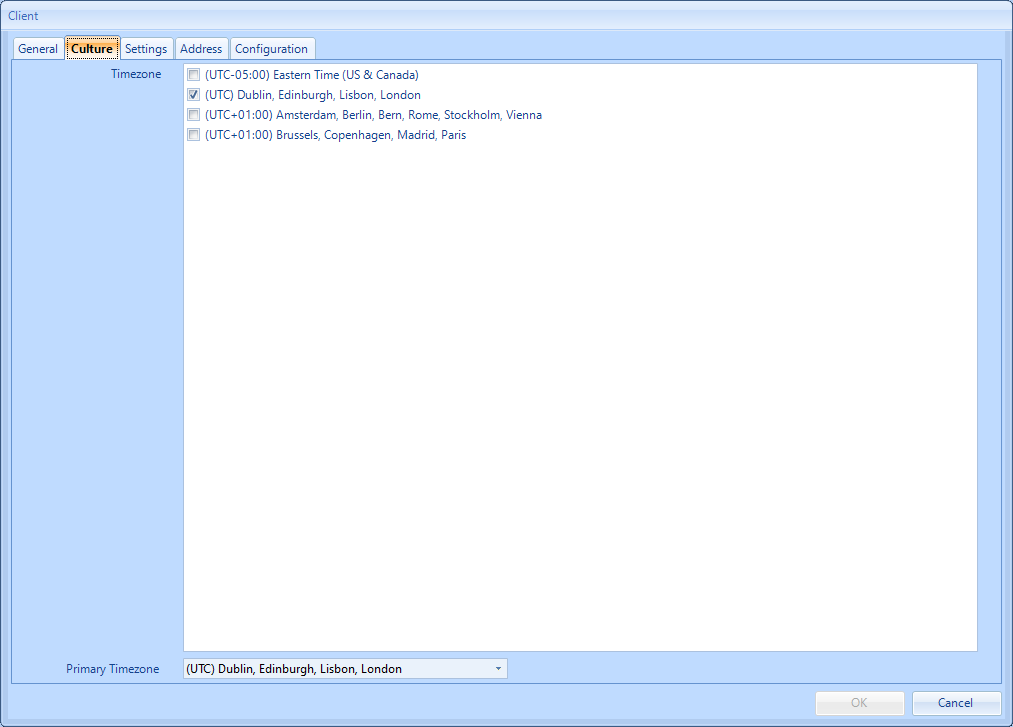
- The Culture tab shows a list of Timezones available in the system along with the Primary Timezone selected for the Client. The relevant Timezones can be ticked from here as well which Timezone is the primary.
- The Settings tab contains a list of settings that are used within the Ostara system. These are used to control certain aspects of the system and can only be accessed by Ostara Admins.
- The Address tab contains contact details for the selected Client. By default, this section will not contain any information as it is all derived from the System Settings. However by ticking "Override Address", the User has the option to enter in specific details relevant to the selected Client. This includes a main address and any primary contacts. Details entered here will be used for the selected Client rather than the details configured in the System Settings.

- The Configuration tab is similar to the Settings tab in that it contains a set of system configurations that are used within the Ostara system. There are also used to control certain aspects of the system and can only be accessed by Ostara Admins.
- The Check-In tab is where the configuration settings for Mobile usage is managed. This allows the User to control whether the Mobile Check-In process is turned on, whether both Start AND Stop requires the Check-In process to be followed, and how long a Check-In action lasts for on the Mobile device before the Mobile User needs to Check-In again (Duration - in Minutes).
It is also possible to control whether Internal Resource to the Client needs to follow the Check-In process or not.
Finally, the section in the below image entitled "Available Modes" configured whether any of the different Check-In methods are enabled for this Client and whether the absence of usage of one of these Check-In methods will result in Unapproved Invoice reasons being added to the submitted Invoices for these Work Orders.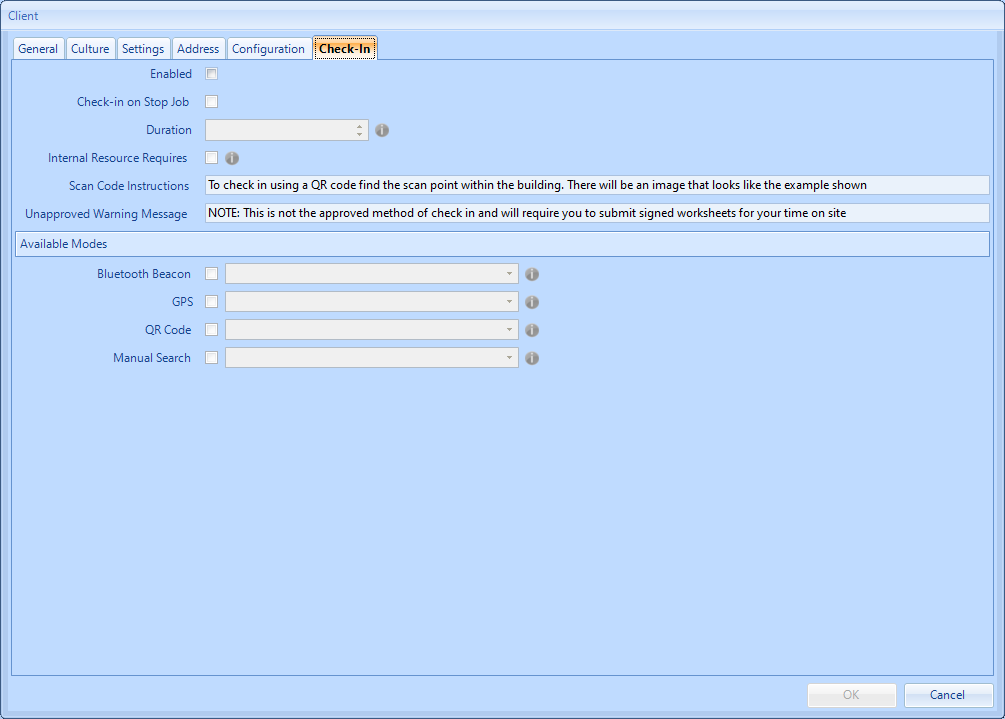
Note: Bluetooth is our proprietary hardware that can be installed at each Building, ensuring that Mobile Users can only start works when within the short range of those Bluetooth Beacons. If you would like to discuss Bluetooth Beacon options, please speak to the Ostara Support Desk.
Note: GPS is the ability to use GPS coordinates, set at the Building and comparing the Mobile User's coordinates with the Building coordinates. Subject to a degree of flexibility, if the User is within range of the Building, they will be able to action Work Orders at that Building.
Note: QR is the backup/default method of Checking In. This allows for a printable QR code to be given to site for the inclusion in their Visitors/Signing In Book, so that attending operatives can use the QR code to confirm attendance. - Once any details have been made, click "OK" to apply the changes. To discard the changes, click "Cancel".