Creating a Building Introduction
To create a Building, follow these steps:
1. Click on the Building tab at the top of the screen.
2. The User will then be presented with the following menu items:
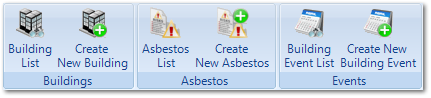
3. To create a Building, click on the "Create New Building" button.
4. The first step is to select the Client to create the Building against. For information on how to do this, see the Client Selection page.
5. Next is the Building Details screen. From here, complete the Building Information, Dimension fields, groupings fields, all relevant date fields and any restrictions for the Building. The areas are described below:
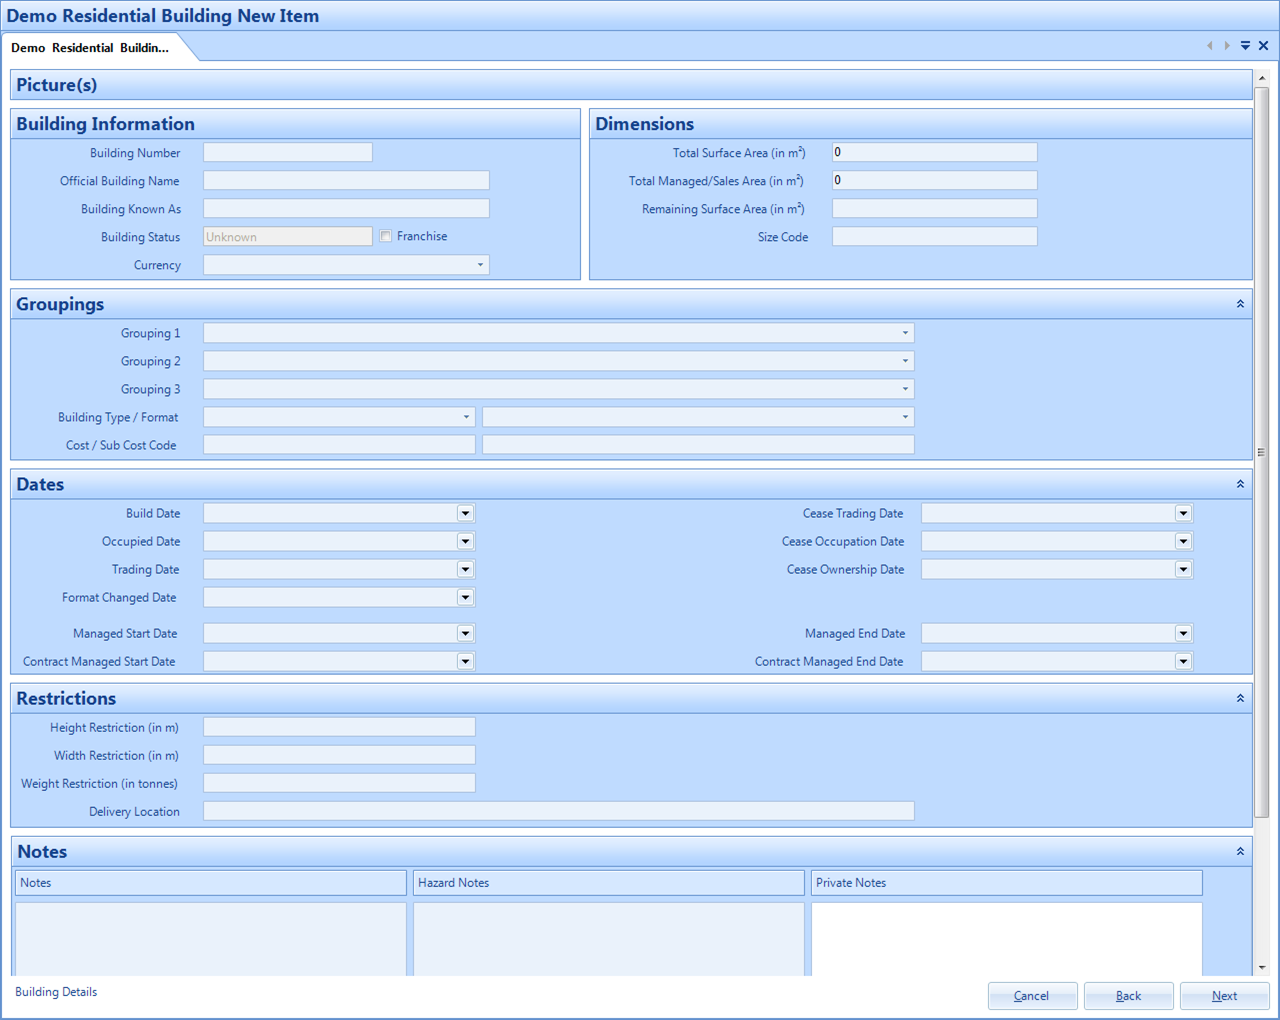
Building Information & Dimensions is where the User can provide the basis for creating a new Building, the User can identify the official Building name as well as its known as or commonly referred to name for ease of reference. The currency used can be set up against each Building. Use the Dimensions field to define the size of the Building including the managed surface area is you are responsible for specific areas only.
Groupings should be used for categorising the Building you are creating; when first using the system you would have defined your groupings in core data, this is bespoke to your management style but an example of groupings could be by region or by whether they are a trading or vacant Building. Completing this section will allow you access to reporting by Building groups going forward.
Building Type/Format denotes whether this is a leisure facility and office block or even a flagship site, again this can be used for reporting on Building type.
Cost/Sub Cost Codes will be specific to your management protocols so is a freeform field; if there aren’t any have cost codes at hand don’t worry; this can be amended at a later date. This will be a read only field after initial creation.
Dates covers a variety of date types which assist in the long term management of a Building as it covers the date the Building was built, started trading and also the date from which the Building is managed from. The Managed Start and Managed End Dates are the most important aspects of the Dates section, if a managed date is present this will filter through to Work Order creation, if no date is present or if the date is in the future this Building will not be able to be selected on a Work Order. The Contract Managed date must be completed for this Building to be able to be selected on contracts. The status of the Building is derived from the date fields which you complete.
Notes is where the User can provide extra details about the Building. There are 3 areas to add notes:
· Notes - This can be used to add extra details about the Building.
· Hazard Notes - This can be used to add details about any hazards located at the Building.
· Private Notes - This can be used to add details about the Building that need to be known but can be kept private from selected Users. To see these notes, the User must have the correct permission.
6. Before clicking on the next button the Building Availability for this Building will need to be set.
7. Next is the Building Contacts screen. This is where all information on the contacts for the Building are stored. Contacts can be added and removed from the Building within this screen.

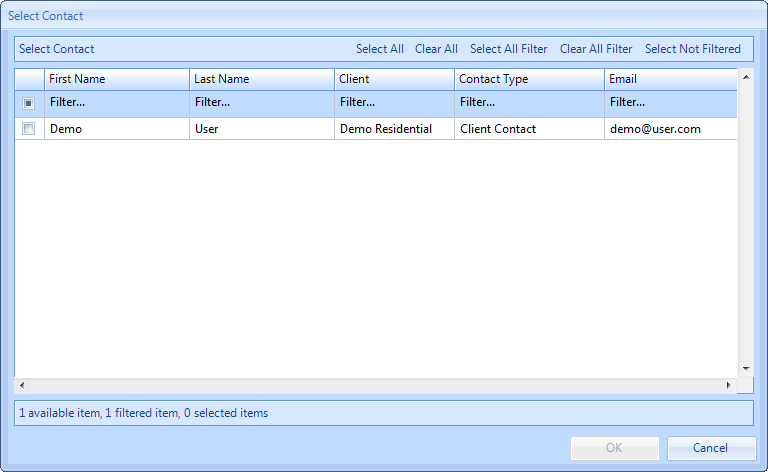
8. To add a Person/contact to a Building, click the "Add Contact" button. This displays a list of the contacts that can be added to the current Building. The contacts that appear in the list will have previously been created within the People section of the Core Data module and for more information on People, please see the People section.
Select a contact to add by ticking the relevant tick boxes or by applying a filter in the Smart Filters fields and using the bulk commands at the top of the screen. Click "OK" once the selection is complete to add the contacts.
Select a contact to add by ticking the relevant tick boxes or by applying a filter in the Smart Filters fields and using the bulk commands at the top of the screen. Click "OK" once the selection is complete to add the contacts.
9. Once contacts have been added, the "Deactivate Contact" button becomes visible. This button allows the User to remove a contact from a Building in case they were added in error or that particular contact may not have an association with that Building anymore.
Note: Some contacts will not have the "Deactivate Contact" button next to them. This is because that within the People section those particular contacts have the "All Buildings" tick box ticked. This means that they will automatically appear on every Building for the Clients they are associated to, old and new Buildings and they will only appear in the Contacts screen once the "Finish" button has been clicked and the Building is created. To remove someone from a Building that has the "All Buildings" flag set, the "All Buildings" flag needs to be removed and only the Buildings that they are associated to need to be selected. Once all contacts have been added, click "Next".
Note: Some contacts will not have the "Deactivate Contact" button next to them. This is because that within the People section those particular contacts have the "All Buildings" tick box ticked. This means that they will automatically appear on every Building for the Clients they are associated to, old and new Buildings and they will only appear in the Contacts screen once the "Finish" button has been clicked and the Building is created. To remove someone from a Building that has the "All Buildings" flag set, the "All Buildings" flag needs to be removed and only the Buildings that they are associated to need to be selected. Once all contacts have been added, click "Next".
10. Lastly is the Building Addresses. This is where the address details of the Building is entered including the County Postcode and Country. Each of the fields are explained below:
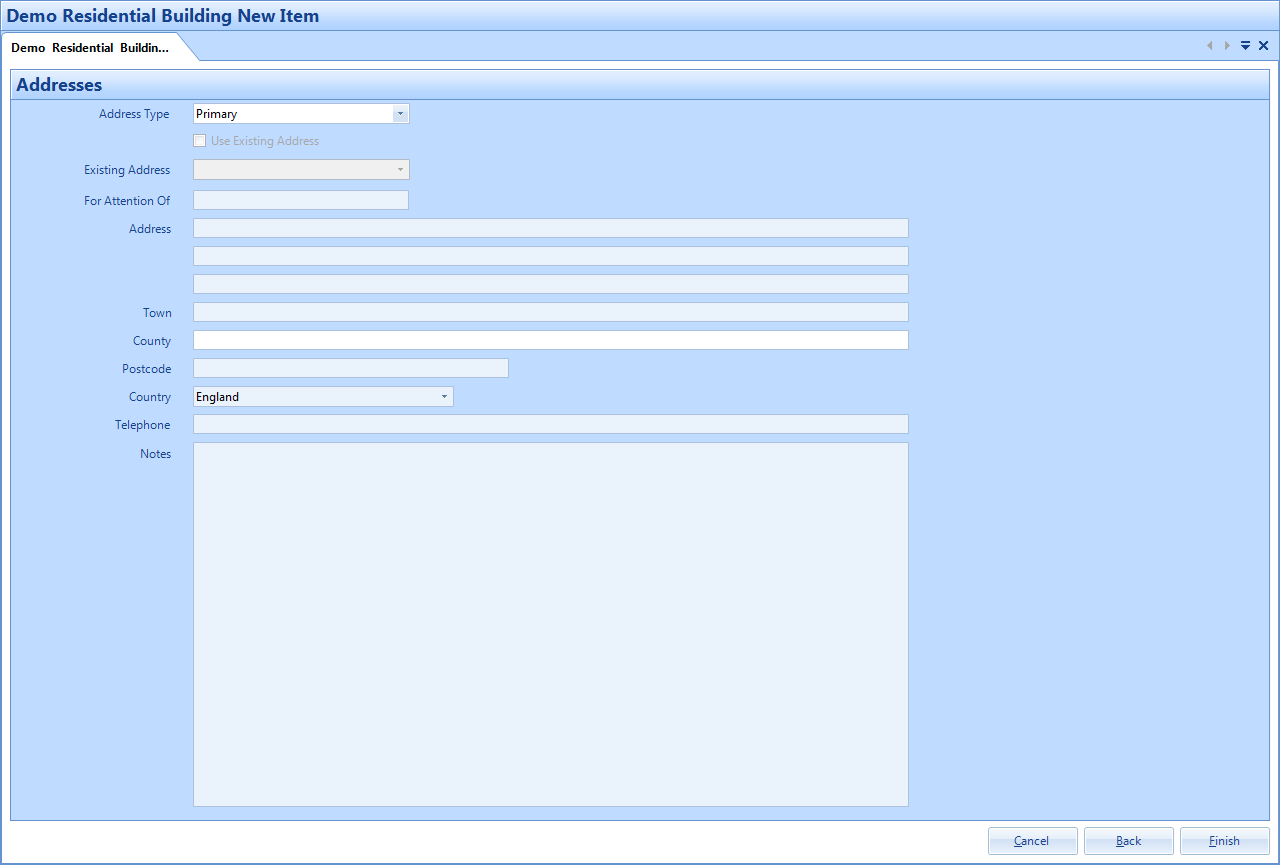
For Attention Of is a freeform field to enter the name of a main correspondent at this Building. This can be different for each address type if required.
Address is a freeform field for the User to enter the address details.
Town is a freeform field for the User to enter the Town.
County is a freeform field for the User to enter the County.
Postcode is a freeform field for the User to enter the Postcode of the address.
Country is a drop down selection to choose the country which is relevant to this address. These are listed in alphabetical order.
Telephone is a numeric field for the User to enter the telephone contact number of the Building.
Notes is a freeform field in which the User can enter any extra details on the Building address.
11. Enter the information and click "Finish" to create the Building.