Fix Types
This is where Fix Types are configured. The “Fix Type” menu shows a list of all the Fix Types specifically available to the Client. These are used on completion of a Work Order. Click on “Fix Types” to configure Client Fix Types.
1. The first step is to select the Client that will be used. For information on how to do this, see the Client Selection page.
2. Next, a list of all the Fix Types associated with the selected Client is shown. Ticking and un-ticking a Fix Type will determine whether it is available to use on Work Order completion.
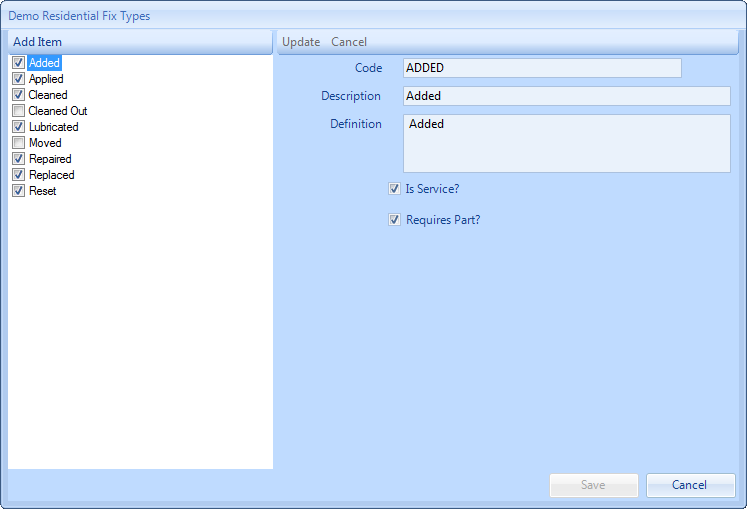
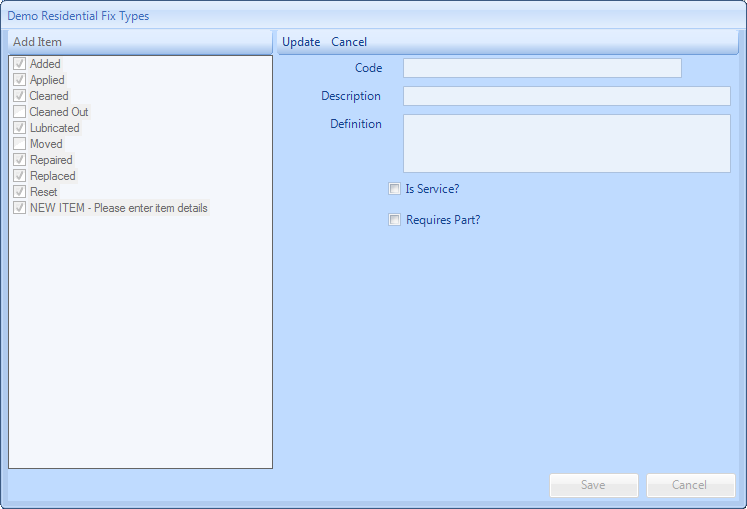
3. To add a new item to the list, click the "Add Item" button and populate the Code, Description & Definition fields. It is also possible say whether the Fix Type is a service or equipment, simply by clicking the "Is Service?" button. Users can also decide if the Fix Type will relate to any Parts during the stop job process by ticking the "Requires Parts?" tick box. Once that is done, click the "Update" button.
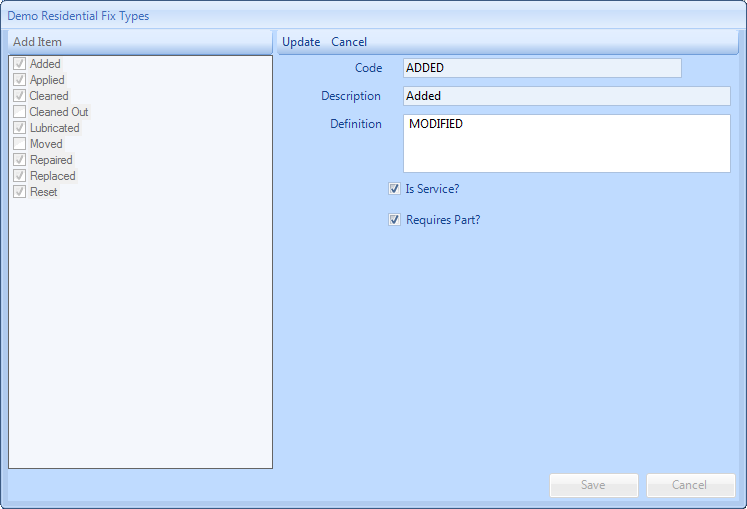
4. Sometimes items may need to be edited and this can be done easily by clicking on it in the left hand side of the screen and then updating the information in the right hand side.
The Code, Description and Definition fields can all be modified in this way.
Once ready, click “Update” to save the information.
The Code, Description and Definition fields can all be modified in this way.
Once ready, click “Update” to save the information.
5. Once all the changes have been made, click “Save” to apply them.