Locations Mapping
Locations Mappings are used during Work Order Creation to specify locations to be worked on. By using the Location Mappings action against a building you specify these details. A new building has no Location Mappings by default so these must be added on creation of a new building.
1.To add Location Mappings, highlight a building from the Building List screen and click on the "Location Mapping" button at the top of the screen.
2. A list of location mappings will appear for that building. An example is as follows:

3. To amend or add locations, click on the relevant action button at the top of the screen:
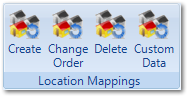
It's possible to perform the following actions
- Create: Add a new Location Mapping
- Change Order: Change the display order of Location Mappings
- Delete: Remove a Location Mapping
- Custom Data: Each Location Mapping can have Custom Data associated to it. The data associated to the currently highlighted Location Mapping can be accessed using this action.
4. When Creating a Location Mapping, the following screen is displayed:
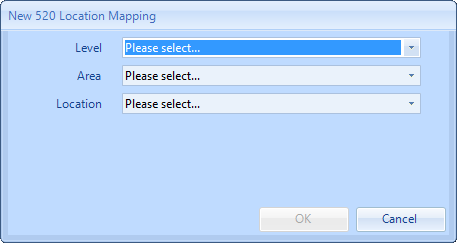
Choose the Level, Area and Location from the drop down fields and click OK to add the new Location Mapping.
5. To Edit a Location Mapping, double click on the row to be edited and the following screen will appear:
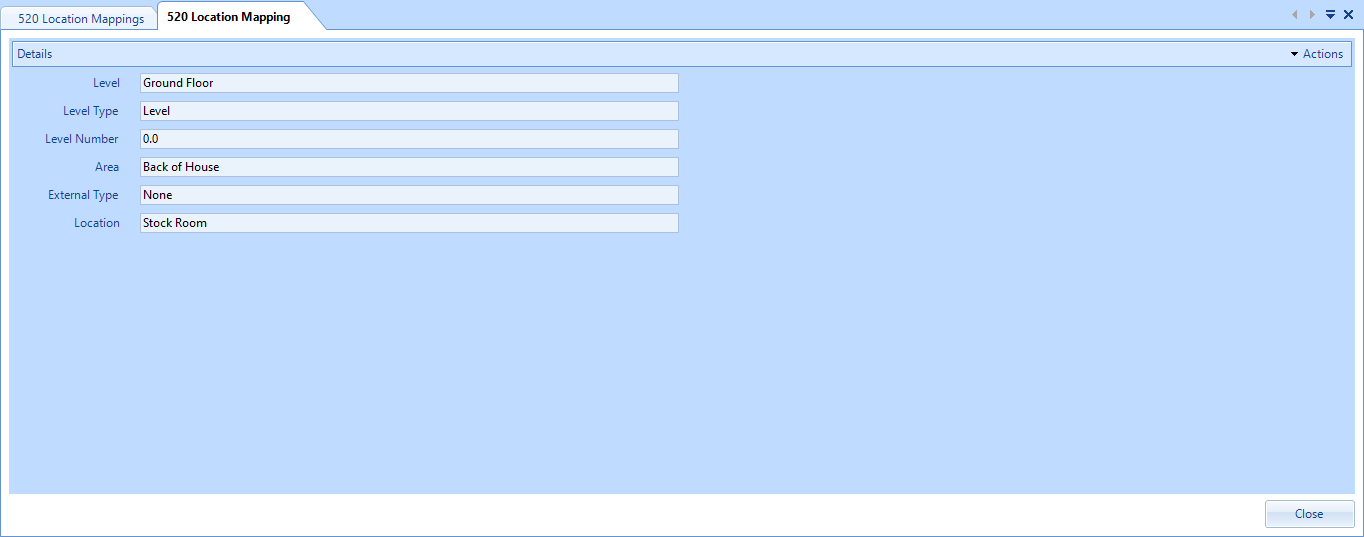
Using the Actions button at the top right of the screen, choose "Change Details" and the ability to change the Level, Area or Location is possible. The Level Type, Level Number and External Type are inherited from the Level and Area settings in Core Data and are not set per individual Location Mapping.