PPMs Tab - Change PPM Periods
A User can change the Invoice or Frequency of Visits against a PPM Task when Work Orders have not been generated, or where there are Work Orders but only if the overall period count doesn't change.
1. To change/add a PPM task period the User will need to highlight the PPM Task that they wish to change/add and then click the "Edit Actions" button.

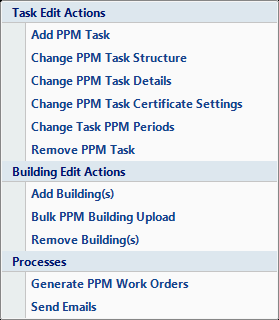
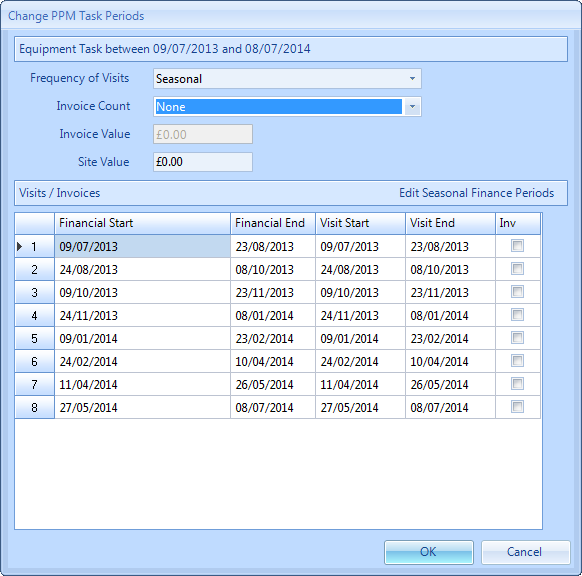
3. Click on the "Change Task PPM Periods" menu option. This screen will then open:
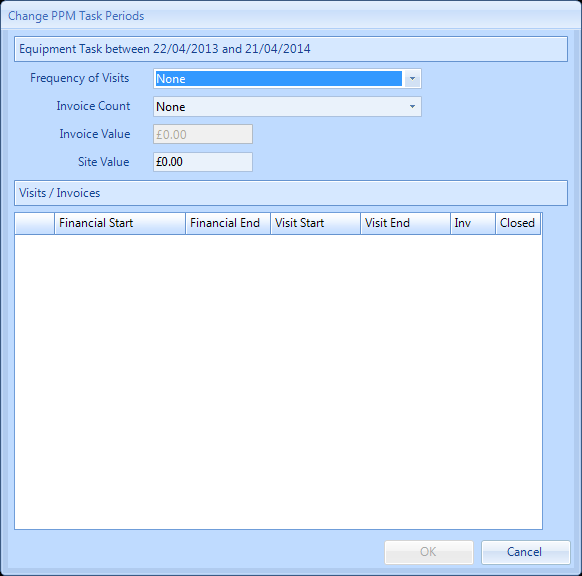
4. Select the Frequency of PPM visits by clicking on the drop down arrow.
5. If the User wishes to define their own frequency this can be done by selecting "Seasonal" from the drop down. The Edit Seasonal Finance Periods button will appear:

6. Click on Edit Seasonal Visits. This window will then open:
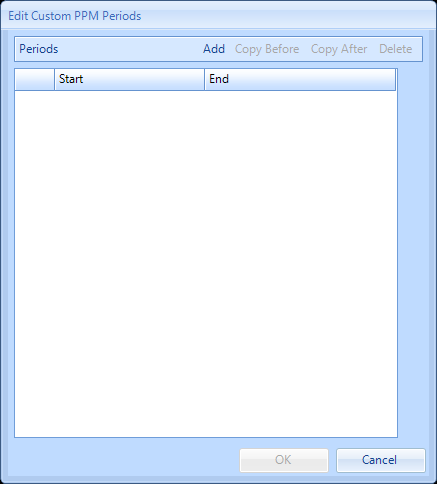
7. Click on the Add button. The Date Selection window will open:
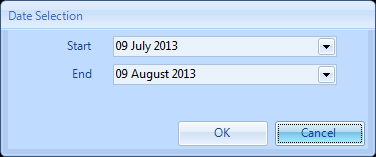
8. The Start Date defaults to the contract start date and the end date defaults to the start date plus a month. Select the Start and End dates as desired and click OK (please note: the start date cannot be less than the contract start date and the end date cannot be greater than the end date of the contract).
9. The User can then choose to either copy before, copy after, add or delete a period.
Copy Before and Copy After - copies the period length either before or after the date highlighted
Add - will add another period allowing the User to define the start and end periods (as above)
Delete - will delete the highlighted period
Copy Before and Copy After - copies the period length either before or after the date highlighted
Add - will add another period allowing the User to define the start and end periods (as above)
Delete - will delete the highlighted period
10. Once all the visit dates have been set click on the OK button. Below is an example of periods that have been set for 6 weekly visits (Note: As an annual contract cannot be equally divided into 6 weekly visits, the last period will be shorter than the rest and this is then remainder of days left after the other 6 weekly visits have been set):
11. Select the Frequency of Invoices by clicking on the drop down arrow. This can differ to the number of visits. If the Invoice Count is greater than the Frequency of Visits the system will determine the number of Work Orders created. The other Work Orders will be raised as closed and will be generated for invoice purposes only. See screen shot below for an example of this: (Note: if seasonal has been selected the invoice count can only be set to "None" or "Seasonal". When choosing "Seasonal" the invoice frequency will be set to same visit start/end dates)
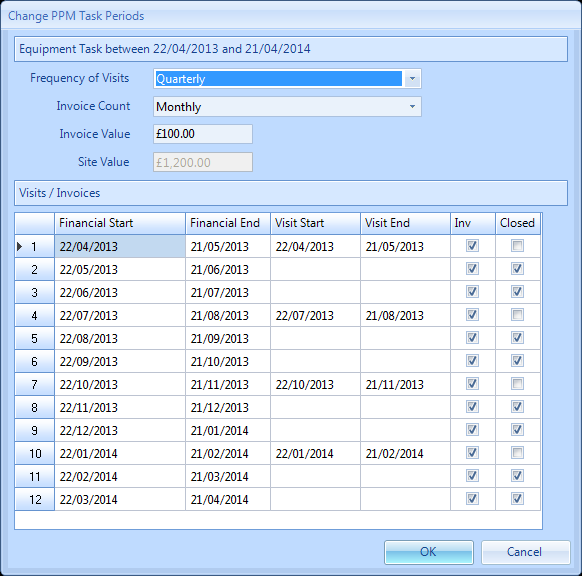
12. After the Frequency of Visits have been set enter the value expected for each Invoice - this will then calculate the total cost for each Building based upon the number of invoices and the invoice cost.
Note: if the Invoice Count is set to 0, it is not possible to enter in a Site Value as the Site Value is the total cost of all the Invoices on the Contract.
13. Once the PPMs have been generated the User will no longer be able to make any changes to this screen apart from the invoice value.
14. Once the periods and values have been set click on the OK button. This message will then appear:
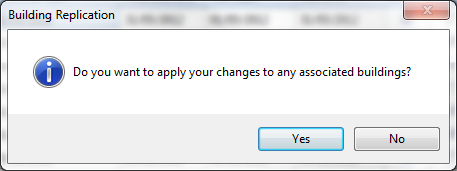
15. For the changes to apply to any of the associated Buildings, click "Yes". If not then clicking on the "No" button will only apply these changes at PPM Task level and no Buildings will be affected.
16. After clicking the "Yes" button the User will be presented with a list of Building that these can be applied to.
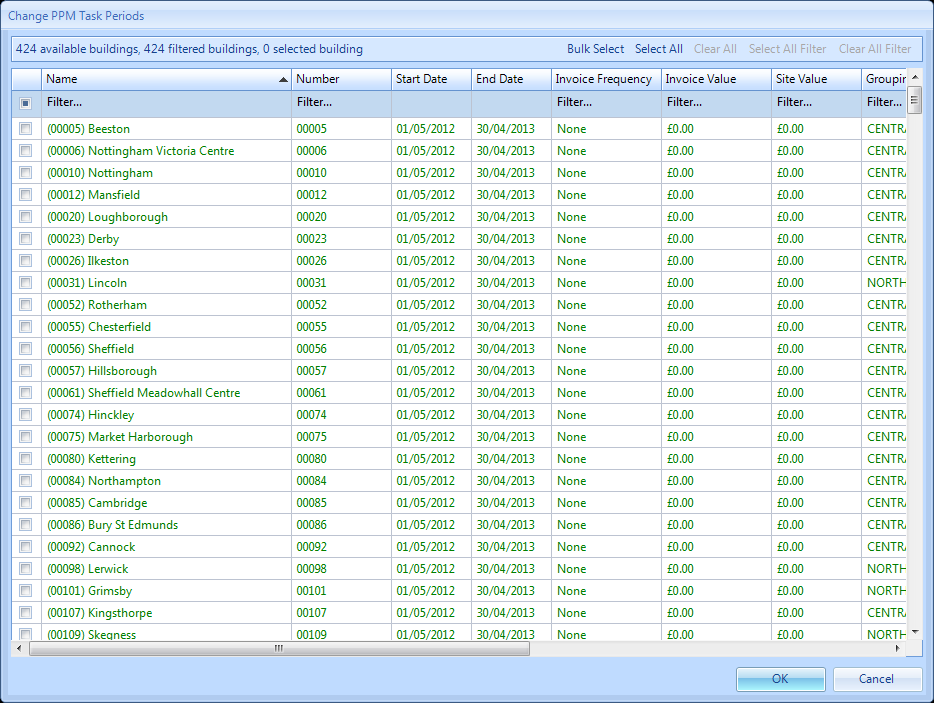
17. From here Users can perform various activities including Bulk Select, Select All, Clear All, Select All Filtered, Clear All Filtered and Select Not Filtered.
18. Use the Select All or Clear All buttons to to select/deselect the entire list.
19. If the User has filtered the list of Buildings, clicking on the Select All Filtered or Clear All Filtered will select/deselect all of the filtered Buildings.
20. Selecting all the Buildings not filtered can be done by clicking on the Select Not Filtered button.
21. Alternatively each Building can be selected individually by clicking on the tick box on the left hand side of the window.
22. Click here for further information on bulk importing of Buildings.
23. Once all of the Buildings required have been selected click on the OK button and the Reason for Contract Change window will open
24. Confirming the reason for the contract change will apply the changes made to the Buildings selected.
Please Note: That although Visit Start and End Dates can be applied here and will update any previously generated Work Orders, on Certificate Upload or a Stop Job is performed on a PPM Work Order, future PPM Visit Dates are updated on the
Contract based on Certificate expiry to ensure compliance is maintained.
Visit updates are not scheduled in the following circumstances:
- the work order is not a PPM
- the work order is not completed
- at least one certificate has not been added (when there is more than one asset that requires more than one certificate)
- the work order is pending certificates (including when a failed certificate has been uploaded)
- the work order is an orphaned PPM (i.e. the related PPM building has been removed from the contract)
- the "Valid From" date is outside the range of the contract period
- the PPM building is set to weekly visits
- the contract period length in months is not 1, 2, 3, 4, 6, or 12
- the PPM building visit structure is not monthly, bi-monthly, quarterly, trimesterly, six-monthly or annually