Creating a Reactive Work Order Introduction
To create a Reactive Work Order click the "Create Reactive Work Order" button.
1. The first step is to select the Client that will be used. For information on how to do this, see the Client Selection page. This will only appear if there are multiple Clients to select from. If there is only one then that Client is selected automatically.
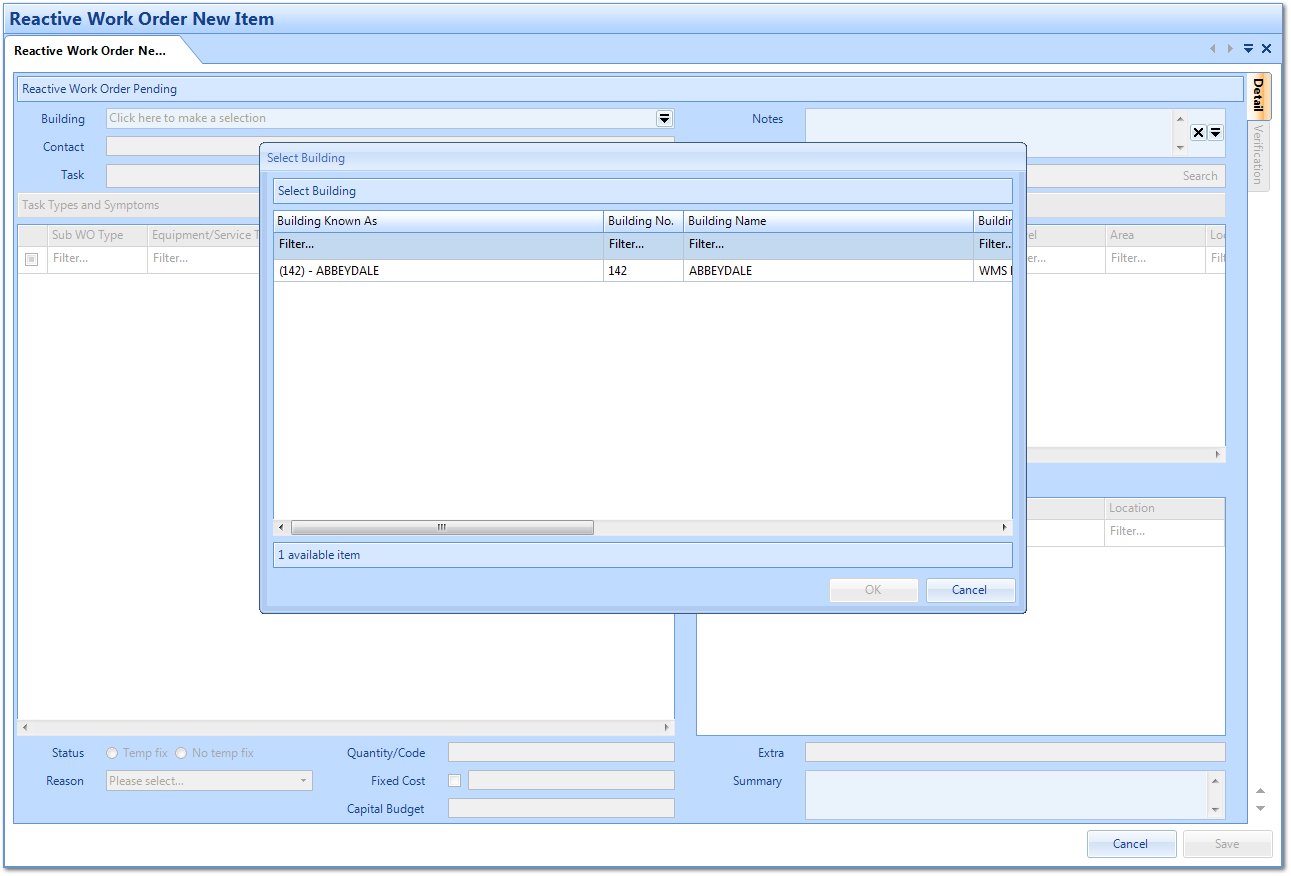
2. The Reactive Work Order screen appears after selecting a Client.
3. Select a Building by either double clicking or by highlighting a Building and clicking OK.
4. A list of all contacts stored against the Building selected will open. Click on the name of the person who is placing the call and all the details will automatically be populated to the fields below.
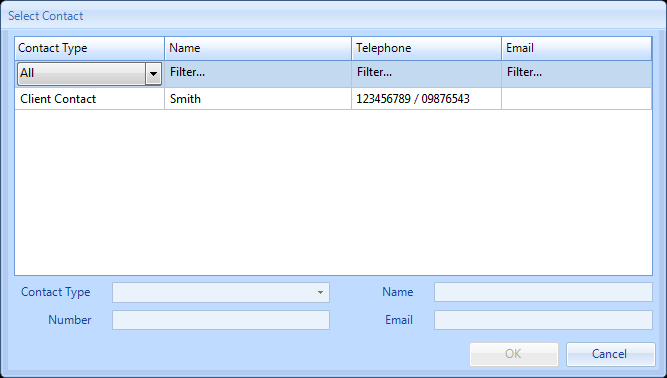
5. If the person calling is not listed in the main window, click on the Contact Type drop down box

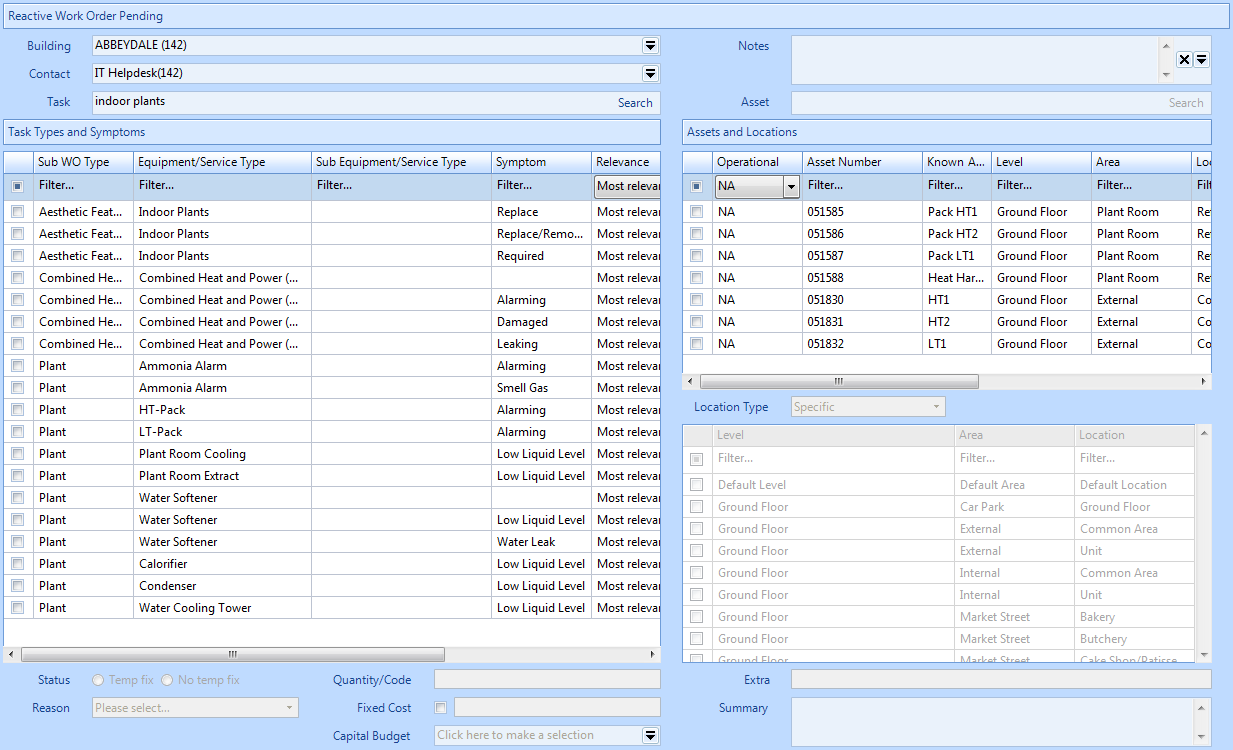
6. Enter the Task Type and Symptom of the fault being raised and click 'Search' or if you know the Asset number, enter this in the Asset field and click 'Search'.
Task is a search field which allows you to search the Core Data of Ostara to find Equipment/Service types to log this Work Order against.
7. A list of all Task Types, their associated Symptoms and Assets in the database which match the Task Type entered will be displayed in the 'Task Types and Symptoms' and 'Assets and Locations' tables. The User can either choose an Asset which will then define the Task Type list to all those that are relevant to Asset selected or vice versa, which will then display all Assets relevant for the chosen Task.
8. The Ostara application will bring back a list of items which meet the search criteria (based on the keywords set up in Core Data against each equipment/service type). Select the line applicable to the Task or Asset type.
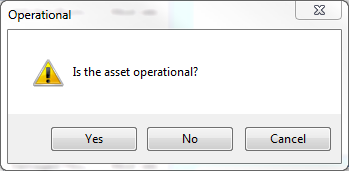
9. If an Asset is selected by ticking the box alongside the Asset, the following prompt will appear:
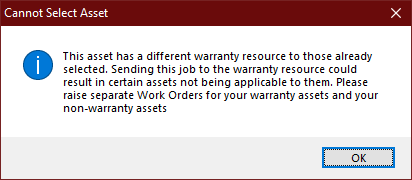
Note: When selecting multiple Assets: if the first Asset selected is under warranty, the next Asset will also need to be, not only under warranty but under warranty with the same Resource. If it isn't, the following pop up will display stating that these cannot be on the same Work Order and need to be raised separately:
10. Once a Task Type has been selected the User will then need to choose a Location. What is shown in the Locations table depends on what is selected in the Location Type drop down. By default, Specific is selected and displays the specific Location Mappings for the Building. Selecting Whole Area displays Location Mappings that have a Level and Area and selecting Whole Level displays Location Mappings that have just a Level, all for the selected Building. The last option in the Location Type drop down is Unspecified Location and this should be chosen if the location of the work has not been specified.
Any extra information that may be required to help locate the issue can be added in the "Extra" field.
Any extra information that may be required to help locate the issue can be added in the "Extra" field.
Note: If an Asset has been selected you do not need to select a location as this has already been set in the Asset module.
Note: If there is only one Equipment/Service Type to choose from, the system will automatically select it. This is the same for Remedial Work Orders too.
11. Notes can be added at this stage. Notes can be copied using the Ctrl-A, selects/highlights all in the notes field (text can also be highlighted using the mouse). Ctrl-C, which will copy any highlighted text and Ctrl-P, which will paste any copied text into the notes field.
12. Select if there is a temporary fix in place or not and note any relevant codes in the "Code" field. This only relates to the Task Type if an asset is selected the User will be prompted if the asset is operational or not (see step number 9). The Code field allows you to enter codes or quantities for the Work Order. Examples could be a quantity of lamps that are out, or an alarm reset code.
Reason is a pre-defined drop down list of Reason Codes which are listed against the Client selected. The identification of Reason Code will ensure accurate identification for reporting and trend analysis.
Reason is a pre-defined drop down list of Reason Codes which are listed against the Client selected. The identification of Reason Code will ensure accurate identification for reporting and trend analysis.
13. Select a Reason for the Task by clicking on the arrow and choosing one of the options from the drop down.
14. The User may wish to provide a Fixed Cost if the price of the works has already been pre-agreed. To do this, tick the Fixed Cost tick box to enable the field next to it. Once enabled, enter the value.

15. It is also possible to add a Capital Code to the Work Order. To select a Capital Code, click the Capital Budget field and the Capital Budget screen is displayed. Highlight a code from the list and click "OK" to select it.

16. A summary of the Task and Location will be displayed in the "Summary" field.
17. Once the information has been completed click "Save". If you would like to abandon without saving click the "Cancel" button.
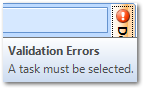
If, when clicking on "Save" the following exclamation mark is visible at the side of the screen, it will be due to missing mandatory information. Please fill in all required fields and click on the Save button again.
If, when clicking on "Save" the following exclamation mark is visible at the side of the screen, it will be due to missing mandatory information. Please fill in all required fields and click on the Save button again.
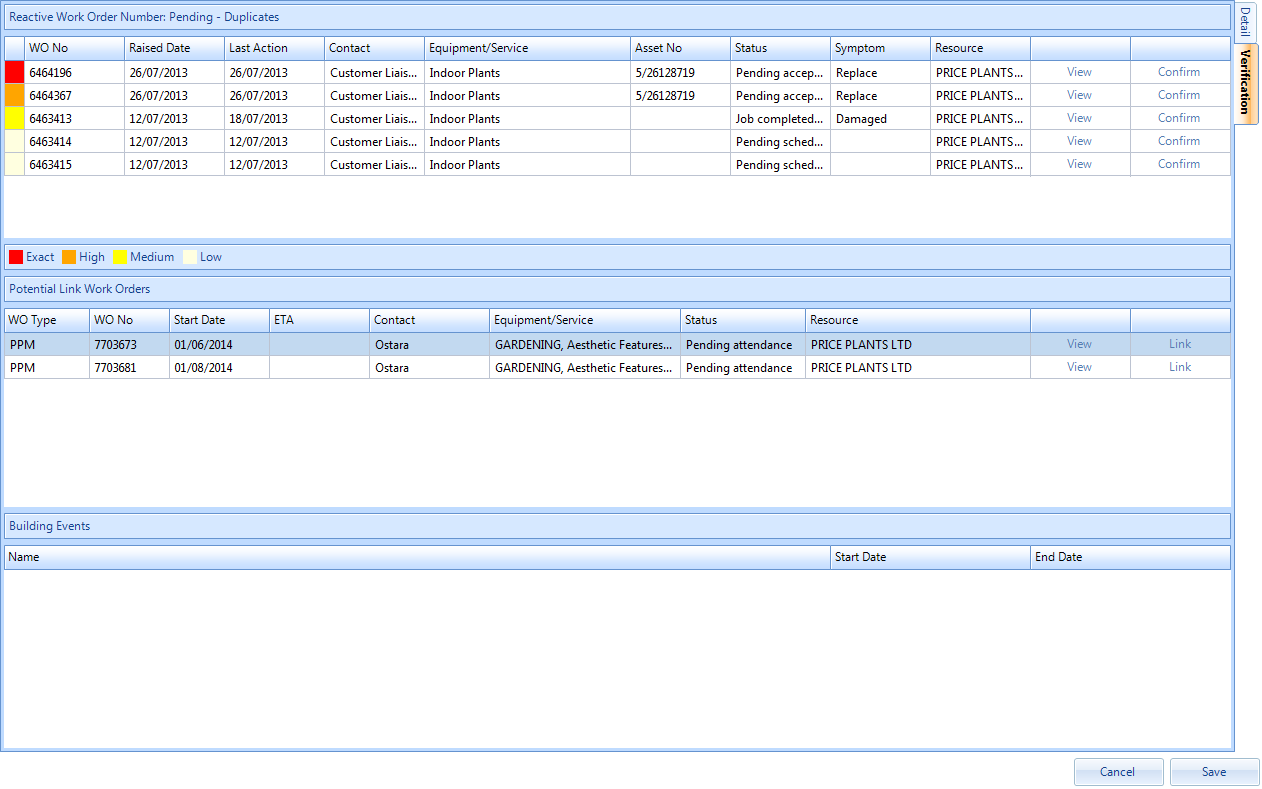
Key to duplicate checking:
Exact = Asset Number and Symptom
High = Asset Number with no Symptom match
Medium = Equipment/Service Type, Location and Symptom
Low = Equipment/Service Type and Location with no Symptom match
Exact = Asset Number and Symptom
High = Asset Number with no Symptom match
Medium = Equipment/Service Type, Location and Symptom
Low = Equipment/Service Type and Location with no Symptom match
Note: The Duplicate Check for closed Work Orders within the last 14 days is the default, but this is can be set by Management Company by contacting your Ostara system administrator. The check at Equipment/Service Type is also configurable and can be set by Management Company to check at Sub Work Order Type level instead - although there will likely be more matches returned using this approach.
19. Any Work Order numbers which are potential duplicates will be shown in a list. The colour coding (shown in the first column) denotes how many parts of the Work Order match one already raised. The more matches the more similar the Work Order is. If the User is sure that the new Work Order created is not a duplicate then they should click on the "Save" button.
If on the other hand the User believes that one of the listed results is a duplicate and should be used for this work, they should click on the "View" button and this Work Order will open in a new tab (the one you are raising will NOT be lost). If this is the same and a duplicate Work Order will be raised then go back to the one being raised and click on the "Confirm" button. This will take the User to the Work Order previously raised and the new one will be cancelled automatically.
If on the other hand the User believes that one of the listed results is a duplicate and should be used for this work, they should click on the "View" button and this Work Order will open in a new tab (the one you are raising will NOT be lost). If this is the same and a duplicate Work Order will be raised then go back to the one being raised and click on the "Confirm" button. This will take the User to the Work Order previously raised and the new one will be cancelled automatically.
20. It is possible that the Work Order being raised relates to an upcoming Work Order and if any are present, the "Potential Link Work Orders" section is populated. From here, the User can view the Work Orders that could potentially relate to the Reactive Work Order being created and even link a Work Order to the Reactive upon creation.
21. Clicking "View" will display the Work Order in a separate tab in which the User can view the Work Order to make sure it is the correct one to link to.
Note: This is permission controlled and will only be available if the "Can Visit Link Work Orders" permission is selected.
22. Clicking "Link" will create the Work Order and link the selected Work Order to the Work Order. It will also progress the Work Order, depending on the settings of the Contract of the linked Work Order, and apply the Resource and schedule that the linked Work Order has.
Note: It is not mandatory to link a Work Order during creation. This step can be bypassed if there are no Work Orders to link or if any of the Work Orders present do not need to be linked. If Potential Link Work Orders exist but are not selected, the following message is displayed:
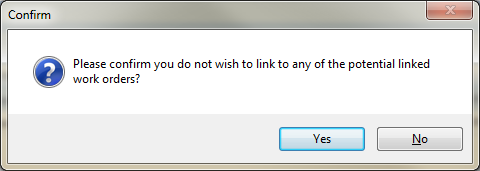
23. The application will ask for confirmation that there are no duplicates for the Work Order being raised. In order to proceed to the creation stage the User should click "Yes". By clicking on "No" the User will be returned back to the verification screen.
Note: This is an important step as raising a duplicate will waste both time and money.
24. Once the User confirms that this is not a duplicate the Work Order has now been successfully created.