Stop Job > Admin Introduction
When the Resource has completed the work this will need to be logged against the Work Order. This can be done in a few ways; the first one covered below is if the engineer's head office calls to advise that their engineer has completed work.
1. First thing is to find the work order in question.
2. From the Agent Actions menu select Stop Job > Admin.
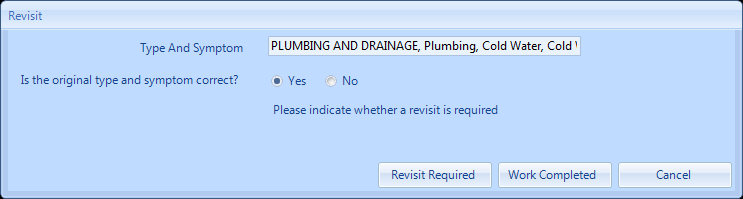
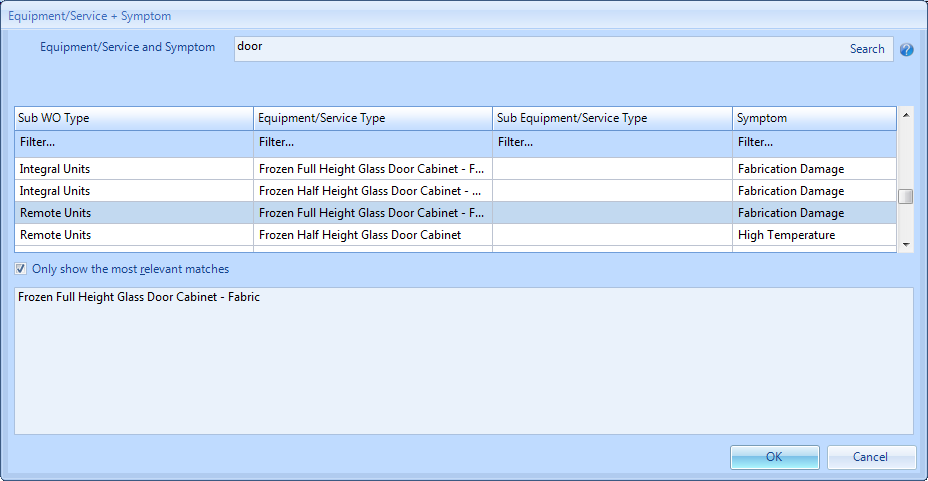
3. The first screen displayed is the Revisit screen. Here, the User is able to determine whether a revisit is required or if the work was completed. It is also possible for the User to change the Type and Symptom of the Work Order if it was incorrect. If the Type and Symptom are correct, select "Yes" for the "Is the original type and symptom correct?" question. If it is incorrect, select "No" which will display the "Equipment/Service + Symptom" screen.
4. Next is the Job Start Date screen. This will display the Job Start and Completion Dates, the Attendee and the number of engineers that attended the job. The name and number of the attendees that attended the job can be changed here if necessary, as it is possible that not all of the engineers were needed in the end. The Job Start Date field will be populated with the Date and Time depending on if the Work Order was started previously. If it wasn't then a date and time can be entered into both the Job Start Date and Completion Date fields. Once all data has been entered, click "Next" to proceed.

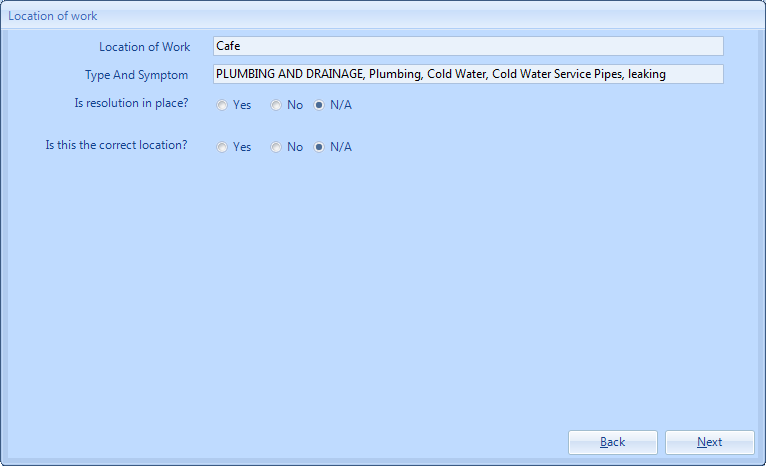
5. This screen displays the problem reported and the Location given at the time of logging the job. The User must confirm that a resolution is in place and that the listed Location is correct. If the Location requires changing, selecting "No" for "Is this the correct location?" provides the User with the ability to amend the Location by selecting a new Location from the list displayed. Click "Next" to continue.
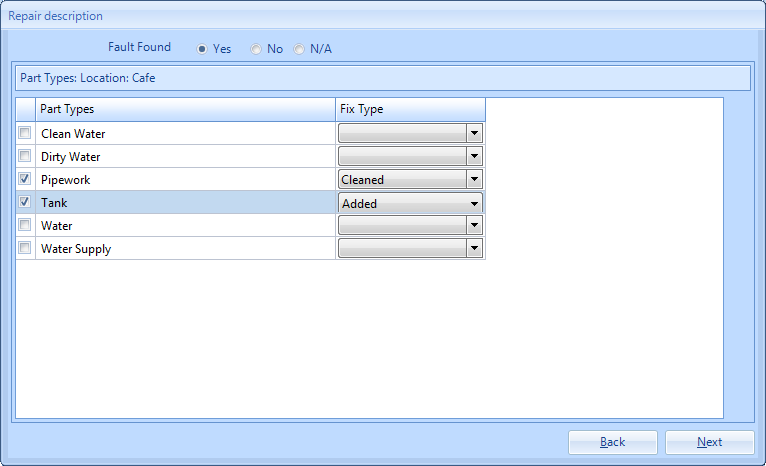
6. Next is the Repair description screen. Here, the User can determine whether or not a fault was found whilst attending to the job. If a fault is identified, select "Yes" for "Fault Found" and the Parts Types list will become active. This contains all the Part Types for the piece of equipment in question. Tick any which apply to this work and select the Fix Type from the drop down list for each Part Type selected. (This screen only appears for Work Orders with an Equipment Type. Service Type Work Orders skip this step). Click "Next" to progress once all Part Types and Fix Types are selected.
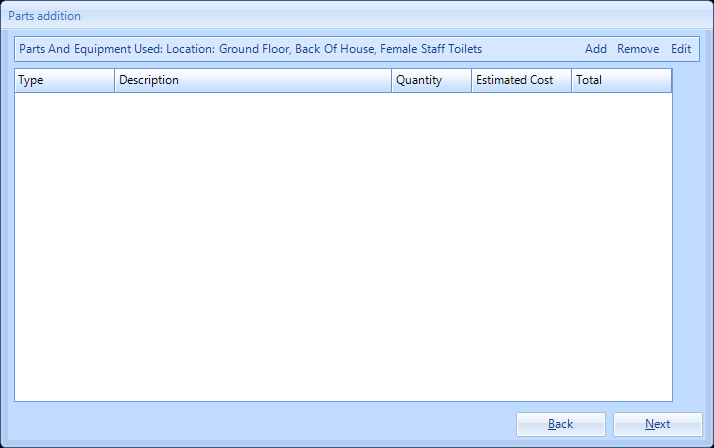
7. The next screen is the Parts addition screen. (This screen only appears for Work Orders with an Equipment Type. Service Type Work Orders skip this step). This is where any Parts/Equipment/Materials that were used whilst attending to the job are added. If Parts exist in the system then the Select Part(s) screen will be displayed instead.
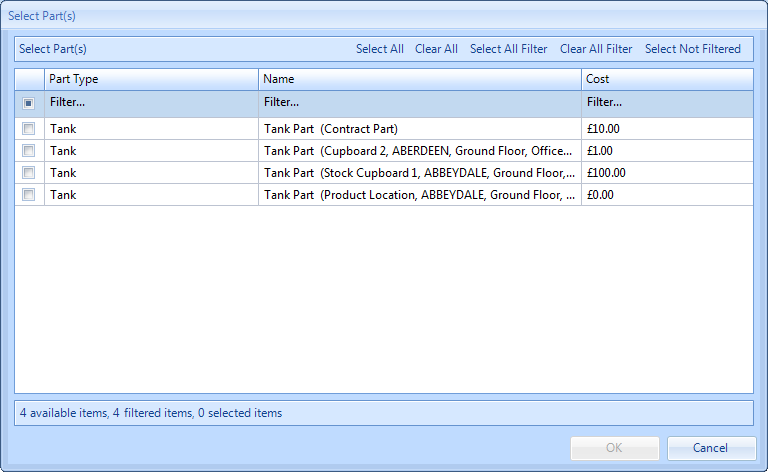
From the Select Part(s) screen, the User can tick the Parts that they wish to add to the list. The list of Parts can be filtered by using the smart filter or by using the usual filter tools located at the top of the screen. Once the necessary parts have been selected, click "OK" to add them to the list.
8. If any parts or equipment have been required to complete this work then these must be listed here. To add a Part/Equipment/Material to the list, click the "Add" button. This will display a drop down menu in which the User can add Parts, Equipment or Materials respectively. Hovering over "Part" will display a second menu with the options "Contract/Inventory" and "Other". Selecting "Contract/Inventory" will display the Select Part(s) screen (detailed above) and selecting the "Other" option will display the Manual Data screen. In this screen, a description of the part along with the quantity and estimated cost need to be recorded. Once the data has been entered, click "OK" to add the Part.
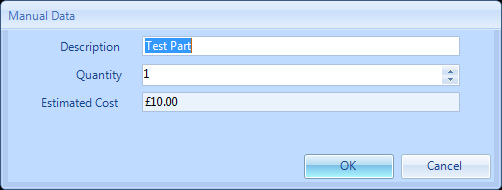
If for some reason a Part/Equipment/Material was added incorrectly and needs to be amended or removed then these can be achieved using the "Remove" and "Edit" buttons. To remove an item from the list, select it and click "Remove" and to amend an item then select the item and click "Edit". Clicking it will display the Manual Data screen where the data can be changed and the changes can be applied by clicking the "OK".
9. If "Yes" was chosen when asked if a revisit was required, then the Reason for revisit screen will be displayed. Select the relevant reason and provide in detail the description of why the job is being paused. Finally, provide the ETA of the revisit.

Note: This step will be skipped if "No" was selected when asked if a revisit was required.
10. Clicking Next will take the User to the final Summary screen. This screen will summarise all the details just entered.

11. To confirm these details and complete the Work Order click the "Save" button. If there are details that are incorrect click the "Back" button to amend them.
Note: If the Work Order being stopped has a certificate requirement, the Add/Edit/View Certificates screen will now be displayed and allow the user to upload any certificates rather than having to select the Add/View/Delete Certificates action separately (see the "Add/View/Delete Certificates" for more details on this).
Note: If the Work Order being stopped has a certificate requirement, the Add/Edit/View Certificates screen will now be displayed and allow the user to upload any certificates rather than having to select the Add/View/Delete Certificates action separately (see the "Add/View/Delete Certificates" for more details on this).